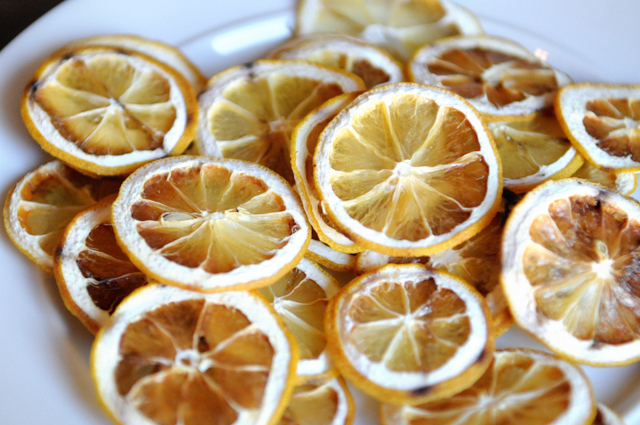
Fresh fruits are rich in vitamins, minerals, fiber, and antioxidants. Yet, their short shelf life often leads to waste, especially during harvest seasons when they are abundant. One of the oldest and most effective ways to preserve fruits naturally is drying — a process that removes moisture to prevent microbial growth while retaining nutrients and natural sweetness.
Drying fruits at home not only extends their storage life but also enhances their flavor, making them a healthy, chemical-free snack alternative. Unlike store-bought dried fruits that may contain added sugar, sulfites, or artificial preservatives, homemade dried fruits are pure, natural, and completely vegetarian-friendly.
This article explores natural fruit drying methods that can easily be done at home, the science behind the process, and best practices to maintain flavor, texture, and nutrition.
1. Understanding the Science of Drying Fruits
Drying, or dehydration, removes the majority of water content from fruits — typically reducing it to less than 20%. Since microorganisms like bacteria and molds need moisture to grow, drying effectively preserves fruits for months without refrigeration.
How Drying Works
- Moisture Removal: Heat or air circulation evaporates water from the fruit’s surface.
- Concentration of Sugars: As moisture decreases, the natural sugars become more concentrated, intensifying the fruit’s flavor.
- Enzyme Control: Proper drying reduces enzyme activity that causes spoilage and discoloration.
However, drying must be done carefully. Excessive heat can destroy vitamins like vitamin C, while insufficient drying may leave moisture that promotes mold growth. The goal is to gently remove moisture while preserving nutrients and color.
2. Selecting and Preparing Fruits for Drying
The quality of dried fruit depends heavily on the freshness and ripeness of the fruit used. Choose fruits that are ripe but firm, free from bruises, and of good flavor. Overripe or damaged fruits may spoil faster and produce uneven results.
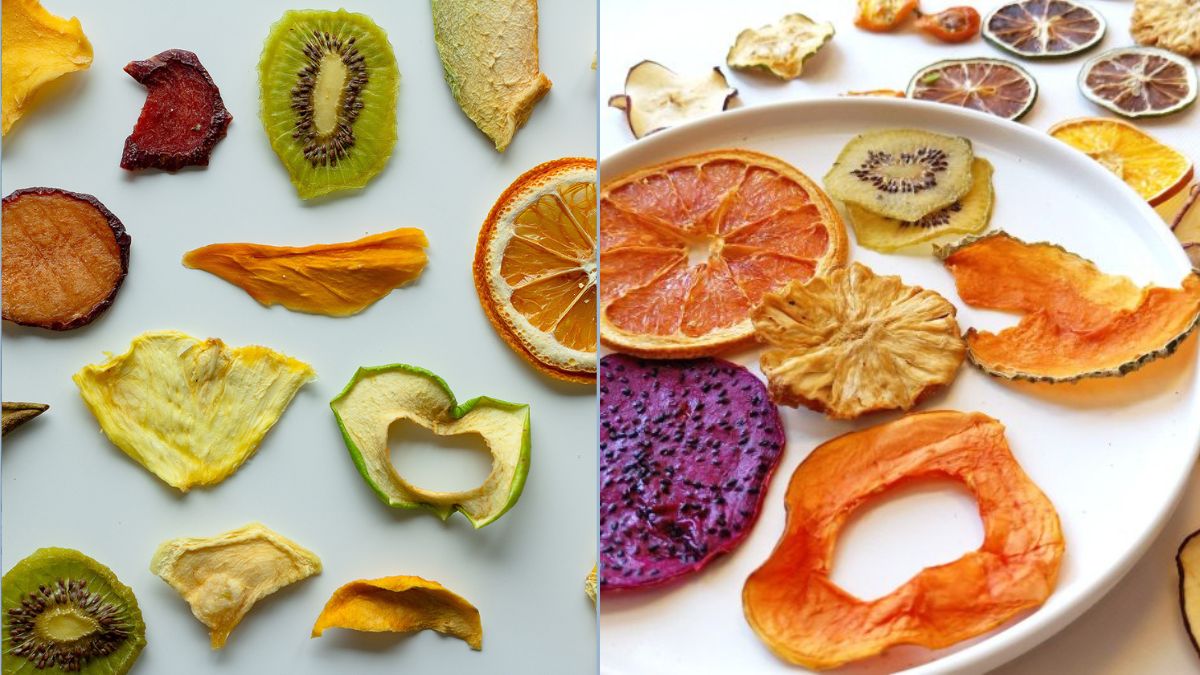
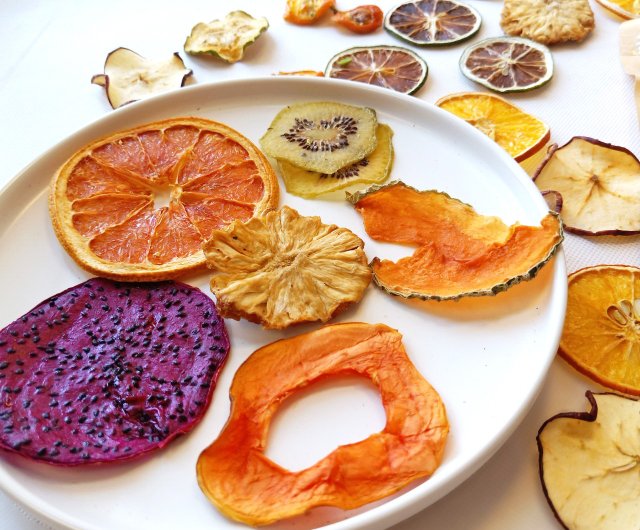
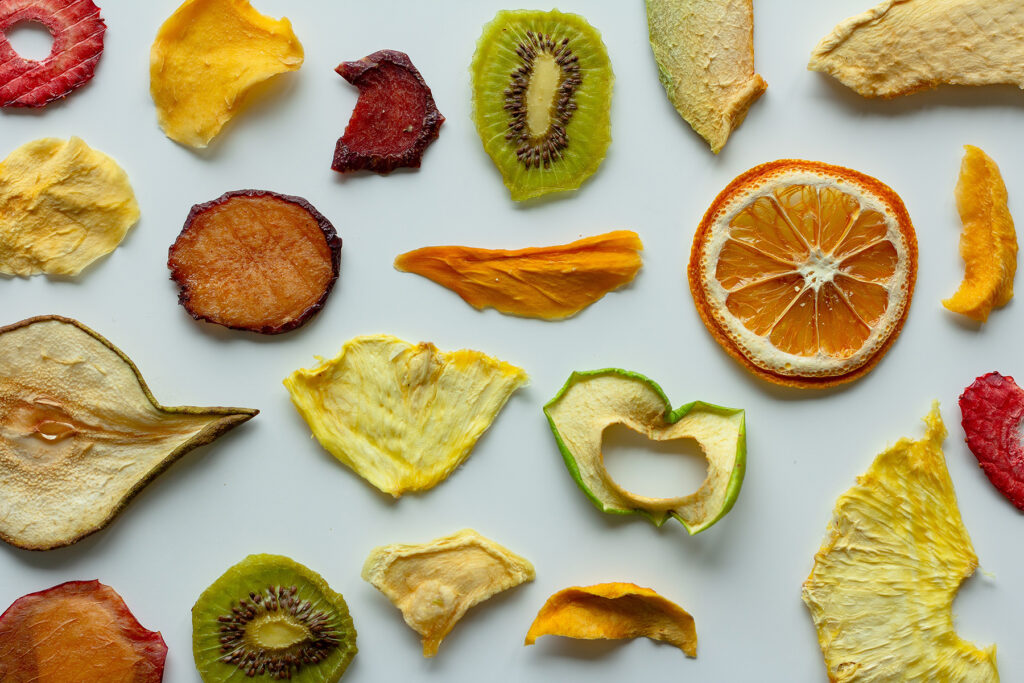
Best Fruits for Home Drying
- Apples
- Bananas
- Mangoes
- Pineapples
- Papayas
- Grapes (raisins)
- Berries (strawberries, blueberries)
- Plums (prunes)
- Apricots and peaches
Preparation Steps
- Wash Thoroughly: Remove dirt, chemicals, or wax from the skin.
- Peel if Necessary: Fruits like mangoes or papayas dry better when peeled.
- Slice Evenly: Cut fruits into uniform pieces (¼ to ½ inch thick) for even drying.
- Pretreat to Prevent Browning:
- Dip slices in a solution of 1 part lemon juice to 3 parts water for 5–10 minutes.
- Alternatively, blanch fruits like apples and pears briefly in hot water for 1–2 minutes.
Pretreatment helps preserve natural color, texture, and vitamin content.
3. Sun Drying – The Oldest and Most Natural Method
Sun drying is one of the simplest and most sustainable ways to dehydrate fruits. It requires only sunlight, air circulation, and low humidity — making it ideal for warm, dry climates.
How to Sun Dry Fruits
- Prepare the Fruits: Slice and pretreat as described earlier.
- Arrange on Trays: Place fruit slices on clean trays, mesh screens, or bamboo mats. Leave small gaps between pieces for airflow.
- Cover for Protection: Use fine mesh or cheesecloth to keep insects and dust away.
- Dry in Full Sun:
- Place trays in direct sunlight where temperatures stay between 30–40°C (86–104°F).
- Turn fruits every few hours for uniform drying.
- Bring trays indoors at night to prevent moisture absorption.
Drying time may range from 2 to 5 days, depending on fruit type and weather.
Advantages
- Completely natural and cost-free.
- Preserves nutrients and sweetness effectively.
- Environmentally friendly — uses solar energy.
Limitations
- Weather dependent.
- Risk of contamination by insects or dust if not covered properly.
- Takes longer than other methods.
4. Air Drying or Shade Drying – Gentle and Flavorful
For fruits that are delicate or lose color in direct sunlight (like herbs, apples, or figs), air drying or shade drying is an excellent alternative.
How to Do It
- Place fruit slices on racks or hang them on strings in a well-ventilated, shaded area.
- Ensure air circulation from all sides.
- Turn pieces occasionally to ensure even drying.
Drying may take 4–7 days, depending on humidity and temperature.
Benefits
- Preserves color and nutrients better than direct sun exposure.
- Produces a more subtle, natural sweetness.
- Requires minimal equipment.
5. Oven Drying – Quick and Controlled
If you live in a humid region or want faster results, oven drying is the most practical indoor method. Most home ovens can produce high-quality dried fruits with careful temperature control.
Steps for Oven Drying
- Preheat Oven: Set to the lowest temperature (typically 50–70°C or 120–160°F).
- Arrange Fruits: Spread slices on baking trays lined with parchment paper.
- Allow Airflow: Keep the oven door slightly open (about 1–2 inches) to let moisture escape.
- Rotate Trays: Every 1–2 hours, turn fruit slices or swap tray positions for even drying.
- Check for Doneness: Fruits should be leathery but not sticky or brittle.
Drying Time
- Apples, bananas, and mangoes: 6–10 hours
- Pineapple and papaya: 8–12 hours
- Berries: 10–15 hours
Advantages
- Works in all climates.
- Faster and hygienic.
- Produces consistent results.
Tip:
Use convection ovens for even airflow and energy efficiency.
6. Using a Solar Dryer – An Eco-Friendly Upgrade

A solar dryer is a modern adaptation of traditional sun drying. It uses solar energy but provides a controlled environment to enhance efficiency and hygiene.
How It Works
Solar dryers consist of a transparent cover (often glass or plastic) that traps heat, and vents that allow warm air circulation. Fruits dry faster than in open sunlight because of increased temperature and reduced contamination.
DIY Solar Dryer at Home
You can easily build a simple solar dryer using:
- A wooden or metal frame.
- Transparent plastic sheet or glass cover.
- Wire mesh trays for placing fruits.
- Air vents for airflow.
This method is sustainable, cost-effective, and ideal for regions with good sunlight but high dust or insect activity.
7. Checking for Proper Dryness
To ensure your dried fruits are safe and long-lasting:
- Touch Test: Fruits should feel leathery but pliable, not wet or sticky.
- Tear Test: When torn, no visible moisture should appear inside.
- Weight Test: Dried fruits are noticeably lighter than fresh ones.
If any moisture remains, return them to the drying source for a few more hours. Improperly dried fruits may spoil during storage.
8. Conditioning and Storing Dried Fruits
Once fruits are completely dry, it’s crucial to condition and store them properly to prevent mold growth.
Conditioning Process
- Place cooled dried fruits in airtight glass jars.
- Keep jars in a warm, dry place for 7–10 days.
- Shake jars daily — if condensation appears, redry the fruits.
This process equalizes residual moisture across all pieces.
Storage Tips
- Store in airtight containers, glass jars, or vacuum-sealed bags.
- Keep in a cool, dark, and dry location (ideally below 20°C / 68°F).
- Properly stored dried fruits can last up to 12 months.
- For long-term storage, refrigerate or freeze.
Avoid storing dried fruits near strong-smelling foods, as they can absorb odors easily.
9. Retaining Nutritional and Flavor Quality
Drying inevitably causes some nutrient loss, particularly heat-sensitive vitamins like C and B-complex. However, you can minimize this with a few smart practices:
- Use Fresh, Ripe Fruits: Nutrient density is highest before drying.
- Avoid Excessive Heat: Temperatures above 70°C destroy vitamins.
- Pretreat with Lemon Juice: Helps preserve vitamin C and prevents browning.
- Cool and Store Quickly: Prevents oxidation and loss of flavor compounds.
Dried fruits remain excellent sources of fiber, potassium, iron, and natural energy. They’re perfect for snacks, breakfast cereals, desserts, and homemade trail mixes.
10. Creative Uses of Home-Dried Fruits
Homemade dried fruits are versatile and enhance many vegetarian dishes:
- Breakfast: Add to oatmeal, porridge, or yogurt.
- Desserts: Mix into cakes, muffins, or granola bars.
- Salads: Combine with nuts and seeds for added texture.
- Beverages: Soak in water or herbal teas for natural flavor.
- Healthy Snacks: Enjoy as-is — a sweet, preservative-free treat.
Conclusion
Drying fruits at home is a simple, natural, and sustainable way to preserve the bounty of nature. Whether you choose traditional sun drying, gentle air drying, controlled oven drying, or innovative solar drying, each method offers unique benefits for flavor, texture, and nutrition.
By mastering these techniques, you can enjoy delicious, chemical-free dried fruits year-round — while reducing food waste and maintaining a fully vegetarian, eco-conscious lifestyle.
Homemade dried fruits are more than just preserved food; they represent a return to traditional wisdom, sustainable living, and mindful eating — proving that nature’s sweetness can be enjoyed any time, in its purest form.