Hydroponics is revolutionizing the way we grow vegetables, allowing anyone to cultivate plants without soil. This soilless method is especially useful for urban gardeners, apartment dwellers, or anyone with limited outdoor space. Among the many vegetables suitable for hydroponic cultivation, sweet potatoes stand out for their nutritional value, versatility, and relatively easy growth.
What if you could combine hydroponics with recycling? By transforming plastic bottles into hydroponic pots, you not only grow healthy sweet potatoes but also reduce plastic waste, giving new life to everyday items. In this blog post, we’ll guide you step by step on how to recycle plastic bottles to create hydroponic sweet potato pots, tips for care, and ways to maximize your yield.
Why Choose Plastic Bottles for Hydroponic Sweet Potatoes?
Plastic bottles are one of the most commonly discarded items worldwide. Repurposing them into hydroponic pots has several advantages:
- Eco-Friendly: Reusing bottles reduces plastic pollution and encourages sustainable gardening practices.
- Cost-Effective: There’s no need to buy expensive hydroponic containers—empty bottles work perfectly.
- Compact and Lightweight: Bottles are easy to handle, ideal for balconies, rooftops, or small spaces.
- Customizable: Plastic bottles can be easily cut and shaped to fit different hydroponic designs.
- Self-Watering Possibility: With a simple design, you can create a system where the water level automatically nourishes the sweet potato roots.
Materials You’ll Need
To start your hydroponic sweet potato project, gather the following materials:
- Empty plastic bottles (1–2 liters work best)
- Utility knife or scissors
- Sweet potato slips or cuttings
- Water
- Cotton string or cloth (optional for wick system)
- Small tray or dish to catch water (optional)
Step-by-Step Guide to Making Hydroponic Sweet Potato Pots
Step 1: Preparing the Bottles
- Wash the plastic bottles thoroughly to remove any residue.
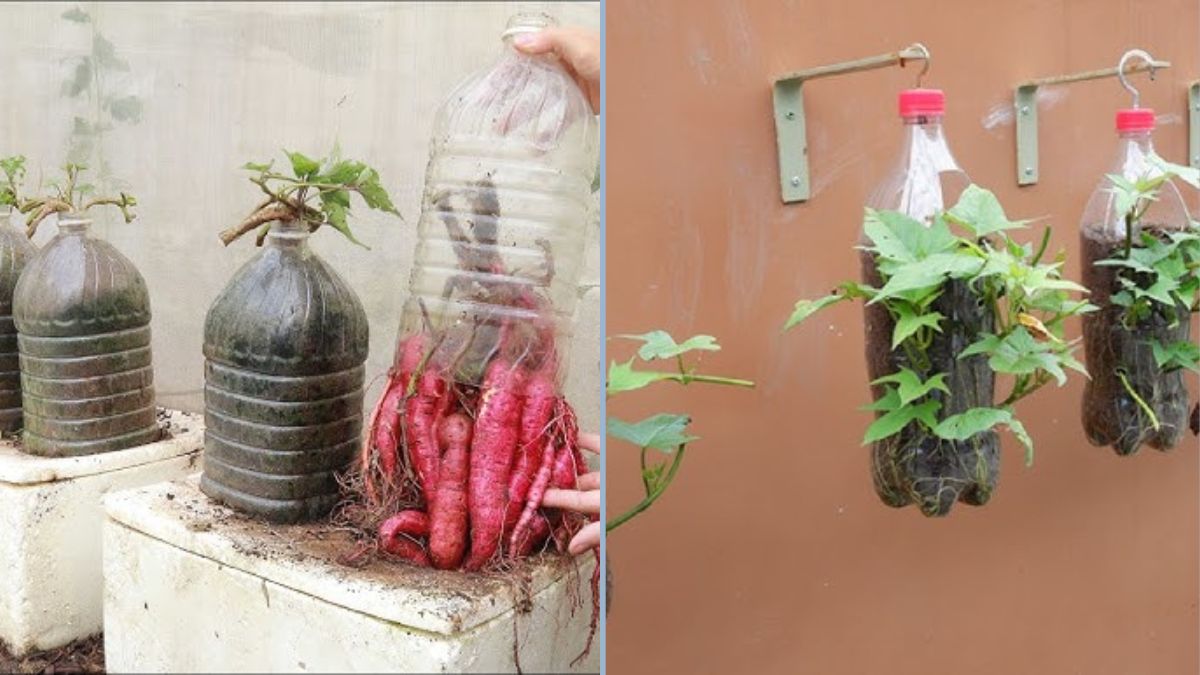
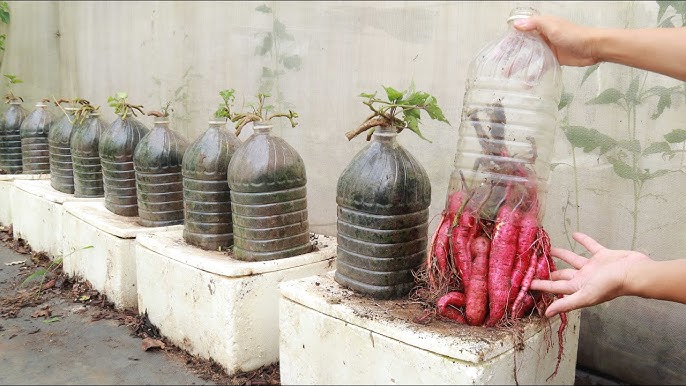
- Cut the bottle horizontally or create a slit on the side depending on your hydroponic setup. One common design is to invert the top half of the bottle into the bottom half to create a water reservoir.
- If desired, poke small holes near the neck or bottom to allow roots to grow into the water.
Step 2: Adding Water
- Fill the bottom half of the bottle or the reservoir with clean water.
- You can also add a diluted liquid fertilizer suitable for hydroponics to promote healthy growth.
Step 3: Preparing Sweet Potato Slips
- Sweet potatoes produce slips (shoots) that can be rooted in water.
- Take a healthy sweet potato and place it partially submerged in water using toothpicks to hold it in place.
- After 2–3 weeks, you should see roots and shoots forming. These slips are now ready to plant in your hydroponic bottle.
Step 4: Planting the Slips in the Bottle
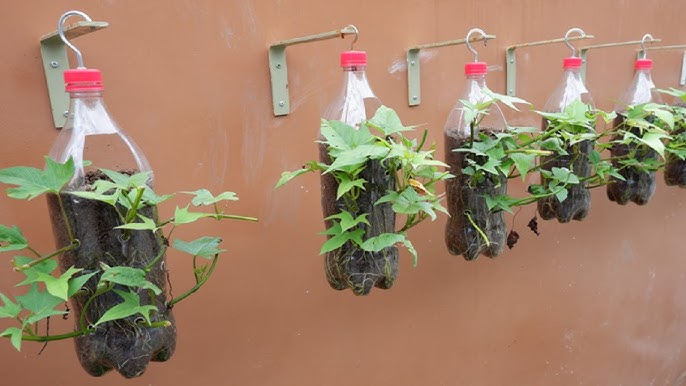
- Insert the sweet potato slip into the top section of the bottle so that its roots dangle into the water reservoir.
- If using a wick system, thread a cotton string from the water reservoir into the soil or planting medium (if you’re using one) to supply nutrients gradually.
- Ensure the leaves remain above the bottle and receive adequate sunlight.
Step 5: Placing the Hydroponic Pots
- Choose a location with 4–6 hours of sunlight daily.
- Rooftops, balconies, or near windows work best. Sweet potatoes need consistent light for optimal growth.
Caring for Hydroponic Sweet Potatoes
- Watering: Keep the water reservoir topped up and ensure the roots are always submerged.
- Nutrients: Hydroponic plants require nutrients in the water. Use liquid fertilizers every 2–3 weeks to ensure healthy growth.
- Pruning: Regularly prune leaves to encourage better growth and airflow.
- Monitoring: Watch for signs of pests or diseases. Although hydroponics reduces soil-borne issues, aphids and fungus can still affect leaves.
- Temperature: Sweet potatoes thrive in warm temperatures. Avoid placing the bottles in very cold areas.
Benefits of Growing Sweet Potatoes Hydroponically in Plastic Bottles
- Efficient Water Use: Hydroponics requires less water than traditional soil gardening.
- Faster Growth: With optimal nutrient delivery, hydroponic sweet potatoes often grow faster and healthier.
- Urban Gardening Made Easy: Perfect for people with limited space. You can grow multiple bottles on a balcony or rooftop.
- Reduces Plastic Waste: Reusing bottles turns trash into a useful gardening resource.
- Educational: This project is excellent for teaching kids about plant growth, sustainability, and hydroponics.
Common Mistakes to Avoid
- Neglecting Water Levels: Roots need constant access to water. Don’t let the reservoir dry out.
- Overcrowding Plants: Avoid planting multiple slips in a single bottle; roots may tangle, reducing growth.
- Ignoring Nutrient Needs: Hydroponic systems rely on nutrient-rich water; plain water is insufficient for long-term growth.
- Insufficient Sunlight: Sweet potatoes need adequate sunlight for leaves and root development.
- Ignoring Cleanliness: Algae growth can occur in bottles exposed to light. Clean the bottle periodically and monitor water quality.
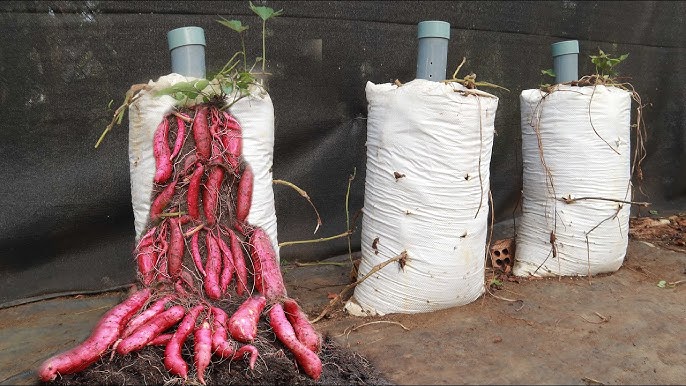
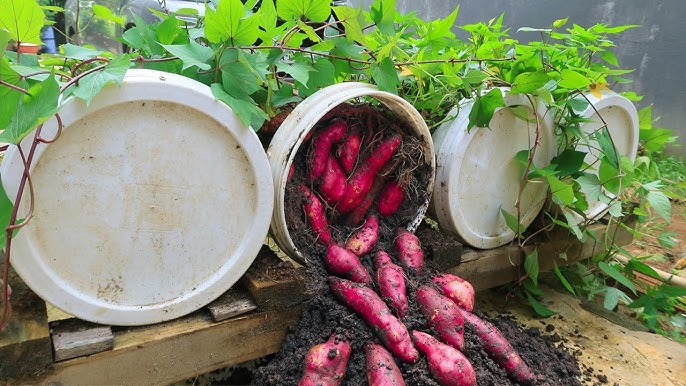
Harvesting Hydroponic Sweet Potatoes
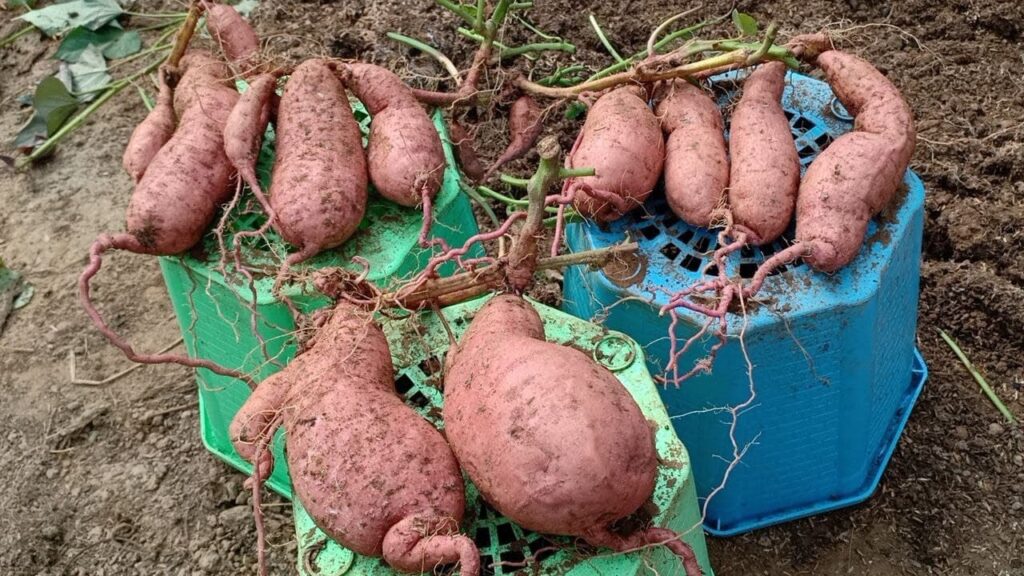
- Sweet potatoes generally take 3–5 months to mature.
- Harvest carefully by removing the bottle or loosening roots in the reservoir.
- Gently pull the tubers, avoiding damage.
- Leaves can also be harvested as greens—they’re edible and nutritious.
Expanding Your Hydroponic Garden
Once you’ve successfully grown sweet potatoes using recycled bottles, you can experiment with other hydroponic-friendly vegetables such as:
- Lettuce
- Spinach
- Carrots
- Radishes
- Herbs like basil, mint, or cilantro
The same bottle hydroponic system works for a variety of crops, making it a versatile tool for urban gardeners.
Conclusion
Recycling plastic bottles to grow hydroponic sweet potatoes is an innovative, sustainable, and rewarding way to garden in limited spaces. Not only does it provide fresh, nutrient-rich vegetables for your home, but it also promotes recycling and reduces plastic waste. With minimal materials and effort, anyone can set up a hydroponic bottle garden and enjoy the satisfaction of growing their own food.
This project is perfect for beginners, urban gardeners, and eco-conscious individuals looking for creative ways to cultivate healthy vegetables. By following these steps, you can turn discarded bottles into thriving hydroponic sweet potato pots, contributing to a greener environment and a healthier lifestyle.
Start small, experiment with different bottle setups, and watch your sweet potatoes flourish. From planting slips to harvesting roots and leaves, this DIY hydroponic garden offers endless learning opportunities and delicious rewards.