Have you ever dreamed of growing crisp, juicy celery at home — without soil, without mess, and with maximum nutrition? Thanks to hydroponic gardening and the power of natural seaweed fertilizer, you can do exactly that.
Inspired by the YouTube video “Growing Celery Hydroponics with Seaweed from the River,” this guide will show you how to grow celery hydroponically using seaweed collected from rivers or the seaside — a completely organic and sustainable method that boosts plant growth and yield naturally.
Whether you’re a beginner in hydroponics or an eco-conscious gardener looking for natural solutions, this method combines modern technology with ancient natural wisdom for the best of both worlds.
Let’s dive in step by step.
Why Hydroponic Celery?
Hydroponic gardening means growing plants in nutrient-rich water instead of soil. It’s clean, efficient, and perfect for those who don’t have access to traditional garden space.
Here’s why celery grows particularly well in hydroponic systems:
- Consistent moisture: Celery loves water — hydroponics keeps roots constantly hydrated.
- Faster growth: Nutrients are absorbed directly from the water.
- Cleaner produce: No soil means no dirt or pests.
- Space-saving: You can grow celery indoors or on a balcony.
- Higher yield: Plants grow faster and healthier when nutrients are perfectly balanced.
When combined with natural seaweed extract, hydroponic celery becomes even more nutrient-dense and sustainable.
The Power of Seaweed in Gardening
Seaweed — whether from the river, lake, or sea — is one of nature’s best fertilizers. It’s rich in micronutrients, trace minerals, growth hormones, and enzymes that stimulate plant growth.
Benefits of Using Seaweed for Hydroponics
- Natural Growth Booster: Seaweed contains cytokinins and auxins that promote strong root and leaf development.
- Nutrient Enrichment: Provides essential minerals like potassium, magnesium, zinc, and iron.
- Improves Stress Resistance: Helps plants tolerate temperature swings and nutrient fluctuations.
- Eco-friendly Alternative: A natural, organic replacement for chemical fertilizers.
- Improves Water Quality: Seaweed solution stabilizes pH and boosts beneficial microbes.
By using river seaweed in your hydroponic system, you reduce chemical use and create a natural nutrient cycle — ideal for sustainable home gardening.
What You’ll Need
Before starting, gather these materials for your hydroponic celery setup:
- Celery stalks or seedlings: You can regrow celery from store-bought stalks or nursery transplants.
- Container or hydroponic reservoir: A deep bucket, plastic tub, or hydroponic tray.
- Net pots or small cups: To hold the plants.
- Hydroponic growing medium: Coco peat, perlite, or clay pebbles.
- Seaweed (fresh or dried): Collected from a clean river or coastline.
- Water: Filtered or dechlorinated water.
- Air pump and tubing: To oxygenate the nutrient solution.
- pH testing kit: To maintain proper water pH (between 5.8 and 6.5).
- Optional: LED grow lights (for indoor setups).
Step-by-Step: How to Grow Celery Hydroponically with River Seaweed
Step 1: Preparing the Seaweed Fertilizer
If you collect seaweed from a river or beach, it’s important to clean and prepare it properly before use:
- Rinse thoroughly to remove sand, salt, or debris.
- Soak the seaweed in a large bucket of clean water for 2–3 days. Stir occasionally.
- After soaking, strain the liquid — this is your natural seaweed extract.
- For stronger fertilizer, you can blend the seaweed and ferment it for a week before use.
The final product is a dark, nutrient-rich solution you can mix with your hydroponic water.
Step 2: Set Up Your Hydroponic Container
- Fill your hydroponic container or reservoir with clean water.
- Place your air pump inside to keep the water oxygenated.
- Check that your water pH is between 5.8 and 6.5 — this is ideal for celery.
- Mix in seaweed extract: Start with 1 cup of extract per 5 litres of water (you can increase later).
This creates a natural nutrient base for your celery plants.
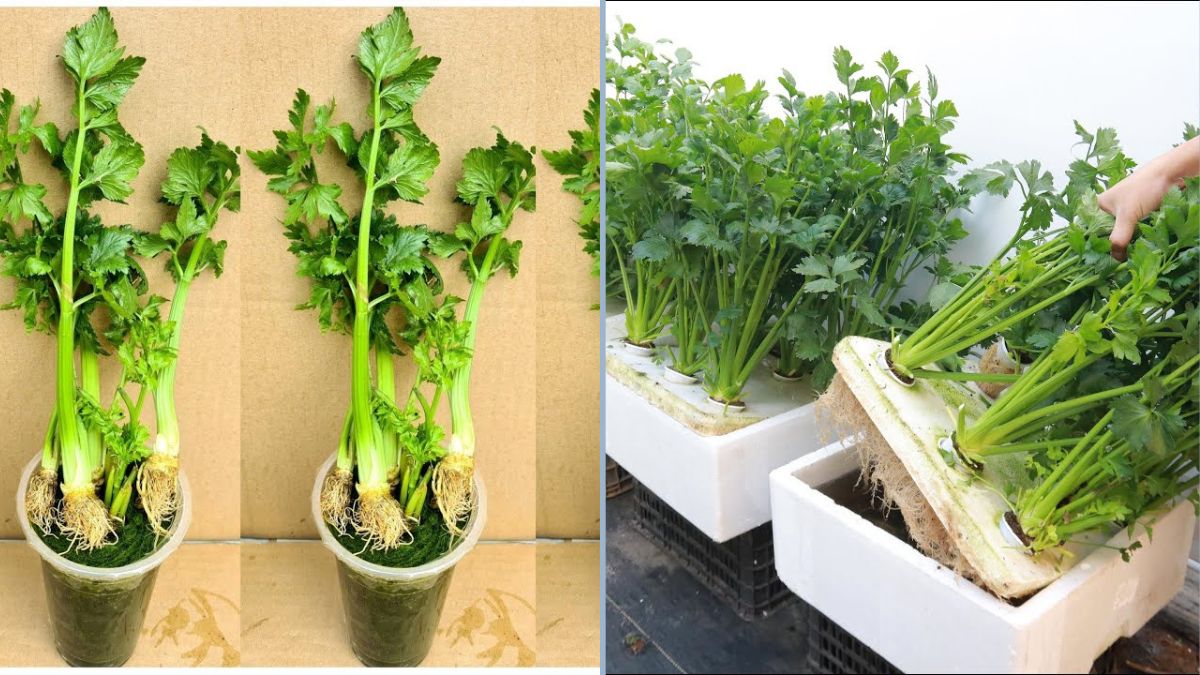
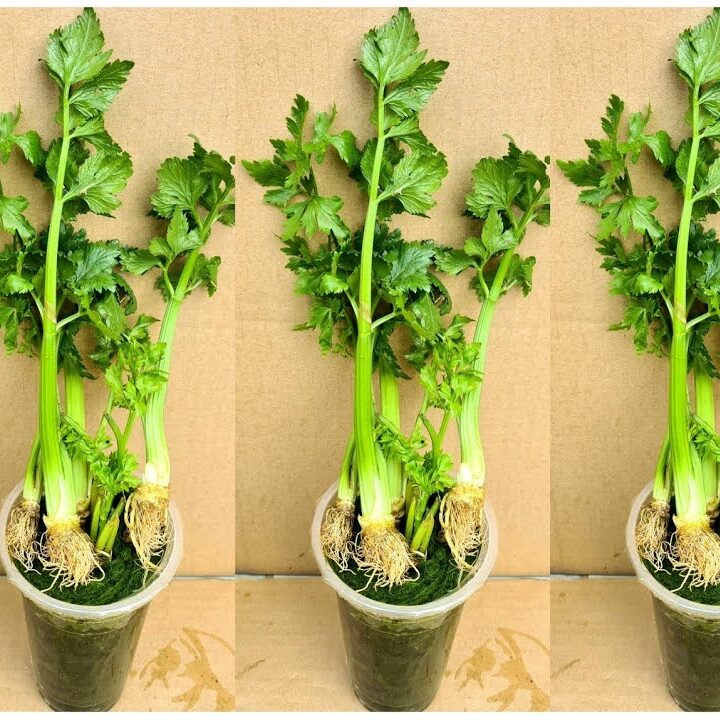
Step 3: Prepare the Celery Cuttings
If you’re starting from store-bought celery, you can regrow it easily:
- Cut the celery about 2 inches above the base (where roots would be).
- Place the base in a small bowl of water for 5–7 days, changing the water daily.
- You’ll see tiny roots and new green shoots emerging from the centre.
Once the roots are about 2–3 cm long, the celery is ready to be transplanted into the hydroponic system.
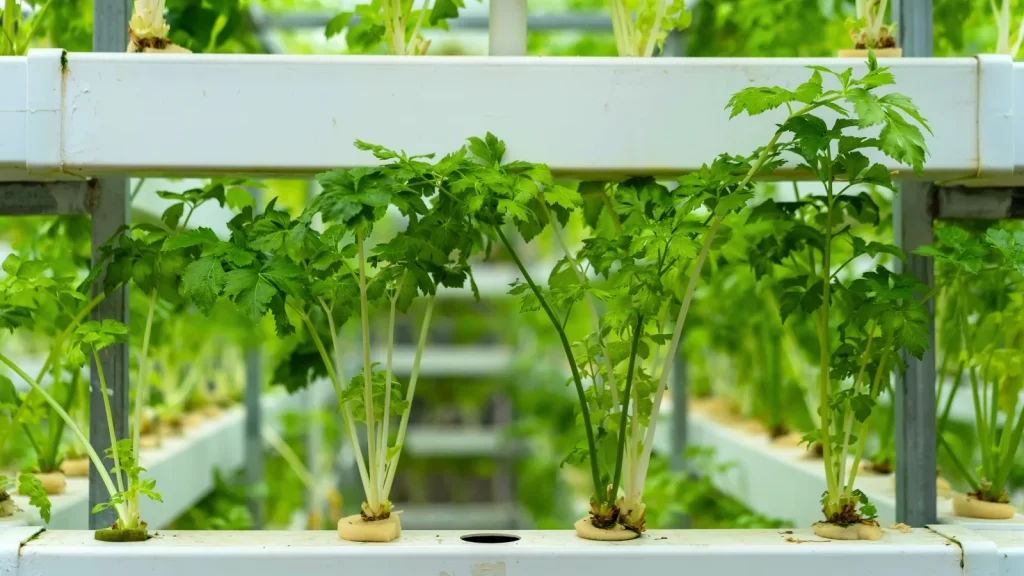
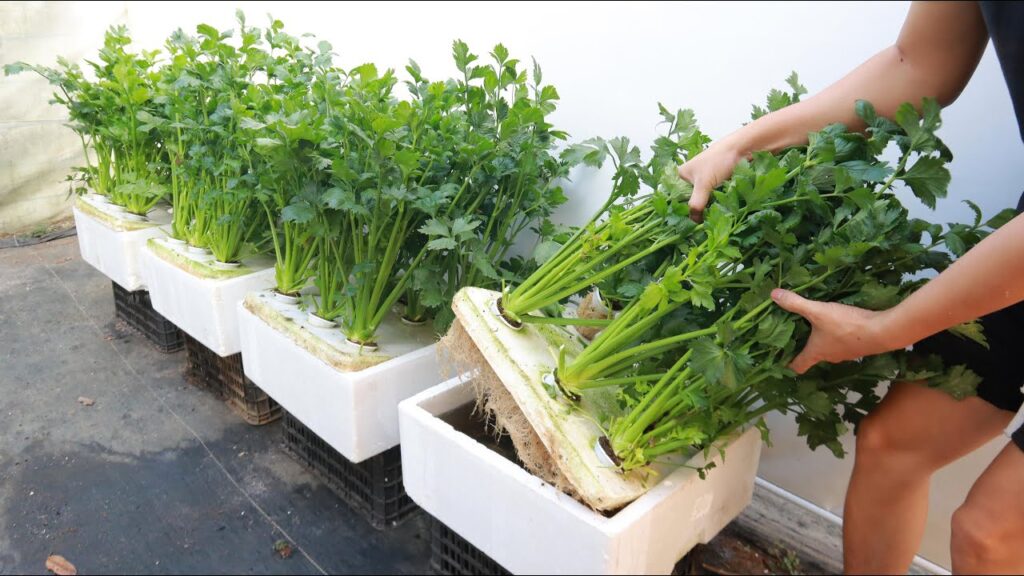
Step 4: Planting Celery in Hydroponic Setup
- Place each celery cutting or seedling into a net pot filled with coco peat or clay pebbles.
- Make sure the base of the stalk touches the nutrient water slightly so it can absorb moisture.
- Arrange the net pots in your container so that each plant has enough space to grow.
Celery needs room for its stalks to spread — keep about 10–15 cm between plants.
Step 5: Light and Temperature
Celery thrives in cool to moderate temperatures — ideally between 18–25°C (65–77°F).
- If growing outdoors, place your hydroponic container in partial sunlight or filtered light.
- If growing indoors, use LED grow lights for 10–12 hours per day.
Consistent light helps the plant maintain its rich green colour and crisp texture.
Step 6: Daily Maintenance
Hydroponics requires consistency — but not much effort once you get started.
- Top up the water as it evaporates.
- Add fresh seaweed extract every 7–10 days.
- Check the pH level regularly and adjust with natural pH up/down solutions if needed.
- Keep the air pump running to prevent stagnant water and root rot.
- If algae begin to form, cover the sides of the container to block excess light.
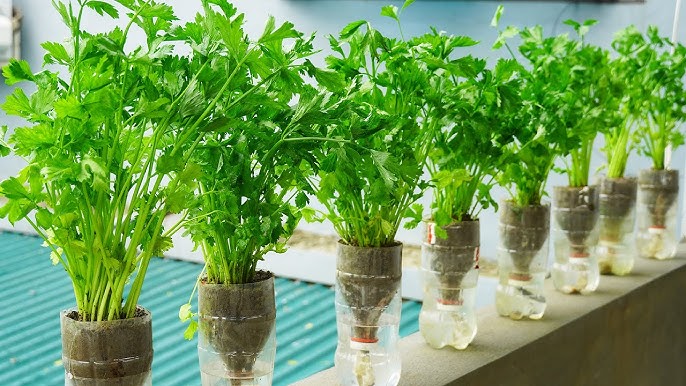
Within 2–3 weeks, you’ll notice healthy root growth and vibrant green stalks.
Step 7: Feeding Schedule (Natural Seaweed Solution)
For best growth:
| Week | Activity | Seaweed Solution |
|---|---|---|
| Week 1 | Setup and rooting | 1 cup extract per 5 L water |
| Week 2 | Early growth | Add ½ cup extra |
| Week 3–4 | Stalk thickening | Replace 30% of water, add new solution |
| Week 5+ | Maintenance | Refresh solution every 10 days |
This ensures your celery always has a steady supply of nutrients.
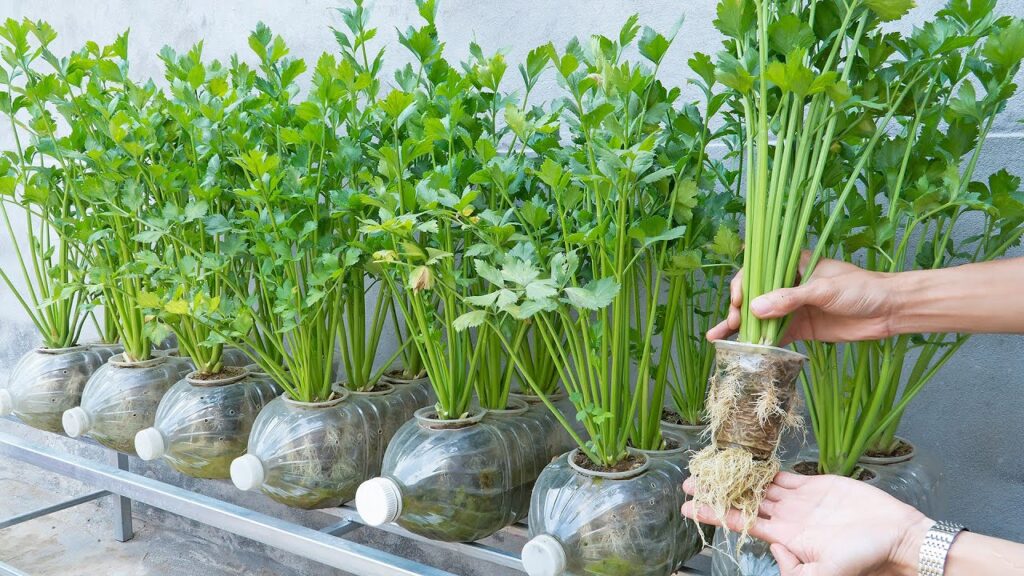
Step 8: Harvesting Your Hydroponic Celery
Hydroponic celery is ready for harvest in 6–8 weeks depending on your growing conditions.
You can harvest in two ways:
- Cut-and-Come-Again: Trim the outer stalks, leaving the centre intact for regrowth.
- Full Harvest: Pull the entire plant when stalks reach 25–30 cm tall and are crisp to the touch.
Freshly harvested hydroponic celery tastes sweeter and juicier than store-bought ones — perfect for salads, soups, or green juices.
Common Mistakes to Avoid
Even though hydroponic celery is easy to grow, beginners sometimes face a few issues. Here’s how to avoid them:
- Using unwashed seaweed: Salt or dirt can harm roots — always rinse thoroughly.
- Too much fertilizer: Concentrated seaweed can cause nutrient burn. Start weak and increase slowly.
- No aeration: Stagnant water leads to root rot — always use an air pump.
- Wrong pH level: Celery prefers slightly acidic conditions (5.8–6.5).
- Insufficient light: Leads to thin, pale stalks — ensure at least 10 hours of light daily.
Advantages of Using River Seaweed in Hydroponics
- Completely organic: No synthetic nutrients or chemicals.
- Free and renewable: You can collect seaweed from natural sources.
- Improves root health: Natural hormones boost cell division and root elongation.
- Enhances taste: Seaweed-grown celery tends to be sweeter and more aromatic.
- Boosts yield: Plants grow faster and stronger with balanced micronutrients.
This is a zero-waste, eco-friendly gardening system — ideal for anyone who loves green living.
Environmental Impact
Using river seaweed as fertilizer supports sustainable gardening practices:
- Reduces reliance on chemical fertilizers that pollute waterways.
- Promotes recycling of natural materials from local environments.
- Improves biodiversity by maintaining microbial balance in the water.
- Reduces waste — you’re reusing organic matter instead of throwing it away.
By combining hydroponics + seaweed, you create a self-sustaining cycle that’s good for both you and the planet. 🌍
Health Benefits of Celery
Hydroponically grown celery isn’t just delicious — it’s a powerhouse of nutrients:
- Rich in antioxidants like flavonoids and vitamin C.
- Supports digestion with natural fiber content.
- Reduces inflammation thanks to its polyphenol compounds.
- Hydrates the body — celery is 95% water!
- Supports heart health by reducing blood pressure naturally.
Enjoy your homegrown celery in smoothies, soups, or fresh snacks for maximum freshness and nutrition.
Final Thoughts
Growing celery hydroponically with river seaweed is a revolutionary way to produce clean, healthy greens using the power of nature. It’s low-cost, chemical-free, and perfect for beginners who want to try sustainable gardening at home.
By following these simple steps — setting up your container, preparing seaweed extract, and maintaining water quality — you can enjoy a constant supply of crisp, organic celery all year round.
This isn’t just gardening — it’s a small step toward a greener, more self-sufficient lifestyle.
So grab that bucket, collect some seaweed, and start your hydroponic celery journey today. With nature as your partner, your harvest will be abundant, healthy, and 100% natural.