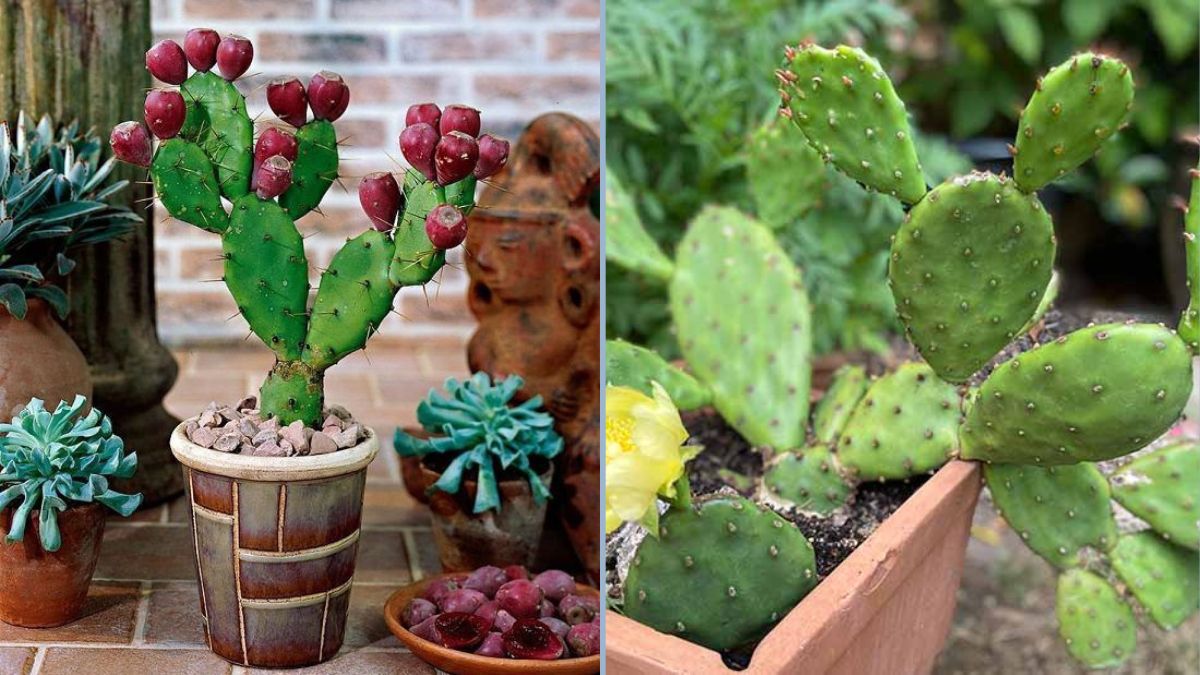
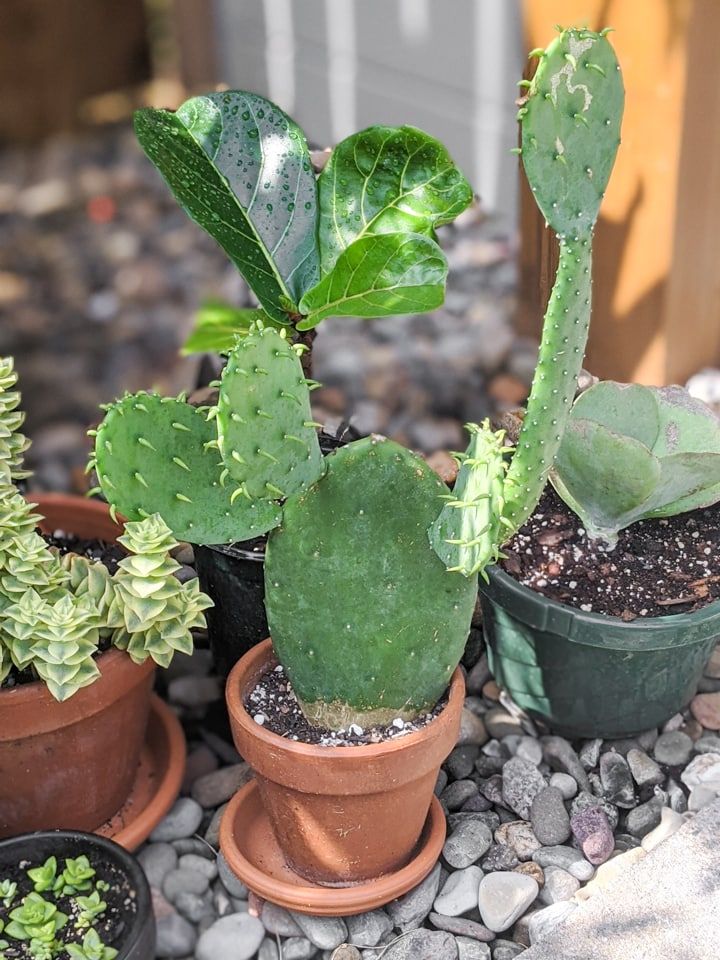
If you think cactus is just a desert plant that thrives in scorching heat and barren soil, think again! The cactus — particularly the edible variety known as Nopales — can be easily grown at home in containers, on balconies, or even in small urban gardens.
Inspired by the YouTube video “How to Grow Cactus | Nopales in Containers,” this step-by-step guide will teach you everything you need to know about growing healthy, high-yield edible cactus plants (prickly pear or Opuntia ficus-indica) in pots. Whether you want to enjoy fresh nopalitos in your kitchen or simply add a unique, low-maintenance plant to your collection, this is the perfect guide for you.
What Are Nopales?
Nopales are the tender, edible pads of the prickly pear cactus. They are widely used in Mexican cuisine for their refreshing, slightly tangy flavor and high nutritional value.
You might also hear them called nopalitos when chopped and cooked.
Key Facts About Nopales:
- Scientific name: Opuntia ficus-indica
- Type: Succulent cactus plant
- Edible parts: Pads (leaves) and fruit (tunas)
- Climate: Hot, dry, sunny regions — but adaptable to many climates
- Container-friendly: Yes! Perfect for pot gardening
- Lifespan: Long-lived perennial (can thrive for decades with care)
Nopales are not only nutritious but also incredibly resilient, making them ideal for beginner gardeners and busy urban dwellers.
Why Grow Nopales at Home?
Here’s why you should absolutely consider growing edible cactus in containers:
- Extremely Low Maintenance: Requires very little water or attention.
- Nutritious Superfood: Packed with vitamins A, C, calcium, magnesium, and antioxidants.
- Medicinal Properties: Helps regulate blood sugar, cholesterol, and digestion.
- Versatile in Cooking: Can be grilled, sautéed, boiled, or blended into juices.
- Eco-Friendly: Grows well in arid conditions — a sustainable, water-efficient plant.
- Beautiful Plant: Adds an exotic, sculptural look to your home garden.
It’s a plant that feeds your body and decorates your space — a true win-win.
Materials You’ll Need
Before we start, gather the following supplies:
- Nopal cactus pads (cuttings): Healthy, mature pads with no signs of rot.
- Container or pot: At least 12–18 inches wide and 10–12 inches deep with drainage holes.
- Potting mix: A well-draining soil mix (details below).
- Perlite or sand: To improve aeration and drainage.
- Gravel or small stones: For bottom drainage layer.
- Gloves and tongs: Essential for handling prickly pads safely.
- Watering can: For occasional watering.
Step-by-Step: How to Grow Nopales in Containers
Step 1: Choosing the Right Container
Cactus roots spread horizontally rather than deep down, so wide and shallow pots work best.
- Ensure the pot has multiple drainage holes to prevent root rot.
- Clay or terracotta pots are ideal because they allow airflow and prevent excess moisture buildup.
Avoid plastic pots unless they have very good drainage.
Step 2: Preparing the Soil
Cactus plants hate soggy soil, so proper drainage is crucial. You can prepare an ideal cactus mix using the following formula:
- 50% garden soil or compost
- 30% coarse sand or perlite
- 20% small gravel or pumice
This mix ensures the roots get air while excess water drains quickly. You can also add a small amount of organic compost to provide nutrients, but don’t overdo it — too much nitrogen makes cactus pads soft and weak.
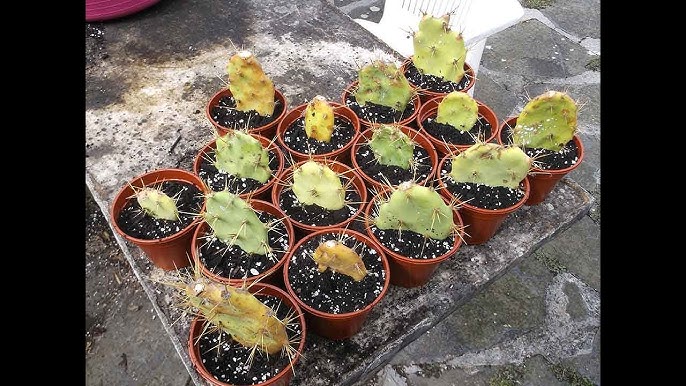
Step 3: Preparing the Nopales Cuttings
If you’re starting from a cactus pad instead of seeds (which is the easiest way), follow these steps carefully:
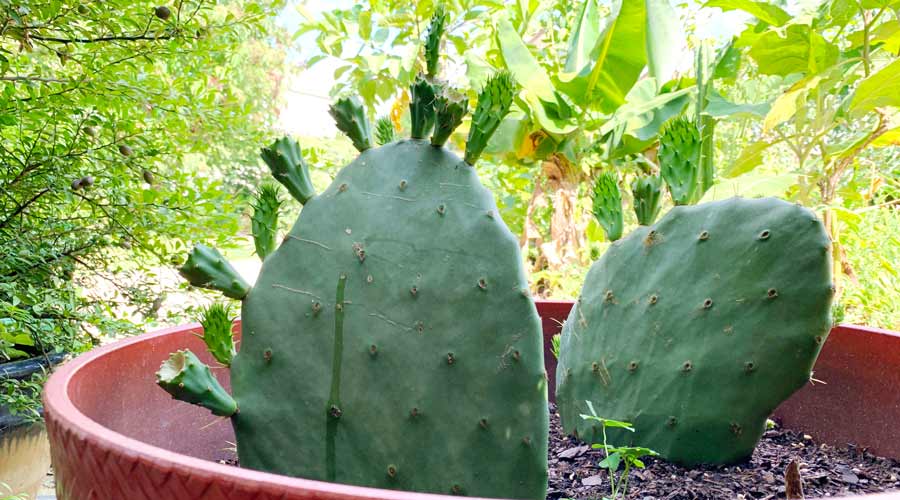
- Choose a healthy pad: Look for one that is green, firm, and about 6–8 inches long.
- Detach safely: Use tongs or gloves to avoid getting pricked. Cut it cleanly from the parent plant with a sterilized knife.
- Let it callous: Lay the pad flat in a shaded, dry area for 7–10 days until the cut end forms a dry, leathery layer.
This “callousing” step is essential — it prevents rot when you plant the cutting.
Step 4: Planting the Nopales Pad
- Fill your container with the prepared cactus soil mix.
- Make a small hole and insert the calloused end of the cactus pad about 1–2 inches deep into the soil.
- Press the soil gently around the base to stabilize the pad upright.
- Water lightly to settle the soil — do not soak it.
You can also plant multiple pads in a large container, spacing them about 6 inches apart.
Step 5: Sunlight Requirements
Nopales love sunlight! Place the container in a bright, sunny location that receives at least 6–8 hours of direct sunlight daily.
If growing indoors, position it near a south-facing window or under a grow light.
Young pads may need a few days of indirect light at first, but once established, full sun is best for growth and pad thickness.
Step 6: Watering the Right Way
This is the most important part of cactus care — less is more!
- Water only when the soil is completely dry.
- During summer, this might mean watering once every 7–10 days.
- In cooler months, once every 3–4 weeks is enough.
Overwatering is the biggest mistake beginners make. Remember: cactus roots prefer to be on the drier side.
Step 7: Feeding and Fertilizing
Cactus plants are light feeders. You can use a diluted liquid fertilizer or organic compost tea once every 2–3 months during the growing season (spring to summer).
If using a store-bought cactus fertilizer, look for one with a balanced or low-nitrogen ratio (such as 5-10-10).
Step 8: Watching for Growth
Within 4–6 weeks, you’ll notice small buds or new pads emerging from the edges of your planted pad.
This means your cactus has successfully rooted!
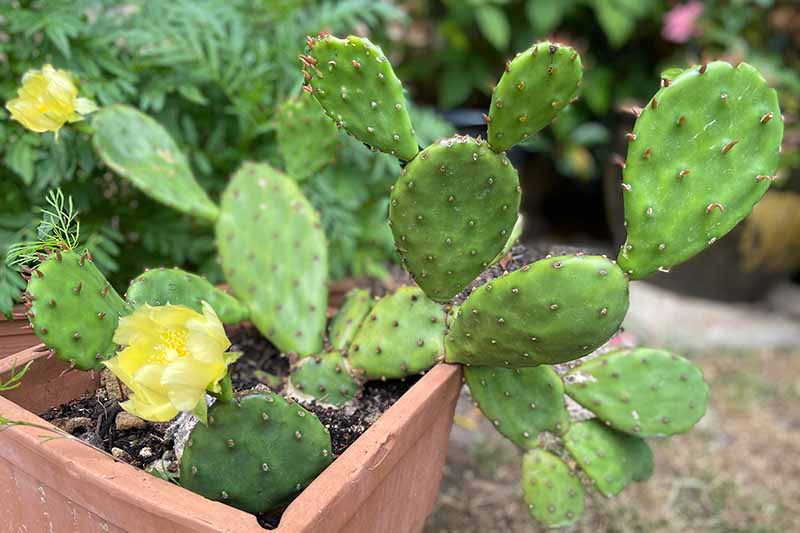
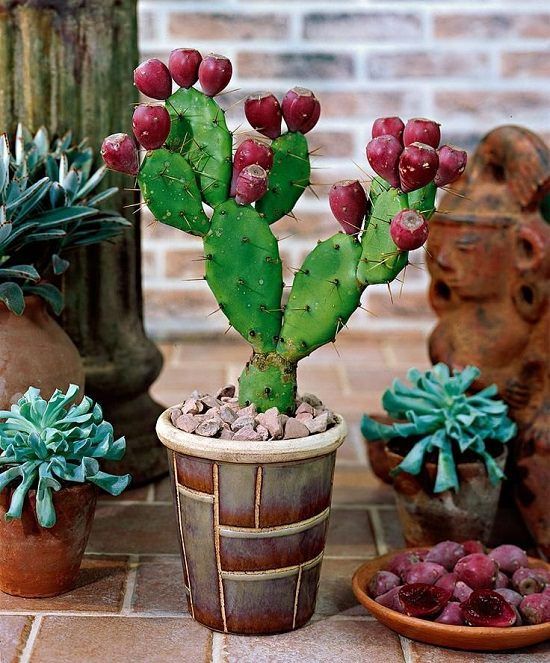
New growth will continue throughout the warm months, and once mature, your plant may even produce bright yellow or red flowers, followed by the prickly pear fruit (tunas).
Harvesting Your Nopales
You can begin harvesting your cactus pads when they are young, tender, and about 4–6 inches long — usually 2–3 months after planting.
Harvest Tips:
- Wear gloves and use tongs to avoid pricks.
- Cut the pads early in the morning when they’re full of moisture.
- Always leave a few mature pads on the plant for continuous growth.
Once harvested, trim off the thorns using a knife or vegetable peeler. You can then slice, boil, grill, or sauté them depending on your recipe.
Culinary Uses of Nopales
Nopales are a staple ingredient in many Latin American dishes. Their flavor is mild and slightly tangy, similar to green beans or asparagus.
Here are a few ways to use them:
- Grilled Nopales: Brush with olive oil and grill until lightly charred.
- Nopales Salad: Boil and mix with tomatoes, onions, and lime juice.
- Tacos de Nopales: Sauté with onions and chilies, then stuff into tortillas.
- Smoothies or Juices: Blend with pineapple or orange for a healthy detox drink.
- Nopal Soup: Combine with beans, garlic, and spices for a hearty meal.
Common Problems & Solutions
| Problem | Cause | Solution |
|---|---|---|
| Rotting pad | Overwatering or poor drainage | Let soil dry completely before watering |
| Soft, wrinkled pads | Underwatering | Water deeply once, then let dry again |
| Yellowing | Too much fertilizer or lack of sunlight | Reduce feeding and move to full sun |
| No new growth | Cold weather or poor root development | Move to a warm spot; check soil drainage |
Benefits of Growing Nopales at Home
- Health Benefits: Nopales help lower blood sugar, support digestion, and boost immunity.
- Eco-Friendly: Requires minimal water and thrives in tough conditions.
- Low Maintenance: Perfect for busy people or beginner gardeners.
- Year-Round Greenery: Evergreen plant that decorates your space all year.
- Edible & Decorative: You get both food and beauty in one plant.
It’s an ideal plant for sustainable urban gardening and self-sufficiency.
Seasonal Care
- Spring & Summer: Active growth season — water lightly but regularly and harvest pads.
- Autumn: Growth slows down; reduce watering frequency.
- Winter: Cactus enters dormancy; keep soil dry and avoid fertilizing.
If you live in a cold region, move your containers indoors during frost or heavy rain.
Propagating More Cactus Plants
Once your cactus is thriving, you can easily multiply it:
- Cut off a healthy pad with gloves and tongs.
- Let it callous for a week.
- Plant in a new pot using the same method.
In just a few months, you’ll have a collection of thriving cactus plants — perfect for gifting or expanding your edible garden.
Final Thoughts
Growing cactus (nopales) in containers is a fun, rewarding, and sustainable way to enjoy one of nature’s most resilient plants. With just sunlight, minimal water, and patience, you can grow your own supply of fresh, nutritious cactus pads at home — no desert required!
This plant truly embodies the spirit of low-maintenance gardening: it thrives where others struggle, provides food and beauty, and asks for almost nothing in return.
So, grab your gloves, a pot, and a cactus pad — and start growing your own edible desert garden today.
Your first harvest of homegrown Nopales is only a few months away!
My spouse and i ended up being absolutely fortunate that Peter managed to finish off his reports through your ideas he acquired from your own web site. It’s not at all simplistic to simply happen to be handing out tips and hints that men and women may have been making money from. We recognize we now have the blog owner to be grateful to for that. These illustrations you made, the easy website menu, the friendships you aid to create – it is mostly amazing, and it’s helping our son in addition to our family recognize that the article is brilliant, and that’s particularly fundamental. Thank you for all!