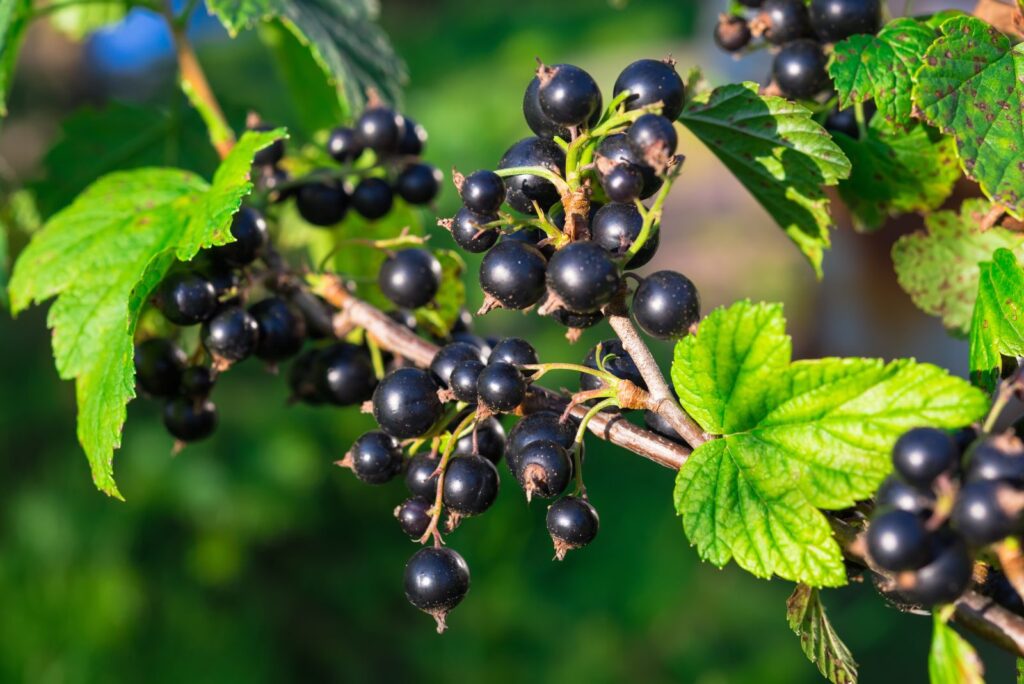
Blackcurrants (Ribes nigrum) are small, glossy, dark-purple berries bursting with flavor and nutrition. Known for their tart sweetness, they are packed with vitamin C, antioxidants, and a unique aroma that makes them perfect for jams, juices, and desserts. Traditionally, blackcurrants are grown in open gardens and orchards, but if you have limited space — or no garden at all — you can still enjoy a thriving blackcurrant harvest right from your balcony, patio, or backyard.
This guide will walk you through everything you need to know about how to plant blackcurrants in a container, from choosing the right pot and soil to maintaining your plants for bountiful yields.
1. Why Grow Blackcurrants in Containers?
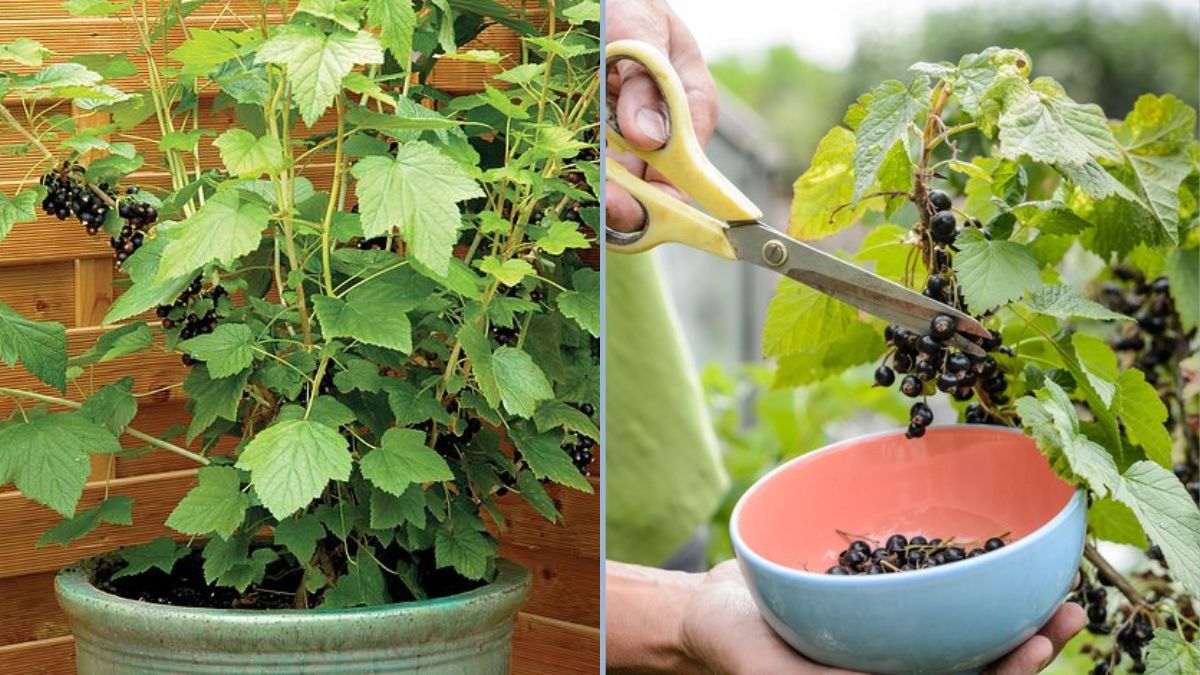
Container gardening has become increasingly popular, especially among urban gardeners and people with limited outdoor space. Growing blackcurrants in containers offers several advantages:
- Space Efficiency: Perfect for small gardens, patios, or balconies.
- Mobility: Containers can be moved to catch sunlight or sheltered from harsh weather.
- Soil Control: You can easily manage pH, nutrients, and drainage without worrying about poor garden soil.
- Pest and Disease Reduction: Growing in containers minimizes exposure to soil-borne diseases and weeds.
- Accessibility: Harvesting berries is easier when the plants are raised in pots.
With a little preparation and care, container-grown blackcurrants can produce just as abundantly as those grown in the ground.
2. Choosing the Right Blackcurrant Variety
Before planting, it’s important to select a variety that suits container growing. Some varieties are more compact and adapt well to limited root space. Recommended options include:
- ‘Ben Sarek’: A compact, high-yielding variety that produces large, sweet berries. Perfect for small gardens.
- ‘Ben Connan’: Known for its heavy crops and disease resistance.
- ‘Titania’: A vigorous grower resistant to mildew and leaf spot.
- ‘Ben Lomond’: Produces medium to large fruits with a strong flavor; good for cooler regions.
When purchasing, opt for certified disease-free plants from a reputable nursery. Bare-root plants are usually available in late winter or early spring, while potted plants can be planted year-round.
3. Selecting the Right Container
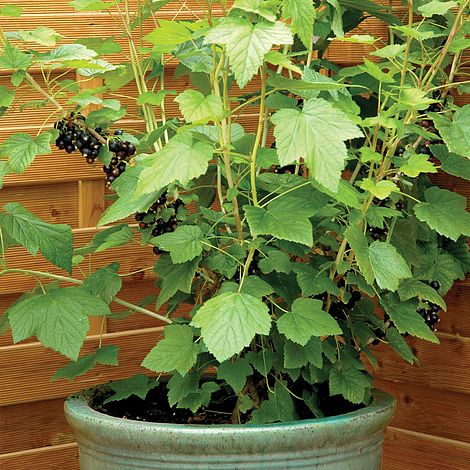
Container size and material are crucial for healthy root growth. Blackcurrants are vigorous plants that need plenty of root space.
- Container Size: Choose a pot that’s at least 45–50 cm (18–20 inches) in diameter and depth. Larger is even better to allow for root expansion and moisture retention.
- Material: Use terracotta, wood, or high-quality plastic containers with adequate drainage holes at the bottom.
- Drainage: Blackcurrants dislike waterlogged roots, so ensure proper drainage by placing small stones or broken pottery pieces at the base of the pot.
If you live in an area with hot summers, opt for light-colored pots to prevent overheating of the roots.
4. Preparing the Perfect Soil Mix
Blackcurrants thrive in rich, moist, well-draining soil. For containers, you can easily prepare the ideal soil mix at home.
Recommended Soil Mix:
- 2 parts high-quality loam-based compost (John Innes No. 3 or similar)
- 1 part well-rotted organic compost or manure
- A handful of slow-release organic fertilizer or bone meal
- Optional: Add some perlite or coarse sand for better drainage
The ideal pH range is between 6.0 and 6.5 — slightly acidic to neutral. Avoid alkaline soils, which can limit nutrient absorption.
5. How to Plant Blackcurrants in a Container

Follow these step-by-step instructions to plant your blackcurrant successfully:
Step 1: Prepare the Pot
- Place a few pebbles or crocks at the bottom to improve drainage.
- Fill the pot two-thirds full with the prepared soil mix.
Step 2: Position the Plant
- Remove the blackcurrant plant from its nursery pot or wrapping.
- If the roots are compacted, gently tease them apart to encourage outward growth.
- Position the plant so that the soil mark on its stem sits about 5 cm (2 inches) below the rim of the container.
Unlike many fruit bushes, blackcurrants benefit from deep planting — this encourages new shoots to emerge from below the soil surface, resulting in a bushier plant and more fruit.
Step 3: Fill and Firm
- Fill the remaining space with soil mix, gently firming it around the roots.
- Water thoroughly to help settle the soil and eliminate air pockets.
6. Watering and Feeding
Container-grown plants dry out faster than those in the ground, so consistent watering is key.
- Watering: Keep the soil consistently moist but not soggy. During dry or hot spells, check the pot daily. Avoid letting the soil dry out completely, as this can reduce fruit quality.
- Mulching: Apply a layer of organic mulch — such as straw, compost, or bark chips — to retain moisture and regulate temperature.
- Feeding: Feed your blackcurrant twice a year.
- In early spring, use a balanced organic fertilizer (10-10-10 or similar).
- After harvesting, top-dress with compost or liquid seaweed feed to encourage next year’s growth.
7. Light and Temperature Requirements
Blackcurrants prefer full sun but can tolerate partial shade, especially in hot climates. Ideally, they should receive 6–8 hours of sunlight daily.
They are hardy plants that can withstand cold temperatures, but container-grown bushes may need protection in severe frost. In winter:
- Move the container to a sheltered spot, or
- Wrap the pot with insulating material (like hessian or bubble wrap) to protect the roots.
8. Pruning and Maintenance
Proper pruning ensures healthy growth and maximum fruit production.
- First Year: Allow your young plant to establish. In late winter, prune the stems back to about half their original length to encourage branching.
- Subsequent Years: Remove old wood (over 2 years old) and weak or damaged stems each winter. Blackcurrants produce the best fruit on one- and two-year-old wood.
- Aim to maintain a balance of young and mature shoots to ensure continuous fruiting.
Also, remove any weeds or unwanted growth around the base of the plant to improve airflow and prevent diseases.
9. Common Pests and Diseases
While blackcurrants are generally hardy, they can occasionally face problems. Keeping your plant healthy is the best defense.
Common Issues:
- Aphids: Tiny insects that suck sap from leaves. Control them using neem oil or insecticidal soap.
- Currant Blister Aphid: Causes red blisters on leaves. Remove affected leaves early to prevent spreading.
- Powdery Mildew: White powdery coating on leaves and stems. Prevent by improving air circulation and avoiding overhead watering.
- Birds: Birds love ripe blackcurrants! Protect your crop with netting once fruits begin to color.
Maintaining cleanliness around your containers and pruning regularly will go a long way in preventing most issues.
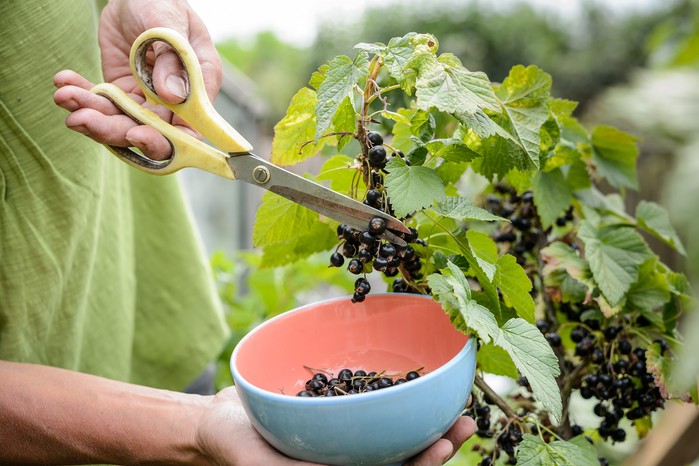
10. Harvesting Your Blackcurrants
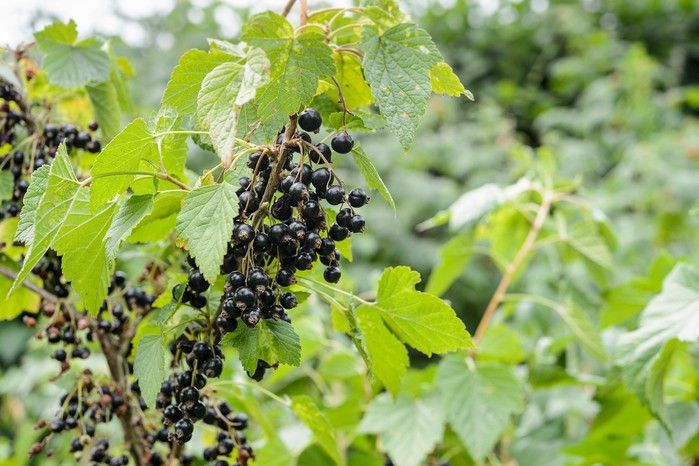
Blackcurrants usually bear fruit in mid to late summer, depending on the variety. Berries ripen in clusters, and it’s best to pick them when they are deep black and slightly soft to touch.
- Use both hands — one to hold the stem and the other to gently pull the fruit cluster.
- Harvest whole trusses at a time rather than individual berries.
- Handle the fruit gently to avoid bruising.
After picking, blackcurrants can be:
- Refrigerated: Last up to a week.
- Frozen: Spread on a tray before transferring to airtight bags.
- Used fresh: In smoothies, pies, jams, or juices.
11. Overwintering and Long-Term Care
In winter, your blackcurrant bush will go dormant. This is the perfect time for pruning and repotting if necessary.
Every 3–4 years, consider repotting the plant into a slightly larger container with fresh soil to refresh nutrients and encourage new growth. Older plants can continue producing fruit for 10 years or more if maintained well.
To prepare for winter:
- Stop feeding by late summer to avoid stimulating soft growth.
- Water sparingly but don’t let the soil dry out completely.
- Protect roots from freezing temperatures using mulch or insulation.
12. Enjoying Your Homegrown Blackcurrants
There’s something deeply satisfying about picking fresh blackcurrants you’ve grown yourself. Besides their delicious tangy flavor, these berries are known for their nutritional richness:
- Extremely high in vitamin C — four times more than oranges.
- Rich in antioxidants that support immunity and heart health.
- Contain anthocyanins, which give the berries their dark hue and anti-inflammatory properties.
You can enjoy your harvest in countless plant-based recipes:
- Blackcurrant jam or jelly
- Smoothies and sorbets
- Oatmeal toppings
- Homemade blackcurrant syrup
- Fresh fruit salads
Conclusion
Planting blackcurrants in a container is one of the most rewarding ways to enjoy homegrown fruit, even if you don’t have a large garden. With the right container, nutrient-rich soil, consistent watering, and a little seasonal care, your blackcurrant bush will reward you with lush green foliage, fragrant blossoms, and clusters of flavorful berries each summer.
Whether you’re an urban gardener, a beginner, or simply looking to add a nutritious fruiting plant to your patio, blackcurrants are an excellent choice. They’re resilient, beautiful, and delightfully productive — proof that with a bit of effort and love, you can grow something wonderful in any space.