If you’ve ever sliced open a creamy avocado and wondered whether you could grow your own tree from that single seed, the answer is — yes, you absolutely can! Growing an avocado tree from seed is not just rewarding but also a fun home gardening project that teaches patience and the wonder of nature.
In this detailed guide, inspired by “The BEST Way To Grow Avocado From Seed | 0–5 Months of Growth,” we’ll walk you through each stage of growth — from germination to developing your first lush avocado plant. Whether you’re a beginner gardener or just love experimenting with kitchen scraps, you’ll learn the best techniques to ensure a 100% success rate.
1. Why Grow an Avocado Tree from Seed?
Growing an avocado tree from seed is one of the simplest and most satisfying gardening experiments you can do at home.
Here’s why so many people love it:
- Free and sustainable: You’re using what you already have — the pit from a store-bought avocado.
- Educational: Watch each growth stage from seed sprouting to a thriving plant.
- Decorative: Even before fruiting, avocado trees make beautiful, leafy indoor plants.
- Therapeutic: Caring for your own living plant from seed can be relaxing and grounding.
While growing from seed won’t always produce fruit identical to the parent avocado (since most avocados are hybrids), it’s still an incredible way to learn about nature — and sometimes, with the right care, your plant can bear fruit after a few years.
2. Understanding the Avocado Seed
The avocado pit is more than just a seed — it’s a powerhouse of potential growth.
Before you start, take a close look at your seed. You’ll notice:
- The top (pointy end) – where the stem and leaves will grow.
- The bottom (flat end) – where roots will emerge.
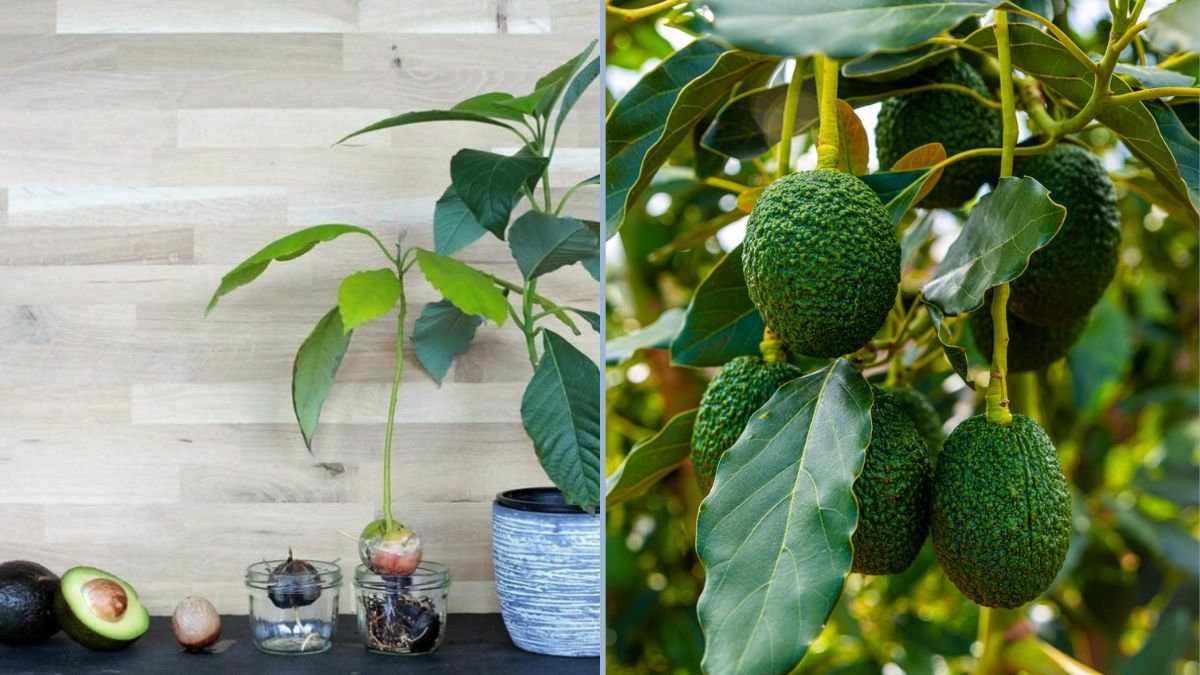
This distinction is important because planting or suspending the seed upside down is one of the most common beginner mistakes. Always remember: flat side down, pointy side up!
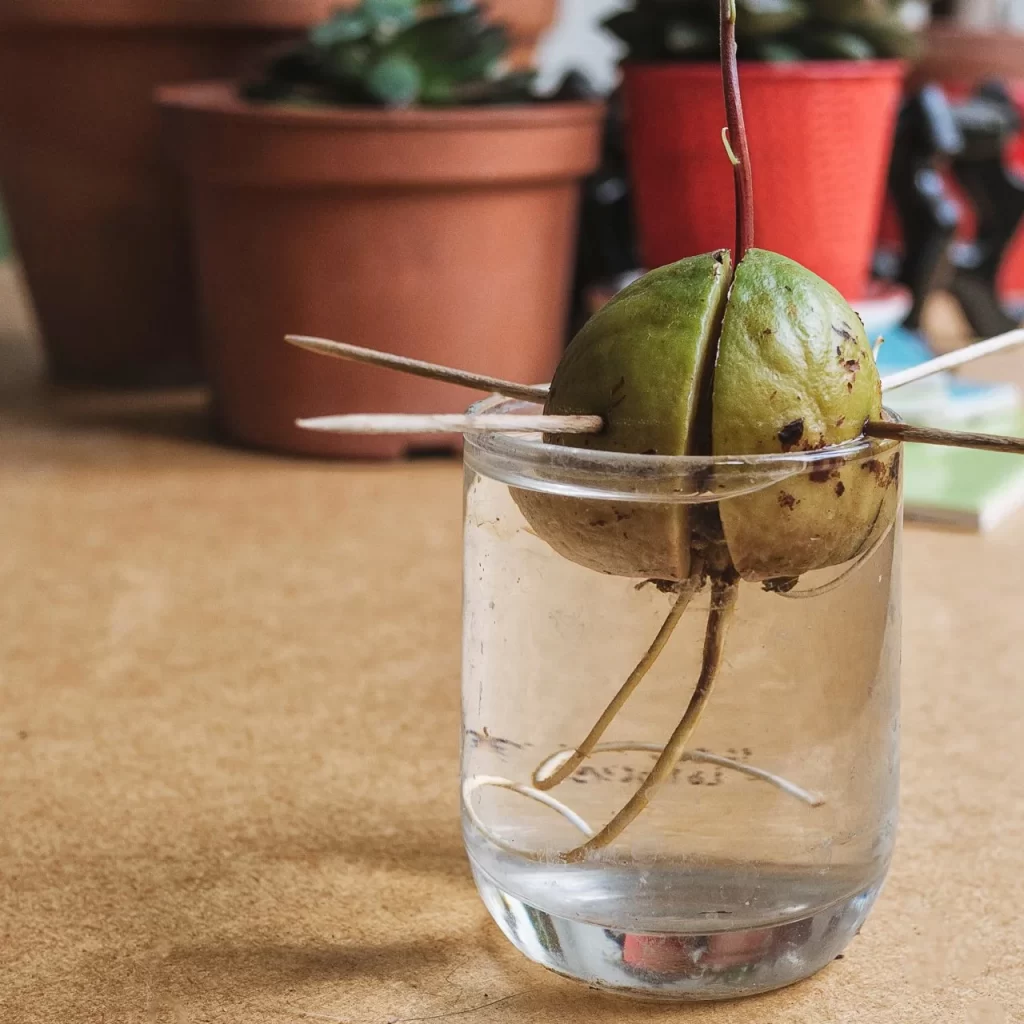
3. The Classic Toothpick Water Method
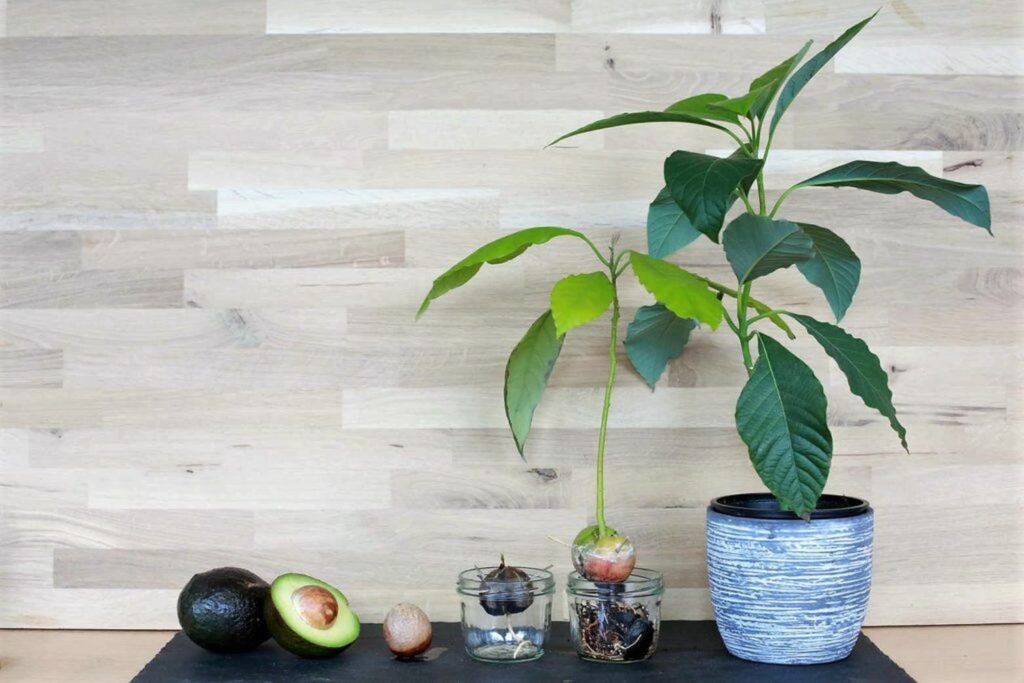
The most popular and visually satisfying method to germinate an avocado seed is the toothpick and water method. It allows you to observe the root and shoot development in real time.
Step-by-Step Guide:
- Extract the Seed:
- Carefully remove the seed from a ripe avocado.
- Rinse it under lukewarm water to remove any flesh residue.
- Do not remove the brown seed coat — it protects the inner embryo.
- Insert Toothpicks:
- Stick three toothpicks around the seed at a slight downward angle.
- They should be evenly spaced around the middle.
- These will act as a support structure for suspending the seed in water.
- Prepare the Container:
- Fill a glass or jar with lukewarm water.
- Suspend the seed so that the bottom half is submerged and the top half stays dry.
- Place the jar near a warm, bright window, but avoid direct harsh sunlight.
- Change the Water Regularly:
- Replace the water every 3–4 days to prevent mold and bacteria buildup.
- Always use room-temperature water.
- Be Patient:
- It may take 3–8 weeks for roots and shoots to appear.
- First, the seed will crack open, roots will emerge from the bottom, and finally a sprout will push upward from the top.
4. Germination Timeline (Month-by-Month Progress)
Month 1: The Waiting Game
During the first few weeks, not much will happen above the surface — but inside, the seed is preparing. It’s absorbing water, softening its outer shell, and getting ready to crack.
You may notice:
- Slight cracks forming in the seed’s base.
- Some discoloration — which is normal as long as there’s no rot or odor.
Tip: Keep the water line consistent and the seed warm (around 24–28°C / 75–82°F).
Month 2: Root Emergence
By the 4th to 6th week, tiny white roots should begin emerging from the bottom of the seed. These are your plant’s lifeline, drawing up water and nutrients.
Once the roots appear, they’ll grow rapidly. The seed may also start splitting more deeply from top to bottom. This is a good sign — it means the inner embryo is growing strong.
Month 3: The First Sprout
This is the exciting stage! You’ll notice a green shoot emerging from the top of the seed. Within days, it will start to stretch upward toward the light.
- Allow the shoot to reach about 6 inches (15 cm) tall.
- Then, pinch or trim the top half of the stem to encourage branching and a fuller plant.
At this stage, your seed has officially become a seedling!
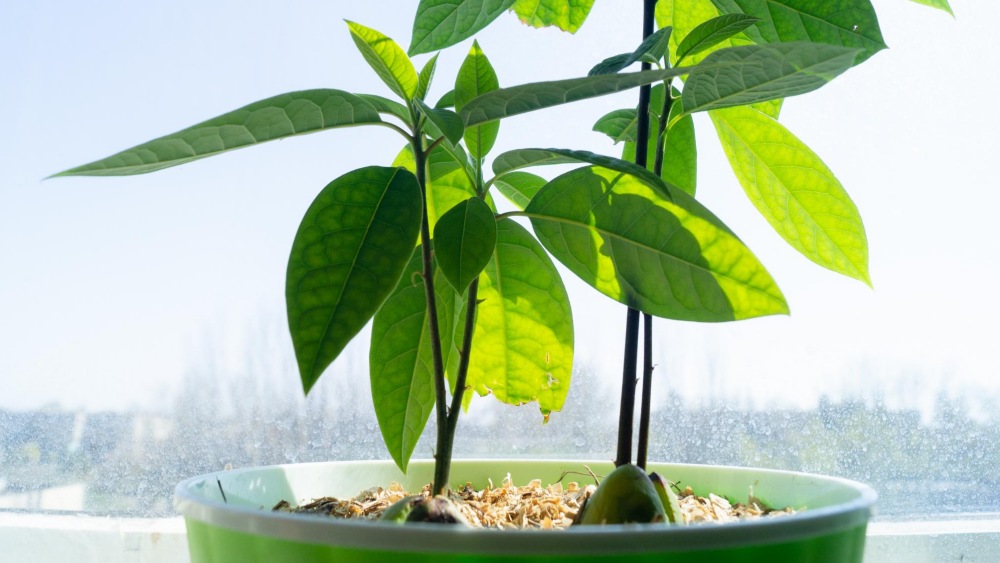
Month 4: Ready for Soil
Once your roots are around 3–4 inches long and the shoot is growing steadily, it’s time to move your avocado into soil.
How to Transplant:
- Choose a medium-sized pot with drainage holes.
- Fill it with loose, well-draining potting mix — a blend of compost, perlite, and peat moss works great.
- Plant the seed so that the top half remains exposed above soil level.
- Water thoroughly, then place in a bright, indirect sunlight location.
This helps the plant acclimate from water to soil without stress.
Month 5: Growth and Maintenance
By now, your avocado plant will have several leaves and a thicker stem. New leaf sets will start forming every few weeks.
Continue to:
- Keep the soil slightly moist, but not soggy.
- Rotate the pot occasionally for even growth.
- Move the plant outdoors for a few hours daily (if weather allows) to strengthen it.
You’ll see steady, vibrant growth during this phase — your plant may reach 1 to 2 feet tall in just five months!
5. Light, Water, and Soil Needs
Sunlight:
Avocado plants love bright, indirect light. Place them near a sunny window or outdoors in filtered sunlight. Avoid scorching midday sun on tender seedlings.
Water:
- Keep soil lightly moist but never waterlogged.
- Water only when the top inch of soil feels dry.
- Ensure excellent drainage — avocados hate sitting in soggy soil.
Soil:
A loamy, nutrient-rich mix with good aeration is best. Avoid heavy clay soils. Mixing in a bit of sand or perlite improves drainage.
6. Fertilizing and Encouraging Healthy Growth
Once your plant is 3–4 months old, start feeding it with a diluted liquid fertilizer every 2–3 weeks. Look for a balanced organic fertilizer labeled 10-10-10 or similar.
Natural options include:
- Compost tea
- Seaweed extract
- Banana peel water (rich in potassium)
Fertilizing encourages vibrant green leaves and strong root development — both essential for your avocado’s long-term health.
7. Pruning and Shaping Your Avocado Tree
To help your plant grow bushier (not tall and leggy):
- When it reaches about 12 inches tall, pinch off the top 2–3 leaves.
- This encourages side branches and fuller foliage.
- Continue trimming lightly every few months to shape the tree.
Pruning also improves air circulation and prevents weak, lanky growth.
8. When to Move Your Avocado Outdoors
Avocados can thrive indoors for the first year, but eventually, they’ll need more space and sunlight.
You can move your plant outdoors permanently when:
- It’s over 1 foot tall, and
- Night temperatures stay consistently above 15°C (60°F).
If you live in a tropical or subtropical climate (zones 9–11), you can plant your avocado tree in the ground once it’s at least 6 months to 1 year old.
If you live in cooler regions, keep it as a potted indoor plant or move it outdoors during summer and back indoors in winter.
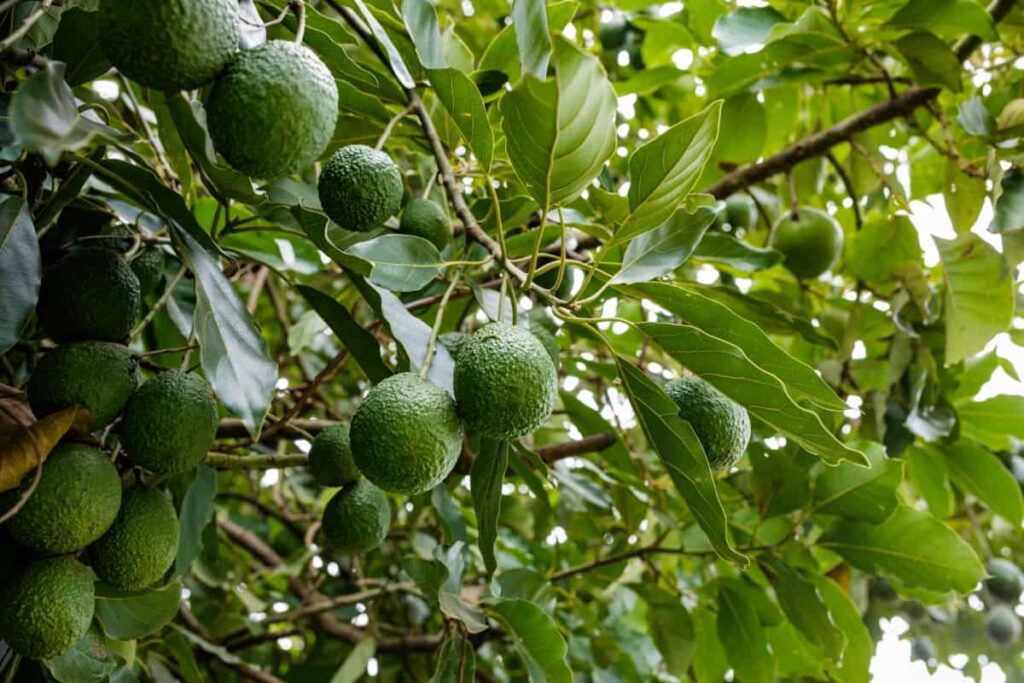
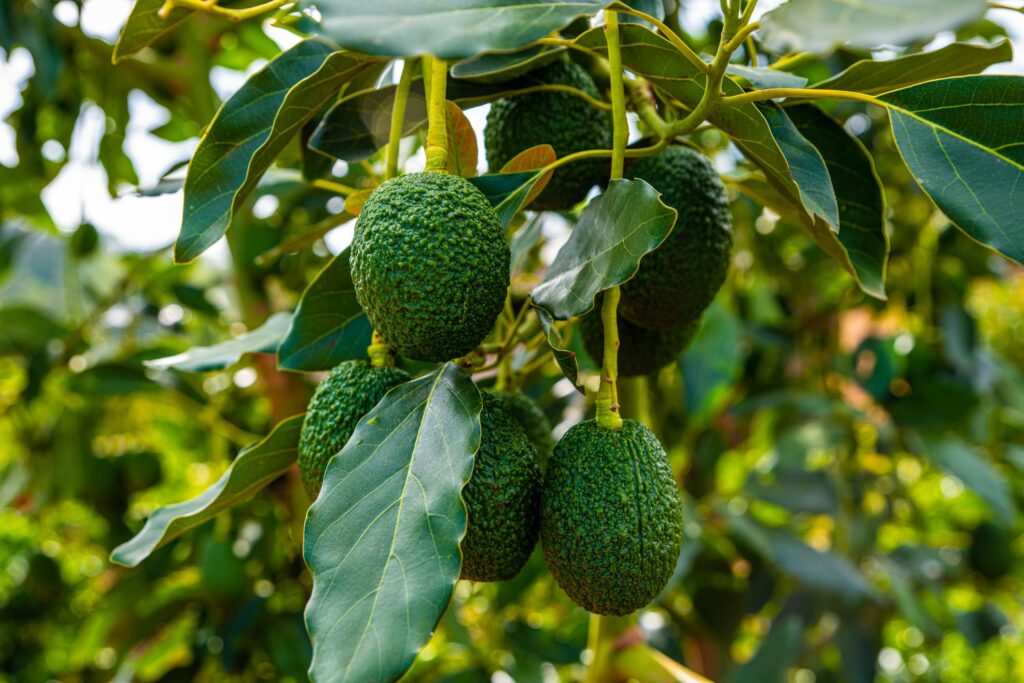
9. Will It Ever Bear Fruit?
Here’s the truth: Avocado trees grown from seed may take 5–13 years to bear fruit — and sometimes, they might not fruit at all.
However, many home gardeners grow them for the beauty of the plant itself. Its glossy green leaves and tropical charm make it a stunning addition to any indoor space.
If you’re eager for fruit sooner, consider grafting your seedling with a known fruit-bearing variety once it matures.
10. Common Problems and Quick Fixes
| Issue | Cause | Solution |
|---|---|---|
| Yellow leaves | Overwatering | Allow soil to dry before watering again |
| Brown leaf tips | Low humidity or fluoride in water | Use filtered water and mist leaves regularly |
| No sprouting | Cold temperature or old seed | Keep in warm area (25°C–30°C) and use fresh seeds |
| Mold in water method | Stagnant water | Change water every 3–4 days |
11. Final Thoughts: Growing Avocado Is Easier Than You Think
Watching an avocado seed transform into a thriving green plant is truly magical. From the first crack to the first leaf unfurling, every stage is a reminder of how much life hides inside a single seed.
By following these proven steps — from soaking and sprouting to transplanting and care — you’ll have a healthy, fast-growing avocado plant in just a few months.
Even if your plant never fruits, you’ll have a stunning indoor companion that symbolizes patience, growth, and natural beauty.
So the next time you enjoy a creamy avocado toast, don’t toss that seed — grow it! With just a glass of water, some sunlight, and a bit of love, you can bring new life to your home — one pit at a time.