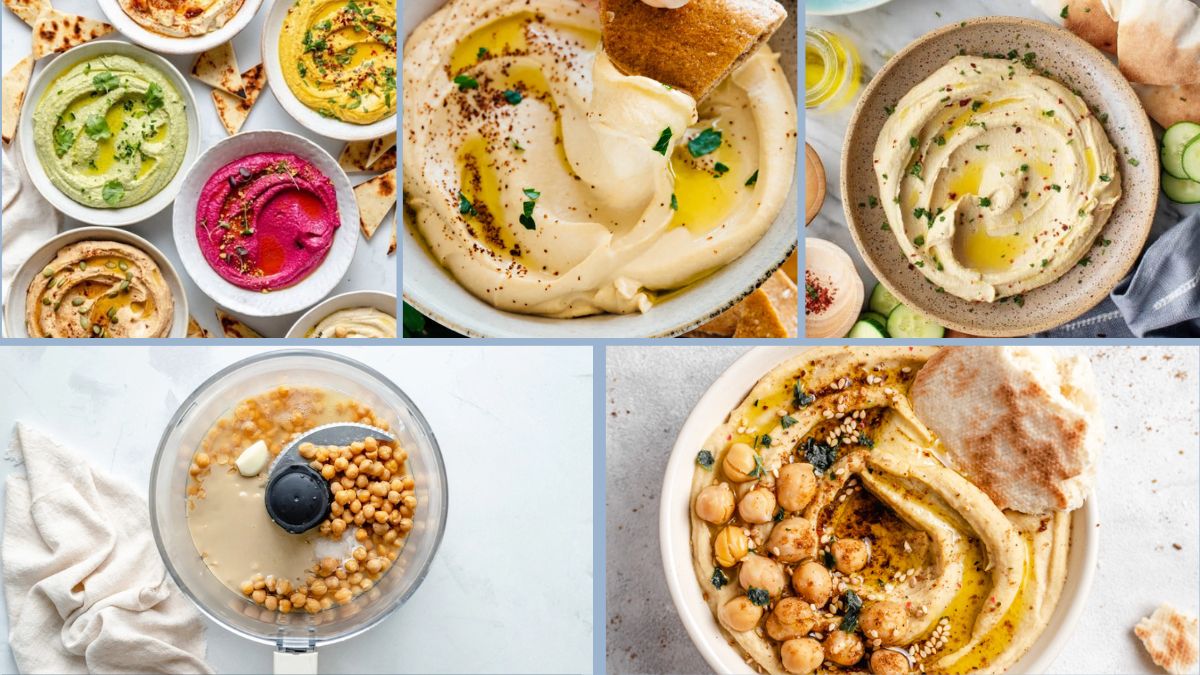
Hummus, the beloved Middle Eastern dip, has become a global favorite for good reason. Made primarily from chickpeas, tahini, lemon juice, and garlic, it is creamy, flavorful, and packed with plant-based nutrition. Hummus is naturally vegan, gluten-free, and versatile—it pairs well with bread, vegetables, wraps, or even as a salad dressing.
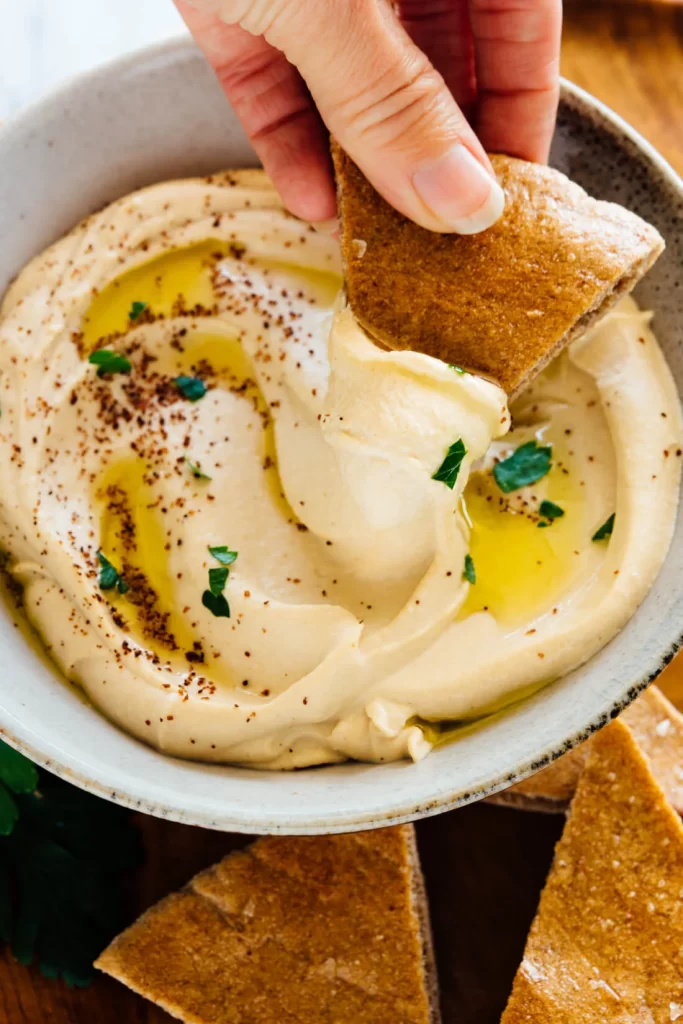
But anyone who has tried making hummus at home knows the challenge: instead of silky, restaurant-style hummus, you might end up with a grainy, dense, or overly thick paste. The difference between average and extraordinary hummus lies in technique. By mastering a few key steps, you can consistently achieve hummus that is luxuriously smooth, airy, and deeply flavorful.
Here are six essential steps to making homemade hummus smooth and creamy every time.
Step 1: Start with Quality Chickpeas
The base of hummus is chickpeas, so their quality directly affects texture and taste.
- Dried chickpeas (best option): Cooking chickpeas from scratch yields creamier results than canned ones. Soak them overnight in plenty of water with a teaspoon of baking soda to soften. Then, simmer until very tender.
- Canned chickpeas (convenient option): If using canned, choose a high-quality brand with minimal additives. Drain, rinse, and simmer them for 15–20 minutes with a pinch of baking soda to soften further.
- Skin removal: For ultimate smoothness, slip off the skins after cooking. While time-consuming, this step significantly improves texture.
The softer the chickpeas, the silkier your hummus will be.
Step 2: Use Good-Quality Tahini
Tahini, a paste made from ground sesame seeds, is the second essential ingredient. It contributes creaminess and nutty depth.
- Choose runny, light-colored tahini: Avoid thick, grainy, or bitter varieties. Lebanese and Israeli brands are often preferred.
- Taste test: Good tahini should be smooth and slightly sweet, not harsh.
- Ratio: For every 2 cups of chickpeas, use ½ cup of tahini for balanced richness.
Skipping or skimping on quality tahini often results in dull hummus.
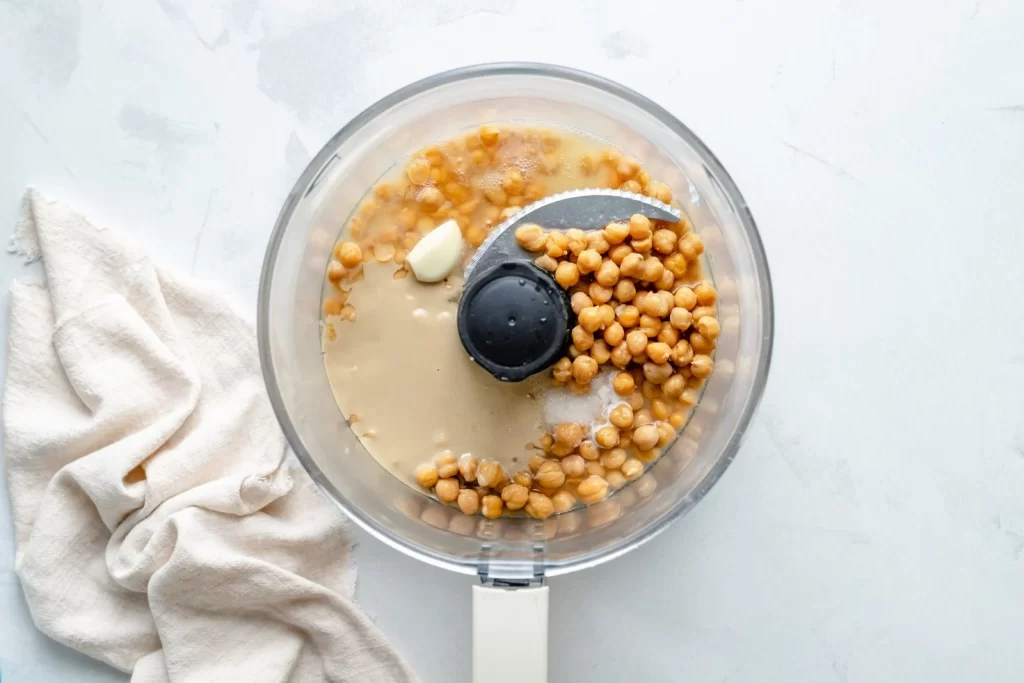
Step 3: Blend in the Right Order
How you blend the ingredients is just as important as what you use. Restaurants achieve creamy hummus by building the emulsion step by step.
- Start with tahini and lemon juice: Blend until light and whipped. This creates a fluffy base.
- Add garlic and salt: Blend again for even distribution.
- Add chickpeas gradually: Incorporate them in batches with cold water or ice cubes for smoothness.
- Adjust liquid: Keep blending until the mixture is creamy and airy.
This layering approach prevents graininess and maximizes fluffiness.
Step 4: Use Cold Water or Ice
One of the best-kept secrets of silky hummus is blending with very cold water—or even ice cubes.
- Why it works: Cold water lightens the emulsion, aerating the hummus for a whipped texture.
- How much to use: Start with 2–4 tablespoons and adjust until desired consistency is reached.
- Pro tip: Add ice cubes directly while blending for extra fluffiness.
This step transforms hummus from dense to cloud-like.
Step 5: Season and Adjust Thoughtfully
Great hummus balances flavors: nutty, tangy, garlicky, and slightly salty.
- Lemon juice: Freshly squeezed lemon juice brightens the dip. Avoid bottled versions, which taste flat.
- Garlic: Raw garlic adds punch, but roasted garlic gives a milder, sweeter flavor. Use according to preference.
- Salt: Always season gradually and taste as you go.
- Optional extras: Cumin, smoked paprika, or chili flakes add depth and variation.
Tuning flavors carefully ensures your hummus tastes restaurant-quality, not one-dimensional.
Step 6: Finish with Garnishes and Serve Creatively
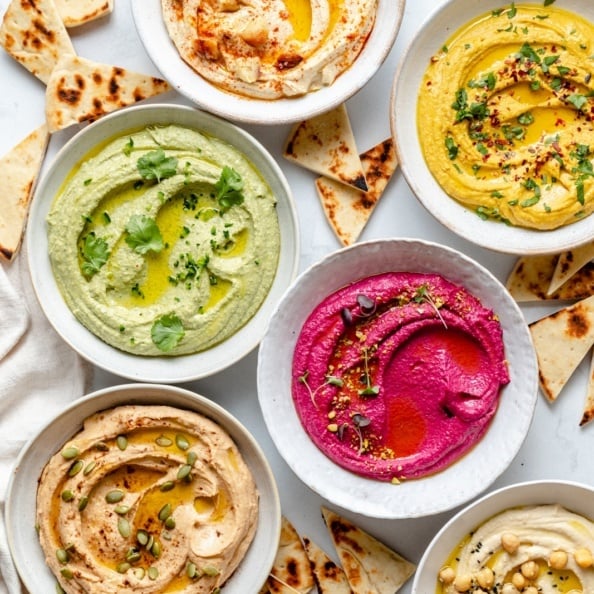
Presentation matters. The final touches make hummus both beautiful and more flavorful.
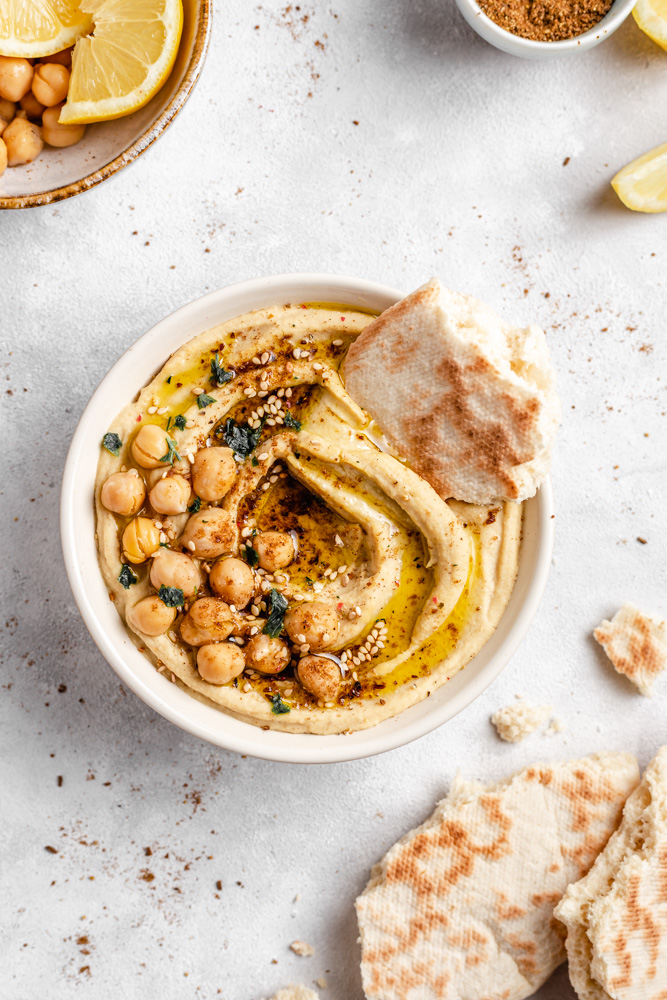
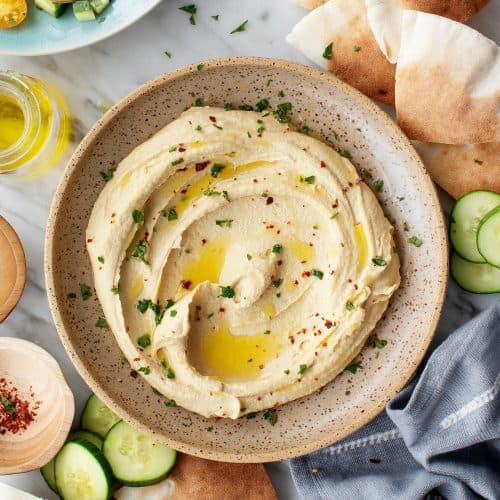
- Classic garnish: Drizzle with extra virgin olive oil and sprinkle paprika.
- Herbal freshness: Add chopped parsley, cilantro, or dill.
- Crunch factor: Top with roasted chickpeas, toasted sesame seeds, or pine nuts.
- Creative twists: Swirl in roasted red peppers, caramelized onions, or beet puree for variety.
Serve with pita bread, veggie sticks, flatbreads, or spread it in wraps. Hummus can also double as a base for grain bowls or salads.
Extra Tips for Success
- Blend longer than you think: Patience pays off. Blend for at least 3–5 minutes for ultra-smooth hummus.
- Batch cooking: Make a large batch and store in the fridge for up to 5 days. Hummus also freezes well.
- Health benefits: Chickpeas are rich in protein and fiber, while tahini adds healthy fats and minerals—making hummus both delicious and nourishing.
Conclusion
Smooth, creamy hummus isn’t about fancy equipment or rare ingredients—it’s about following the right steps. By starting with well-cooked chickpeas, choosing quality tahini, blending in the right order, using cold water, seasoning thoughtfully, and finishing with garnishes, you can achieve hummus that rivals the best Middle Eastern restaurants.
This versatile dip proves how plant-based food can be simple yet extraordinary. With these six steps, homemade hummus becomes not just a spread, but a staple for healthy, satisfying meals. Whether you’re dipping fresh vegetables, spreading it on sandwiches, or serving it as part of a mezze platter, your hummus will always be silky, flavorful, and crowd-pleasing.