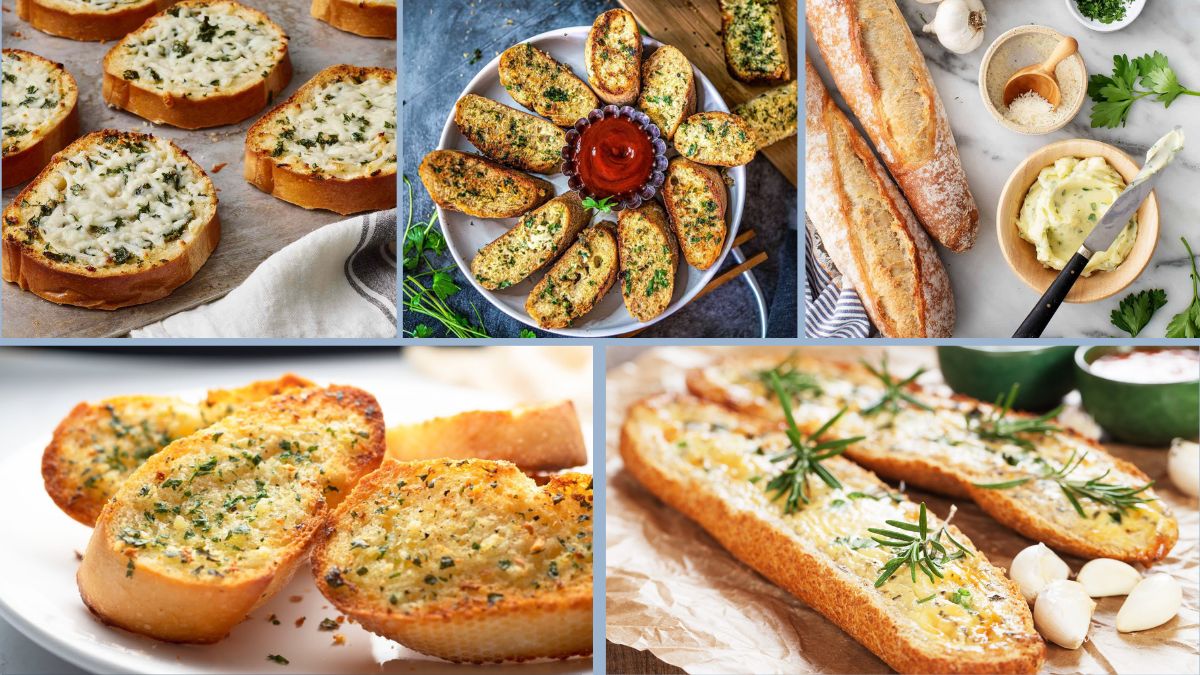
Garlic bread is one of those timeless comfort foods that transcends cultures and occasions. With its golden crust, fluffy interior, and irresistible aroma of garlic and herbs, it makes the perfect side dish, snack, or even centerpiece for gatherings. Whether paired with soups, pasta, or enjoyed on its own, garlic bread is universally loved for its simplicity and flavor.
But while garlic bread seems easy to make, achieving the perfect balance—crispy on the outside, soft inside, flavorful but not overpowering—takes skill. Too often, homemade garlic bread turns out soggy, bland, or unevenly cooked. Luckily, with a few smart techniques, you can make garlic bread at home that tastes just as good (if not better) than restaurant versions.
Here are five tried-and-true tricks for making the perfect garlic bread at home, every time.
Trick 1: Start with the Right Bread
The foundation of perfect garlic bread is, of course, the bread itself. Choosing the right loaf makes all the difference.
- Best options: Baguette, ciabatta, sourdough, or Italian bread. These have a sturdy crust and airy interior that hold up well to butter and garlic without getting soggy.
- Avoid soft sandwich bread: Thin, overly soft loaves tend to collapse under garlic butter and won’t crisp properly.
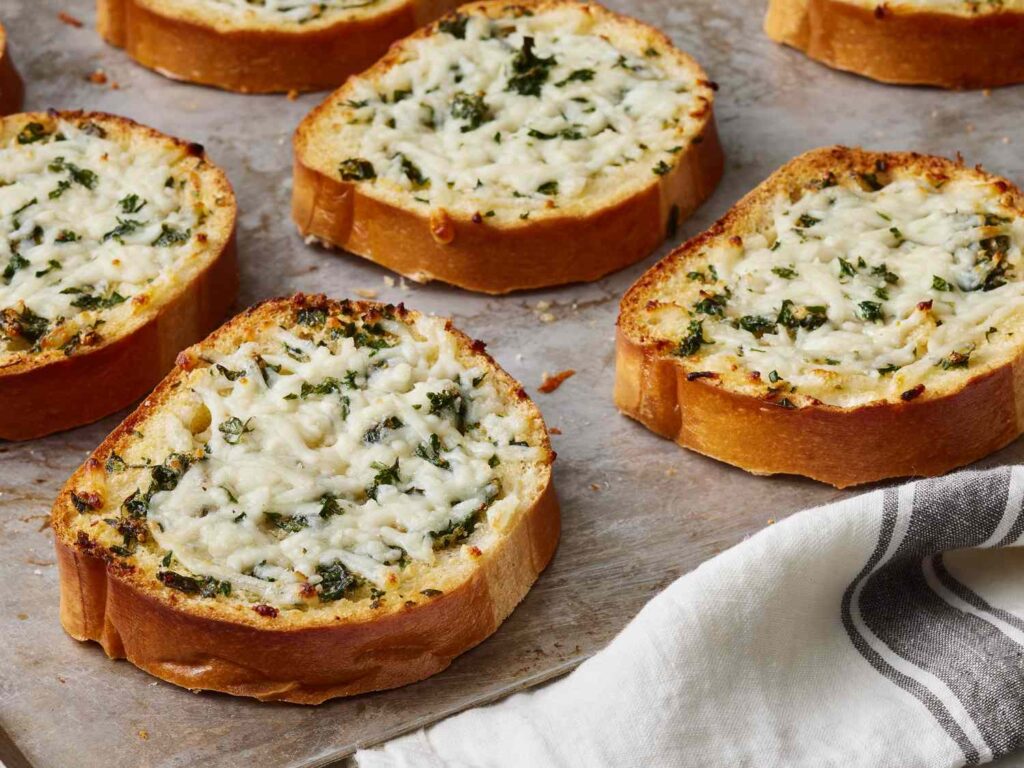
- Slice wisely: Cut the loaf in half lengthwise for traditional garlic bread, or into thick slices (about 1–1.5 inches) for smaller servings.
The right bread creates the ideal balance of crisp crust and soft, chewy interior.
Trick 2: Master the Garlic Butter Spread
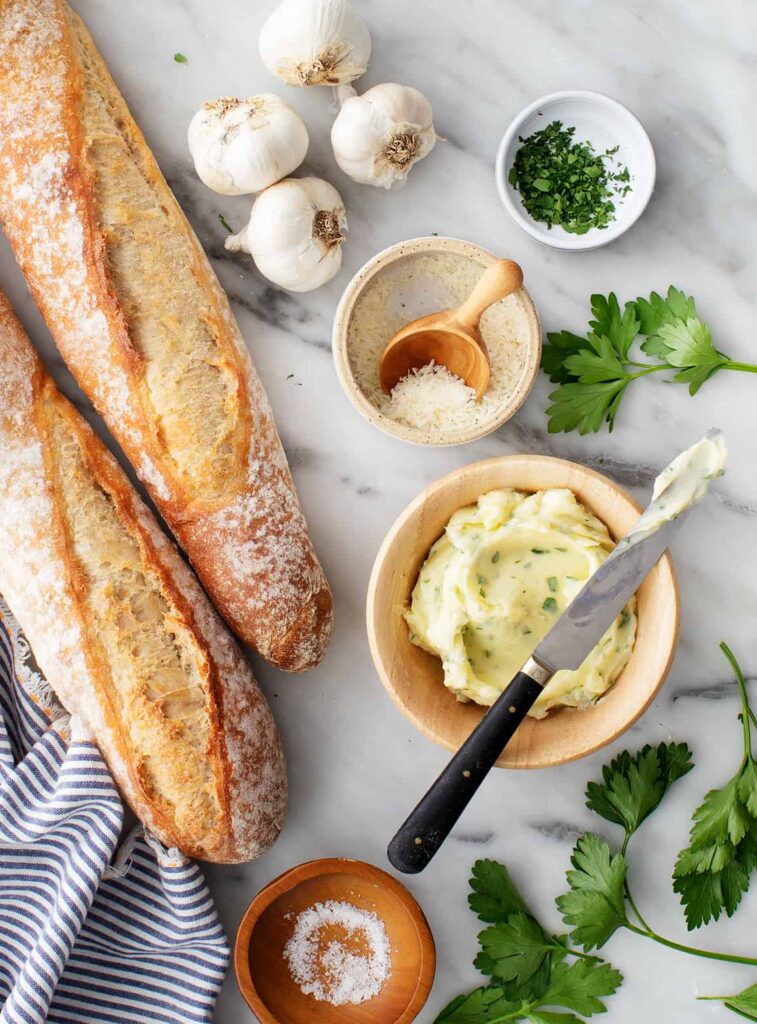
The heart of garlic bread lies in its buttery garlic spread. Getting the ratio and technique right ensures flavor in every bite.
- Butter base: Use unsalted butter at room temperature. This makes it easy to mix and spread evenly.
- Garlic prep: Mince garlic finely, use a garlic press, or roast whole cloves for a milder, sweeter taste.
- Add herbs: Fresh parsley, basil, oregano, or thyme brighten the flavor.
- Optional kick: A pinch of chili flakes or black pepper adds subtle heat.
- Ratio: For one medium baguette, mix about ½ cup butter with 3–4 cloves of garlic and 2 tablespoons of chopped parsley.
Pro tip: Let the garlic butter sit for 15–20 minutes before spreading. This allows the flavors to meld beautifully.
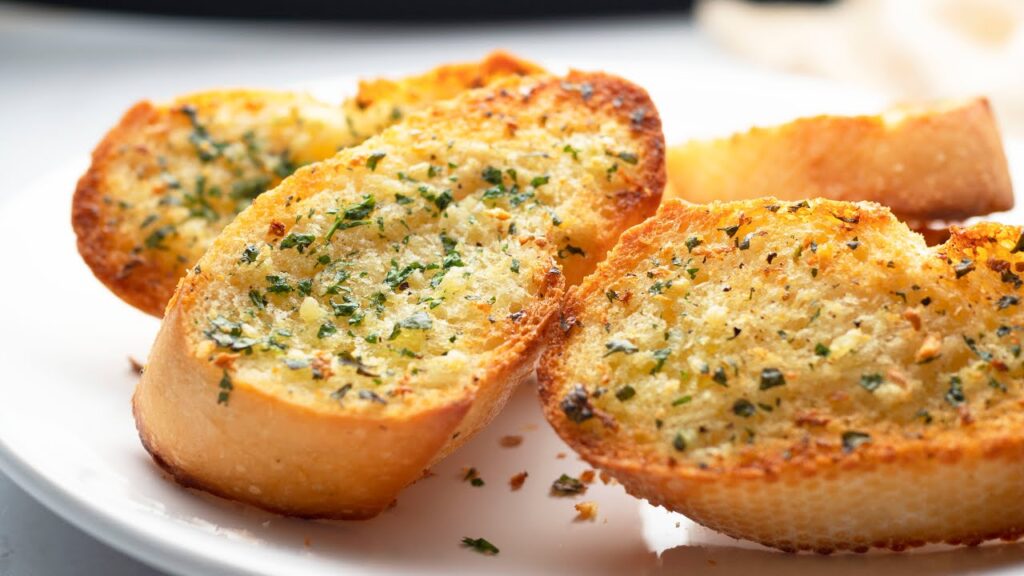
Trick 3: Bake at the Right Temperature
Temperature and cooking time determine whether garlic bread emerges crispy, chewy, or soggy.
- Best temperature: Bake at 375–400°F (190–200°C).
- Covered first (optional): Wrap the bread loosely in foil and bake for 10 minutes to soften the inside. Then uncover and bake another 5–7 minutes for a golden crust.
- Broil finish: For extra crispness, broil the bread for 1–2 minutes at the end—but watch closely to prevent burning.
This method creates bread that is crispy on the outside but warm and tender inside.
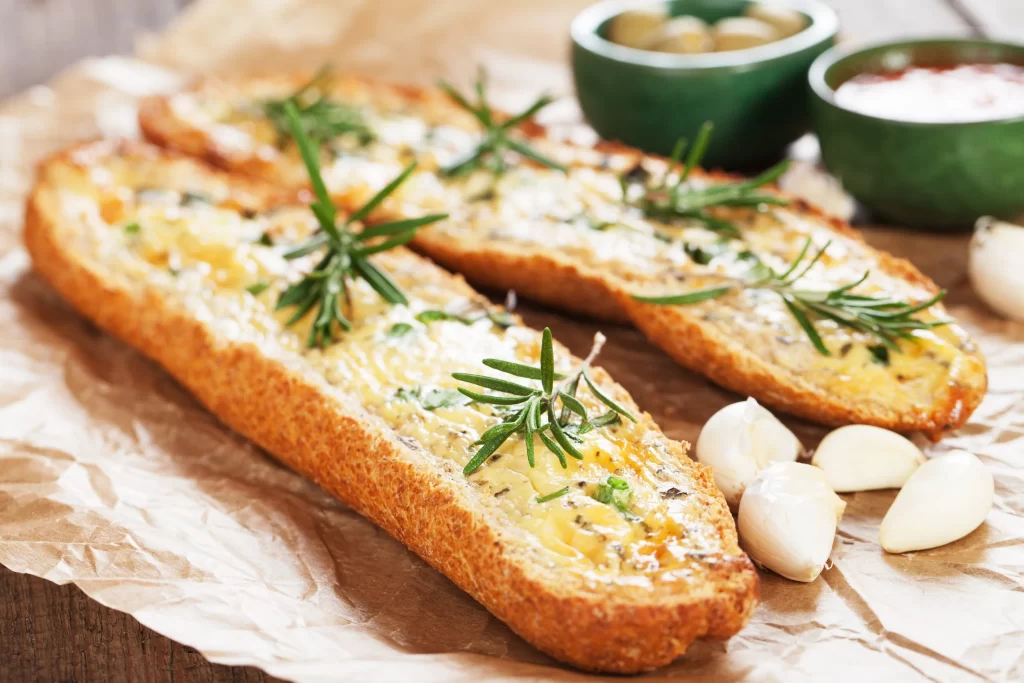
Trick 4: Add Finishing Touches
What sets extraordinary garlic bread apart are the finishing touches.
- Cheesy upgrade: Sprinkle mozzarella, parmesan, or vegan cheese alternatives during the last 5 minutes of baking.
- Herbal freshness: Add a final sprinkle of fresh parsley, basil, or chives after baking.
- Citrus zing: A squeeze of lemon juice or zest can brighten and balance richness.
- Infused oils: Drizzle a little extra virgin olive oil or garlic-infused oil for a gourmet finish.
These small details elevate garlic bread from a simple side dish to a flavor-packed experience.
Trick 5: Serve It the Right Way
Garlic bread is at its best when served fresh out of the oven, but how you present and pair it also matters.
- Timing: Serve within 5–10 minutes of baking for peak crispness.
- Pairings: Garlic bread complements soups, stews, pasta, salads, and roasted vegetables.
- Creative uses: Use as a base for bruschetta, sandwich fillings, or even to soak up dips like hummus or baba ghanoush.
- Storage: If you must store leftovers, wrap tightly in foil. Reheat in the oven at 350°F (175°C) for 8–10 minutes to restore crispness (avoid microwaving, which makes it rubbery).
A thoughtful serving approach ensures your garlic bread feels special every time.
Flavor Variations (All Vegetarian-Friendly)
Once you’ve mastered the basics, experiment with different styles of garlic bread:
- Classic Italian – Garlic, parsley, olive oil, and butter.
- Cheesy Delight – Topped with mozzarella and parmesan.
- Spicy Kick – Garlic butter with chili flakes and smoked paprika.
- Mediterranean Twist – Add olives, sun-dried tomatoes, or oregano.
- Herb-Infused – Use rosemary, thyme, or dill for aromatic depth.
- Vegan Option – Swap butter for vegan margarine or olive oil, and use nutritional yeast for a cheesy flavor.
Each variation gives garlic bread a unique personality while keeping it plant-based.
Extra Tips for Success
- Balance garlic: Raw garlic is strong—don’t overdo it. For milder flavor, sauté garlic in butter before spreading.
- Batch prep: Make extra garlic butter and refrigerate for up to a week, or freeze for longer storage.
- Crisp hack: For extra crunch, brush the bread with olive oil before adding garlic butter.
- Experiment: Try whole-grain or seeded loaves for a healthier twist.
Conclusion
Perfect garlic bread isn’t about complicated recipes—it’s about small but thoughtful details. By starting with the right bread, mastering a flavorful garlic butter spread, baking at the ideal temperature, adding finishing touches, and serving it thoughtfully, you can achieve garlic bread that is golden, crispy, aromatic, and utterly irresistible.
Garlic bread is proof that simple ingredients, when treated with care, can create a dish that feels indulgent and comforting. With these five tricks, your homemade garlic bread will consistently turn out just right—whether you’re serving it with a pasta dinner, at a gathering, or enjoying it as a snack on its own.