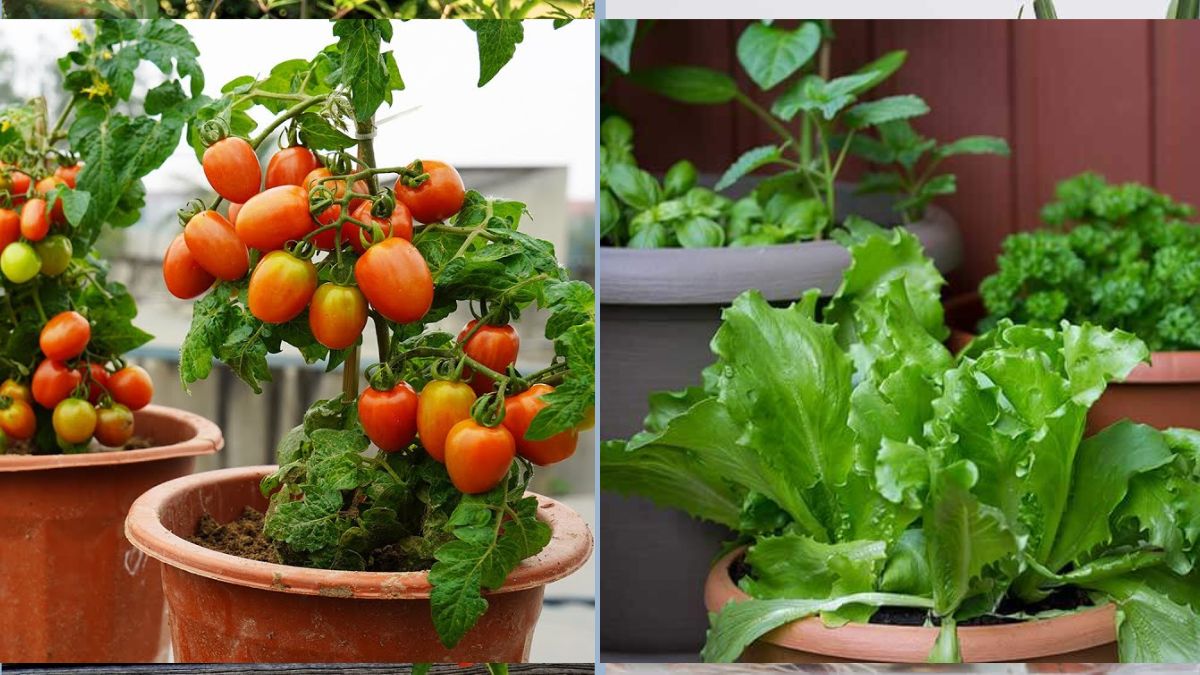
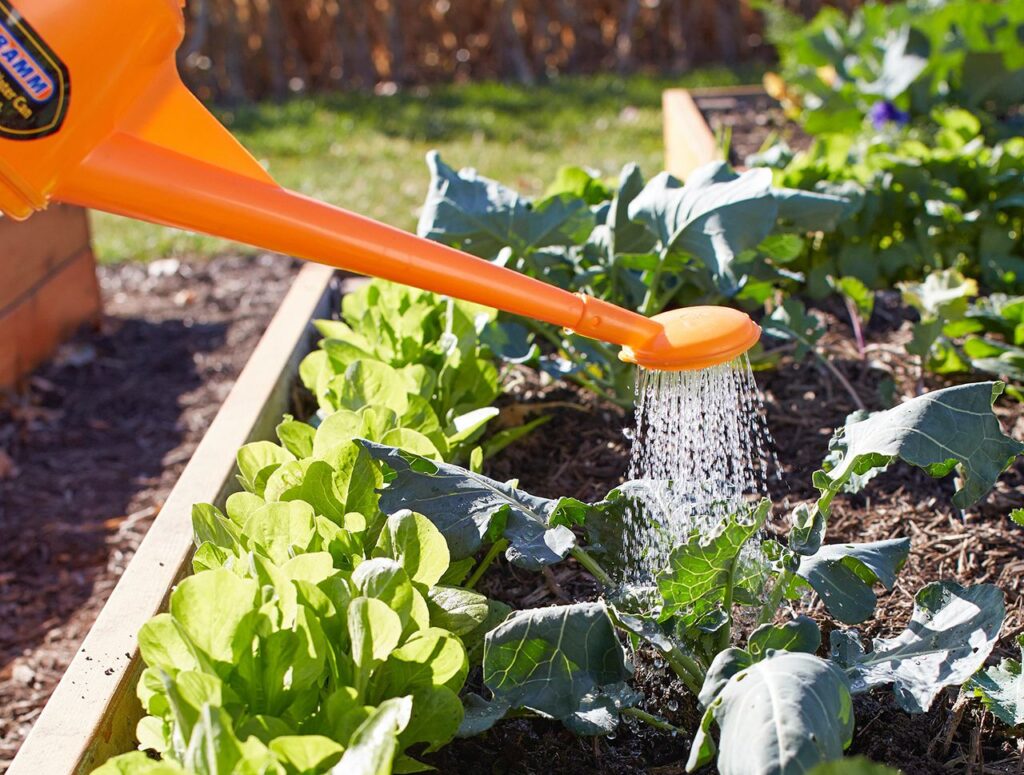
Growing vegetables in pots is a rewarding practice for gardeners with limited outdoor space. However, one of the most common mistakes new and experienced gardeners make is overwatering. Because potted plants have limited drainage area compared to garden beds, excess moisture can quickly lead to root suffocation, fungal infections, and even plant death. Fortunately, overwatered vegetables can often be revived with prompt and proper care. This guide covers practical, plant-safe methods to rescue waterlogged vegetable plants grown in containers, along with tips to prevent future watering issues.
1. Recognizing the Signs of Overwatering
Before saving an overwatered plant, you need to detect the symptoms early. Common signs include:
- Yellowing leaves – especially on the lower part of the plant.
- Wilting despite wet soil – moisture saturation prevents roots from working properly.
- Soft or mushy stems – a strong indicator of root or stem rot.
- Dropping leaves – the plant tries to conserve energy.
- Sour or musty smell from the soil – shows lack of aeration and microbial imbalance.
- Stunted growth – overwatering interrupts nutrient and oxygen absorption.
If any of these symptoms appear, act immediately to improve the plant’s survival odds.
2. Stop Watering Right Away
The first step to recovery is ceasing all watering until the soil begins to dry out. Avoid “just in case” watering habits. If the pot feels heavy or the top layer remains dark and damp, the plant does not need water. Allowing the soil to dry gradually gives roots a chance to recover.
3. Improve Immediate Drainage
Excess water must be removed as quickly as possible to save the roots.
a. Empty Saucers or Trays
If your pots sit in trays, empty all standing water. Prolonged contact with waterlogged trays prevents proper drainage.
b. Tilt the Pot Gently
Leaning the pot slightly to one side (without damaging the plant) can encourage extra water to flow out of drainage holes.
c. Verify Drainage Holes
Check if the bottom holes are blocked. If roots, debris, or compacted soil are obstructing them, clear them carefully using a chopstick, stick, or skewer.
4. Enhance Soil Aeration
Roots need access to oxygen. Waterlogged soil reduces pore space where air normally resides.
a. Loosen the Topsoil
Use a chopstick or thin stick to gently aerate the top 2–3 centimeters of soil. Avoid injuring roots, but create small holes air can pass through.
b. Add Dry Amendments (Optional)
If the surface is very soggy, sprinkle dry materials like coconut coir, perlite, or dry compost around the top to absorb moisture.
5. Remove the Plant for Assessment (If Needed)
If the situation is severe—foul smell, mushy stems, or prolonged standing water—it may be necessary to lift the plant out of the pot.
Steps:
- Lay the pot on its side and gently slide out the root ball.
- Avoid pulling from the stem.
- Inspect the roots carefully.
Healthy roots are white or light tan. Overwatered or rotten roots appear brown, black, mushy, or slimy.
6. Trim Damaged Roots and Stems
If roots are rotting:
- Use clean, sharp scissors or pruning shears.
- Cut away mushy or discolored roots.
- Remove any wilted, yellow, or slim stems.
- Do not remove more than one-third of healthy roots; the plant still needs support.
Sanitize tools between cuts if trimming multiple plants to prevent spreading disease.
7. Repot into Fresh, Well-Draining Soil
If the original soil is waterlogged, compacted, or smelly, replace it entirely. Repotting gives the plant a fresh, aerated environment to recover.
Ideal Soil Mix for Potted Vegetables:
- 40–50% high-quality potting mix or compost
- 20–30% perlite, pumice, or coarse sand
- 20–30% coconut coir or peat substitute
This blend improves drainage, retains necessary moisture, and allows proper airflow.
When repotting:
- Choose a pot with sufficient drainage holes.
- Place gravel, pottery shards, or mesh at the base to prevent soil clogging.
- Replant the vegetable gently and firm the soil without compressing it excessively.
8. Position the Plant in Optimal Conditions
After repotting or aerating:
Provide Indirect Sunlight
Direct, intense sunlight can stress an already struggling plant. Bright but indirect light helps the plant recover gradually.
Increase Airflow
A fan on a low setting or natural cross-breeze helps evaporate surface moisture and reduce fungal risks.
Avoid Fertilizers Immediately
Overwatering already harms root function, so adding nutrients can burn or overload weakened roots. Wait 2–3 weeks before feeding with mild compost tea or organic fertilizer.
9. Natural Fungus and Disease Management
Stagnant water invites fungal or bacterial growth.
Natural Prevention and Remedies:
- Cinnamon powder: Sprinkle a light layer on the soil surface to curb fungal spread.
- Neem oil spray: Mix a mild solution (1–2 mL neem oil per 1 liter water) and apply to soil surface and leaves if fungus is present.
- Garlic water: A weak garlic infusion can discourage harmful microbes naturally.
Avoid chemical fungicides unless necessary, especially in edible plant containers.
10. Monitoring and Recovery Timeline
Roots typically need one to four weeks to recover depending on plant type and damage extent.
Watch for:
- New leaf growth
- Firm stems
- Soil drying evenly
- No foul odors
If leaves continue yellowing after adjustments or plants collapse, the damage may be too advanced. However, most mildly to moderately overwatered plants recover well with timely action.
11. Preventing Overwatering in the Future
Saving an overwatered plant is possible, but prevention is easier. Follow these tips to maintain balanced hydration:
a. Follow the “Finger Test”
Insert your finger 2–3 cm into the soil. If it feels damp, skip watering. If dry, water lightly until moisture reaches the root level.
b. Use the Right Containers
Choose pots with at least 3–5 drainage holes. Terracotta or fabric pots also wick away excess moisture more efficiently.
c. Water Thoroughly but Infrequently
Instead of shallow daily watering, give your vegetables a proper drink when needed, then allow the soil to dry.
d. Adjust to Weather
In rainy or humid conditions, reduce watering. Indoors or in cooler months, plants need less frequent care.
e. Elevate Containers
Keep pots slightly raised using stands, bricks, or tiles to avoid water pooling at the base.
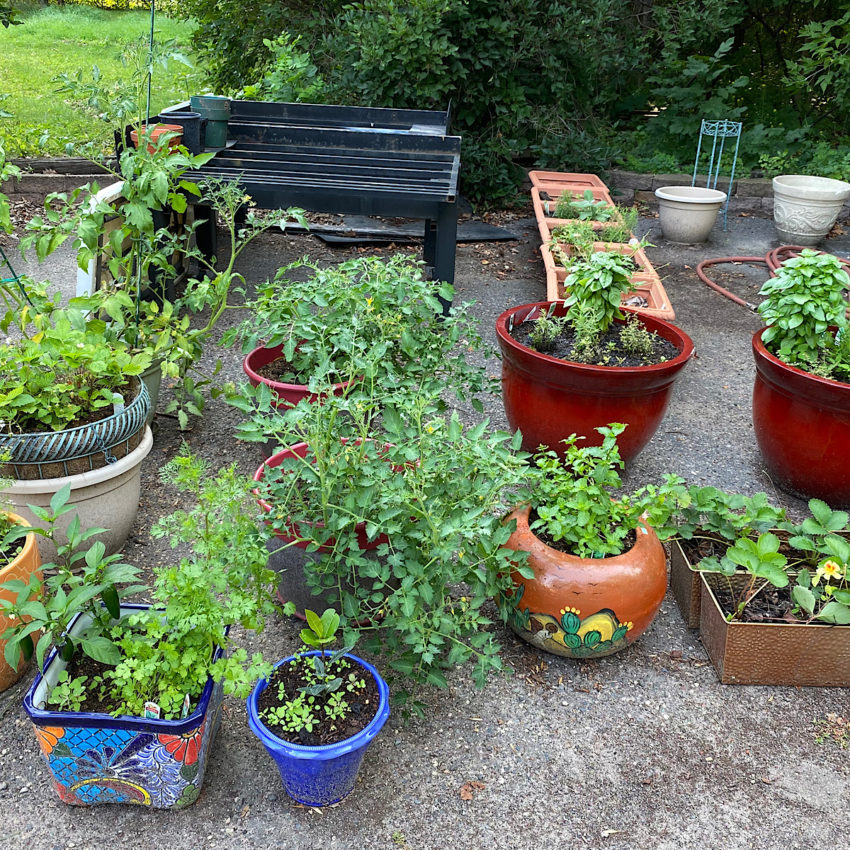
12. Best Vegetable Varieties for Containers
Some vegetables tolerate minor moisture mistakes better than others. If you are prone to overwatering or live in humid regions, start with:
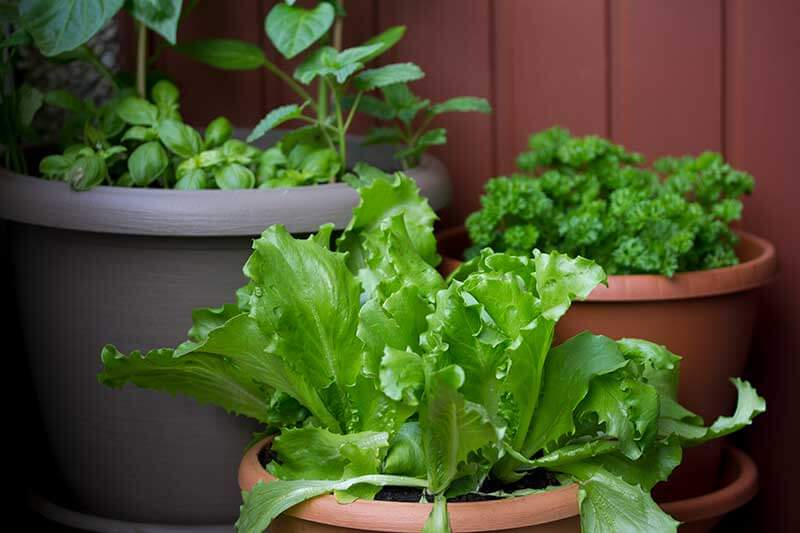
- Leafy greens (spinach, lettuce, chard)
- Peas
- Radishes
- Green beans
- Spring onions
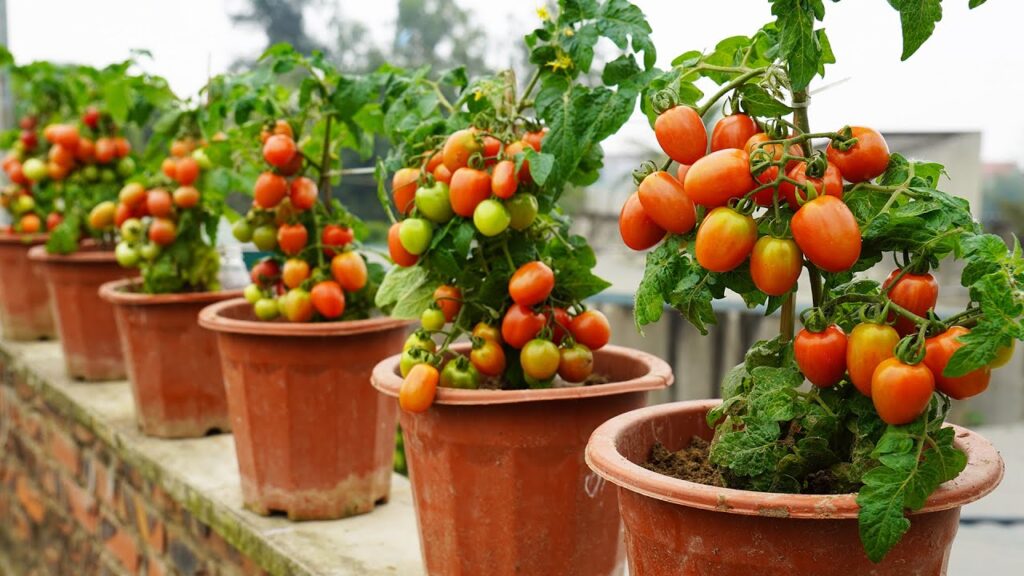
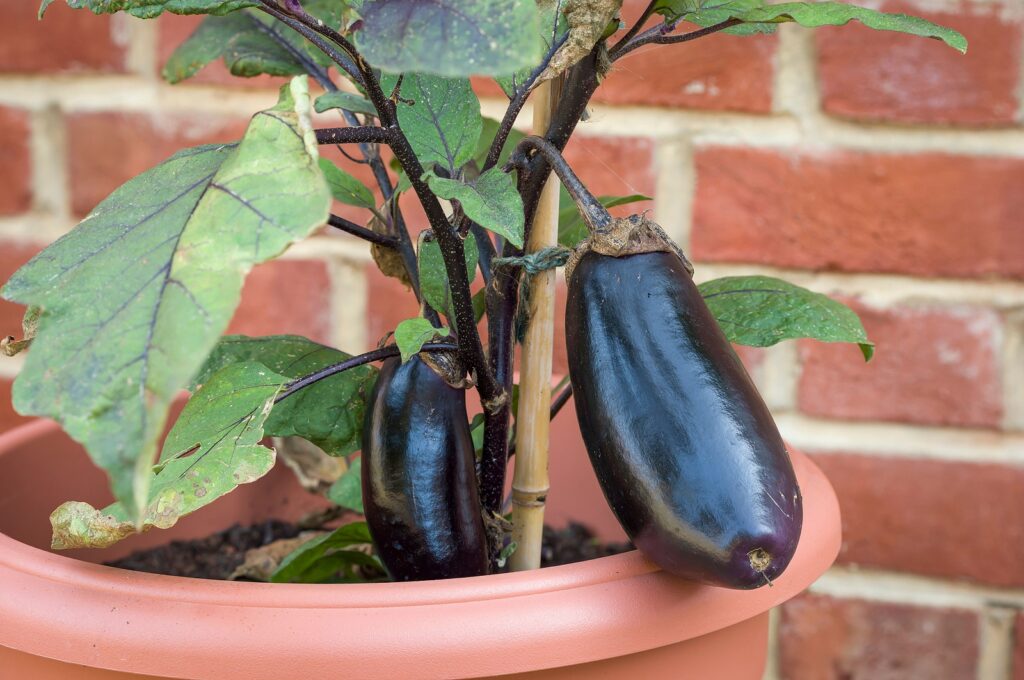
For thirstier plants like tomatoes, cucumbers, or peppers, use larger pots and fast-draining soil to prevent waterlogging.
13. Mulching the Right Way
Mulching can protect container vegetables, but avoid thick or wet mulches when recovering plants. Once healthy again:
- Use coconut coir chips, straw, or shredded leaves.
- Apply only a thin layer to retain moisture without blocking evaporation.
14. Natural Soil Conditioners for Recovery
When the plant recovers slightly, add gentle soil boosters:
- Vermicompost: Improves structure and microbial diversity.
- Crushed dry leaves: Lightens dense soil.
- Compost tea: Provides balanced nutrients slowly.
Avoid chemical additives that might stress the plant.
15. Do Not Panic: Slow Recovery Is Normal
Plants that have suffered from overwatering often shed older leaves while new growth develops. Focus on root health and patience. Avoid unnecessary repotting, trimming, or relocation while the plant stabilizes.
Conclusion
Overwatering is one of the most common challenges for potted vegetable gardeners, but it is also one of the most manageable. Early detection and the right interventions—improving drainage, trimming damaged roots, repotting in well-aerated soil, and adjusting watering practices—can bring most waterlogged plants back to life.
With attention to symptoms, patience during recovery, and proper soil and container setup, your potted vegetables can continue to thrive. Remember: it’s easier to add water later than to remove it once the soil is saturated. Learning how to respond to overwatering not only saves plants—it builds confidence and success in container gardening over time.