When people think of gardening, they often imagine large yards, raised beds, or pricey materials. But what if you could grow fresh, delicious peppers without spending a penny? With nothing more than plastic bottles you already have at home, you can build an efficient, space-saving, and highly productive pepper garden. The best part? The harvest can be just as good—if not better—than traditional methods.
In this detailed guide, you’ll learn how to grow peppers in plastic bottles step by step, why this method works so well, and how to get an impressive yield with minimal resources. If you love gardening, want to save money, or are short on space, this method is a game-changer.
Why Grow Peppers in Plastic Bottles?
Plastic bottles are often seen as waste, but they can become powerful gardening tools with a little creativity. Here’s why they’re perfect for growing peppers:
1. Completely Free
Most households already have used plastic water or soda bottles. Instead of throwing them away, you can repurpose them into planting containers.
2. Space-Saving
Perfect for balconies, windowsills, terraces, patios, and even indoor setups. You can hang them, stack them, or line them up neatly.
3. Controlled Environment
Plastic bottles allow you to manage soil, drainage, and moisture levels, leading to healthier root systems and plants.
4. Great for Beginners
Even if you’re new to gardening, this method is easy and low-risk. You don’t need large pots or expensive equipment.
5. Eco-Friendly
Instead of adding plastic to landfills, you’re extending its life and using it for a great purpose—growing food.
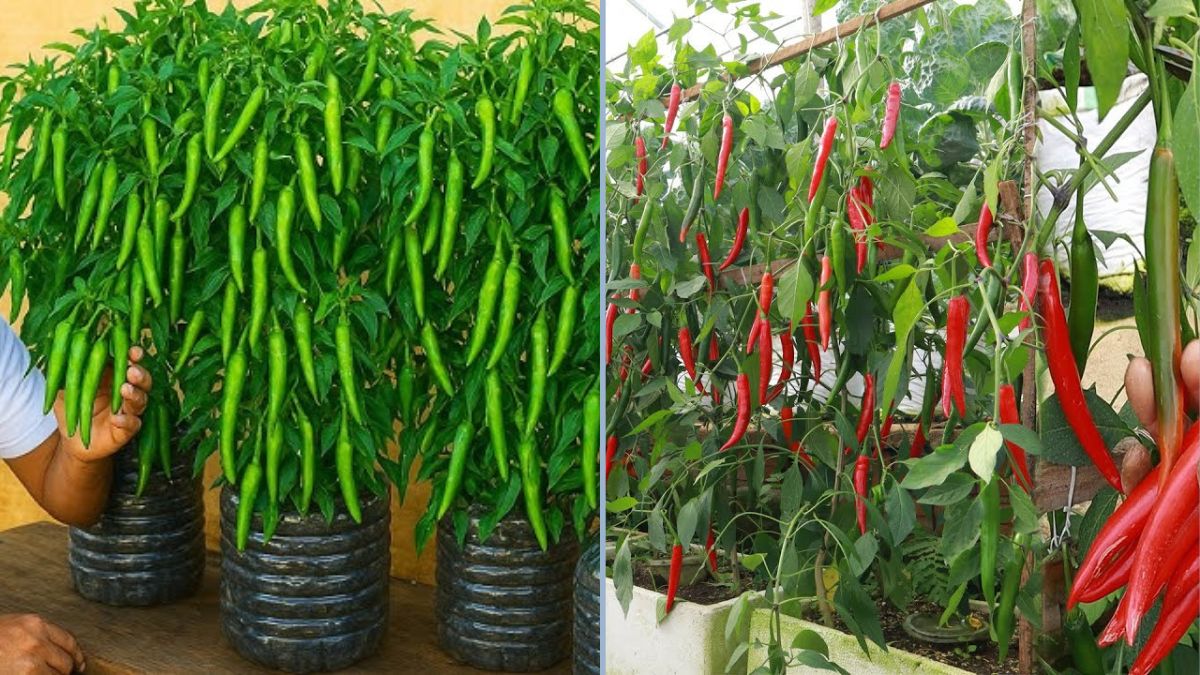
Best Pepper Varieties for Bottle Growing
While most peppers adapt well to containers, some varieties thrive exceptionally in bottle planters:
- Chili peppers (hot peppers)
- Cayenne
- Thai peppers
- Banana peppers
- Jalapeños
- Mini bell peppers
- Tabasco
- Pimiento or cherry peppers
Smaller and medium-sized peppers usually perform best because they don’t require large root systems.
Materials You’ll Need
All items are everyday materials you likely already have:
- 1 or 2-liter plastic bottles
- Sharp scissors or a craft knife
- A nail or heated pin for drainage holes
- Potting soil or homemade mix
- Pepper seeds or seedlings
- A tray, dish, or hanging wire (optional)
- Mulch (leaves, straw, coco coir—optional)
That’s it! No need for pots, grow bags, or expensive soil blends.
Step-by-Step: How to Grow Peppers in Plastic Bottles
Step 1: Prepare the Bottle
There are a few styles you can use, depending on the space you have:
Option 1: Vertical Planter
- Cut off the upper third of the bottle.
- Poke 3–5 drainage holes in the bottom with a heated nail or knife.
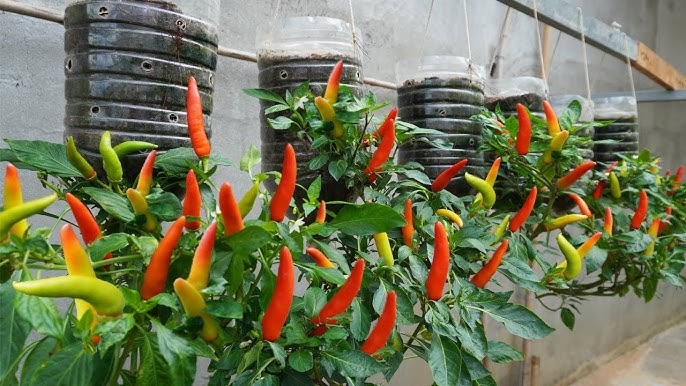
Option 2: Hanging Bottle
- Cut a rectangular hole into the side of the bottle (lengthwise).
- Leave the cap on.
- Make a few drainage holes opposite the opening.
- Add wire, string, or hooks to hang it.
Option 3: Self-Watering Bottle
- Cut the bottle in half.
- Turn the top upside down and insert it into the bottom half.
- Thread a cotton wick through the cap to draw water upward.
Choose the method that suits your growing area.
Step 2: Create the Perfect Soil Mix
Peppers need loose, well-draining soil. Here’s a simple mix you can make at home:
- 50% garden soil
- 30% compost or manure
- 20% coco peat, dry leaves, or sand
If available, add:
- Crushed eggshells (calcium)
- Wood ash (potassium)
- Coffee grounds (nitrogen)
Avoid heavy clay or soggy soil.
Step 3: Plant Seeds or Seedlings
Growing from Seeds:
- Fill the bottle with soil (leave an inch at the top).
- Add 2–3 seeds per bottle, ¼ inch deep.
- Mist gently, do not overwater.
- Keep in a warm, bright spot until germination (7–14 days).
- Thin to the strongest seedling.
Growing from Seedlings:
- Make a small hole in the center.
- Place the seedling with roots covered.
- Press the soil gently around the stem.
One plant per bottle is best for proper root development.
Step 4: Sunlight Requirements
Peppers love sunshine. Place your bottles where they get:
- 6 to 8 hours of direct sunlight daily
Ideal spots include:
- Balconies
- Terraces
- Window ledges
- Steps or patios
- Sunny fences
If indoors, place near south-facing windows or use grow lights.
Step 5: Watering Correctly
Peppers do not like waterlogged soil. Here’s how to manage moisture:
- Water only when the top inch of soil is dry.
- Pour slowly so water doesn’t flush out.
- Use spray bottles for seedlings.
- If using self-watering bottles, refill the reservoir weekly.
TIP: Mulch helps retain moisture and prevents weeds.
Step 6: Feeding Your Pepper Plants
Even without buying fertilizer, you can feed peppers using household waste:
- Compost tea
- Diluted rice water
- Blended banana peel water
- Crushed eggshells
- Vermicompost (if available)
Feed every 2–3 weeks during the growing stage.
Once flowers form, switch to potassium-rich feed like banana peel tea or wood ash.
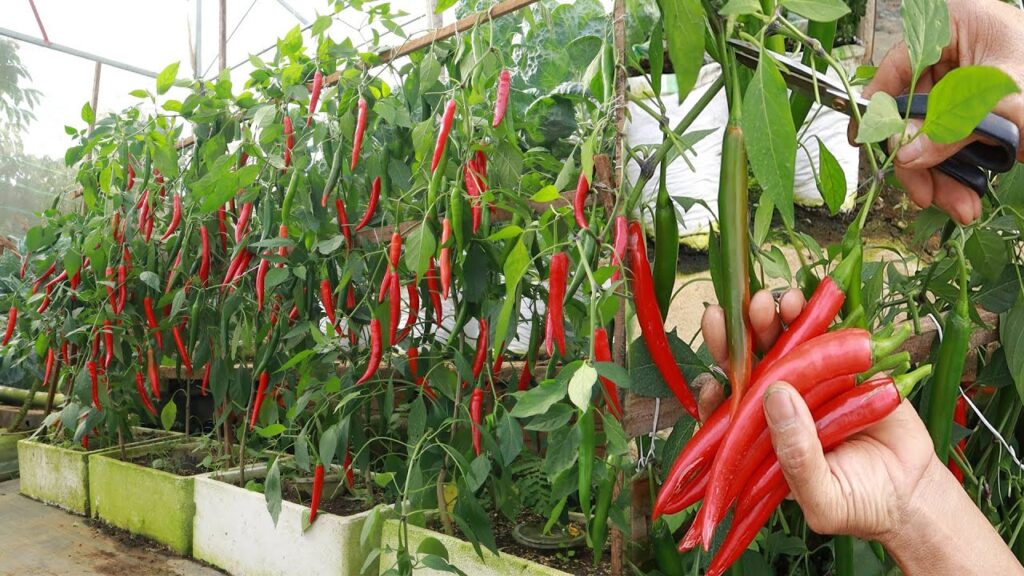
Training & Support (Optional but Helpful)
If your pepper plant grows tall, use:
- A wooden stick
- Bamboo skewer
- Chopstick
- Piece of wire
Tie it gently with string or cloth to support the stem.
Managing Pests Naturally
Peppers grown in bottles are less exposed to pests, but keep an eye out for:
- Aphids
- Whiteflies
- Spider mites
- Caterpillars
Natural remedies include:
- Neem oil spray
- Garlic or chili spray
- Soap water (mild)
- Hand-removal of bugs
Prune yellow leaves and keep airflow good.
Flowering and Fruit Development
Your pepper plants will start flowering in 6–10 weeks. To boost fruit production:
- Make sure the plant gets sun
- Don’t overwater
- Shake the plant lightly to aid pollination
- Add potassium (banana peel water or ash)
Once fruits appear, reduce nitrogen-heavy feeding so energy goes to peppers, not leaves.
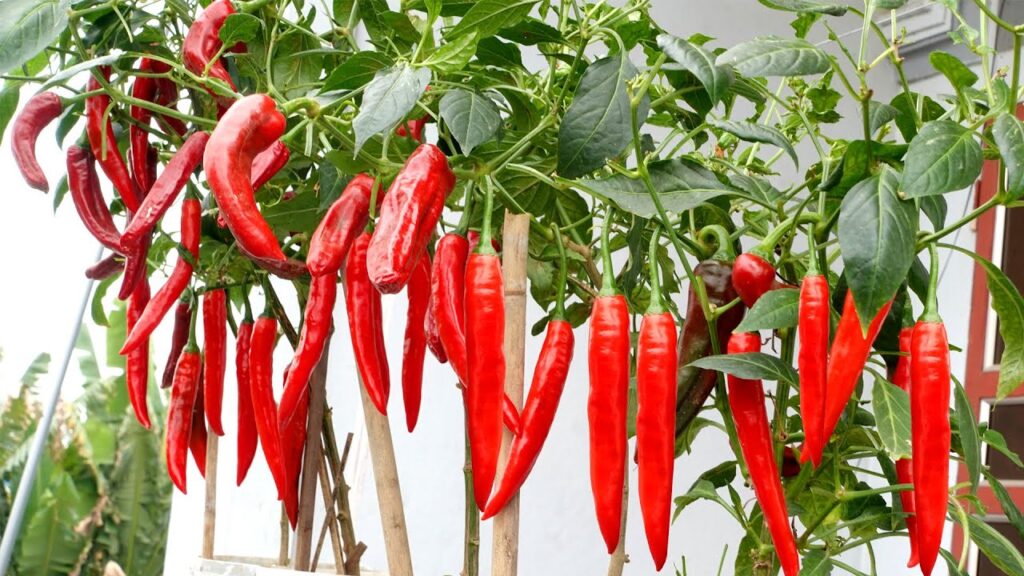
Harvesting Peppers
Depending on the variety, peppers are ready in 70–120 days. You can:
- Pick them young and green
- Let them ripen to red, yellow, or orange
- Snip gently with scissors to avoid stressing the plant
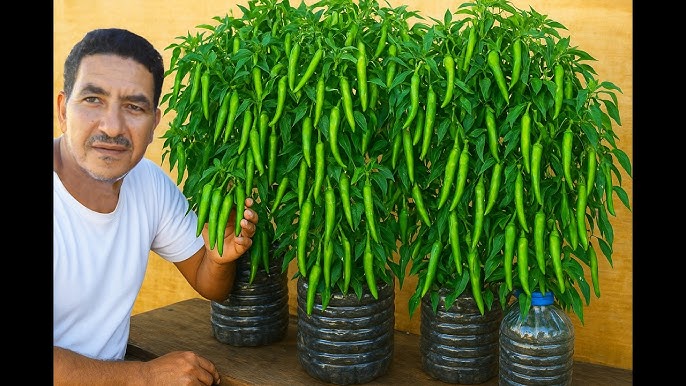
A single bottle-grown plant can yield 10–40 peppers with proper care!
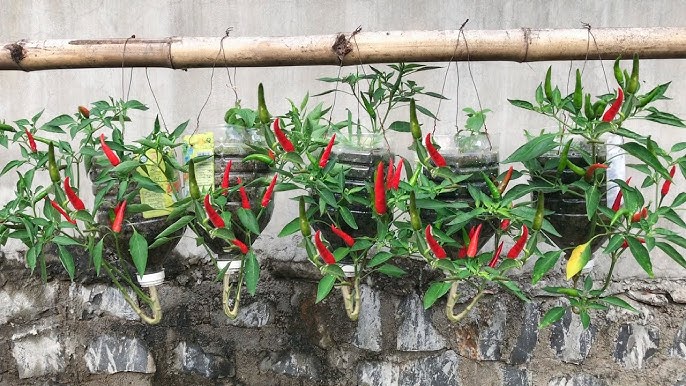
Vertical and Hanging Bottle Ideas
To grow even more peppers in less space, here are creative bottle setups:
Vertical Stacking
Cut off the bottoms and stack bottles so water drips to the lower levels.
Hanging Rows
Tie bottles to a balcony grill, railing, or fence.
Wall-Mounted Systems
Attach bottles to wooden pallets or walls.
Window Racks
Grow peppers right outside or inside a sunny window.
Each setup can hold dozens of plants, even in tight spaces.
Companion Plants to Add in Bottles
You can also grow these in small bottles beside peppers to repel pests and boost growth:
- Basil
- Marigold
- Garlic
- Mint
- Oregano
- Cilantro
These plants not only save space but also enhance pollination and flavor.
Troubleshooting Common Problems
| Problem | Likely Cause | Solution |
|---|---|---|
| Yellow leaves | Overwatering or lack of nutrients | Adjust water, add compost |
| Small peppers | Low sunlight or root space | Move to sunny spot |
| Dropping flowers | Heat stress or poor watering | Mist leaves, maintain moisture |
| Stunted growth | Poor soil mix or crowding | Loosen soil, use compost |
| Fungal spots | Excess water | Improve drainage |
Why This Method Works So Well
Growing peppers in plastic bottles is more than a DIY hack—it’s a smart gardening strategy with many benefits:
- Costs nothing
- Uses trash as a resource
- Requires very little space
- Ideal for beginners and kids
- Works indoors or outdoors
- Produces high yields
- Reduces waste and promotes sustainability
Even if you live in an apartment or have no land, you can still grow your own food.
Final Thoughts
You don’t need fancy containers, expensive tools, or a big garden to enjoy fresh homegrown peppers. With just plastic bottles and a bit of care, you can turn any small space into a productive mini pepper farm.
This method is fun, environmentally friendly, and surprisingly rewarding. Whether you’re growing spicy chilies or sweet peppers, your harvest will amaze you—and it won’t cost a dime.
If you’d like, I can help you turn this into an infographic, printable PDF, or social media carousel—just let me know!