Ginger is one of the most versatile and rewarding plants you can grow at home. Not only does it add a fresh, aromatic punch to your cooking, but homegrown ginger is also free from chemicals, fresher than store-bought roots, and can even be a conversation starter in your garden. If you’ve ever thought about growing ginger but didn’t know where to start, this beginner-friendly guide is here to simplify the process and show you how to achieve impressive results.
Whether you have a small container garden, a sunny windowsill, or a backyard plot, ginger can thrive with minimal effort when given the right care. Let’s dive into everything you need to know to successfully grow your own ginger.
What Makes Ginger Special?
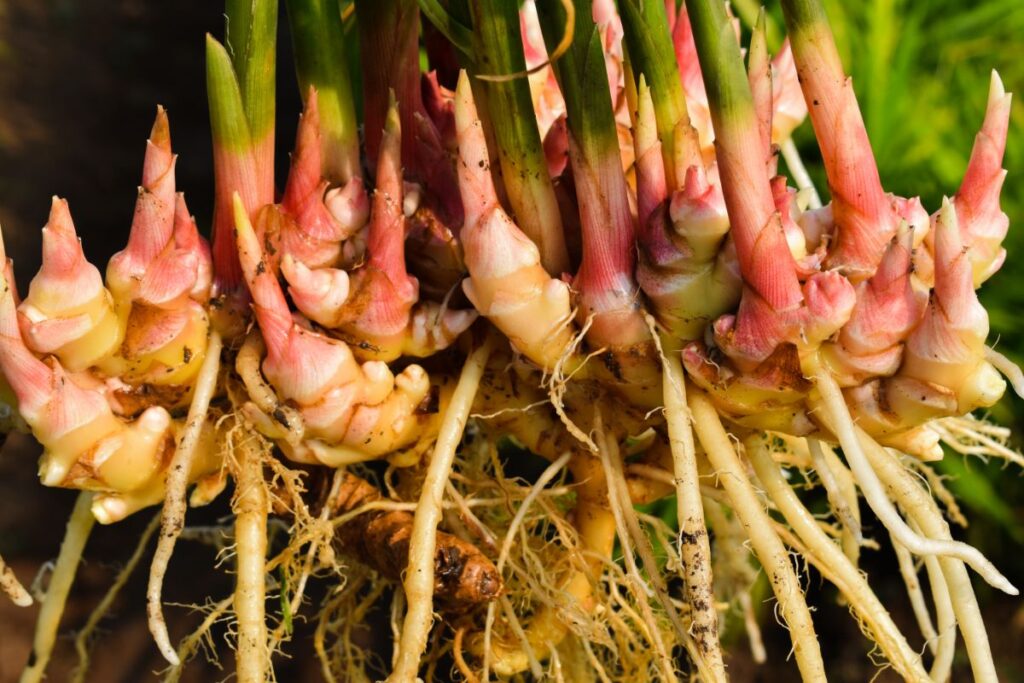
Ginger (Zingiber officinale) is a tropical plant that thrives in warm, humid conditions. Its rhizome—the part most people recognize as ginger—is the underground stem that stores nutrients. These rhizomes are the edible part used in cooking, teas, and even medicinal remedies.
Growing ginger at home is both simple and satisfying because:
- It doesn’t require complex pruning or training.
- It thrives in containers or garden beds.
- It’s resilient and can grow year-round indoors with proper care.
- Harvesting is flexible; you can start small or wait for full maturity.
Once you understand the plant’s needs, ginger becomes a low-maintenance yet impressive addition to your home garden.
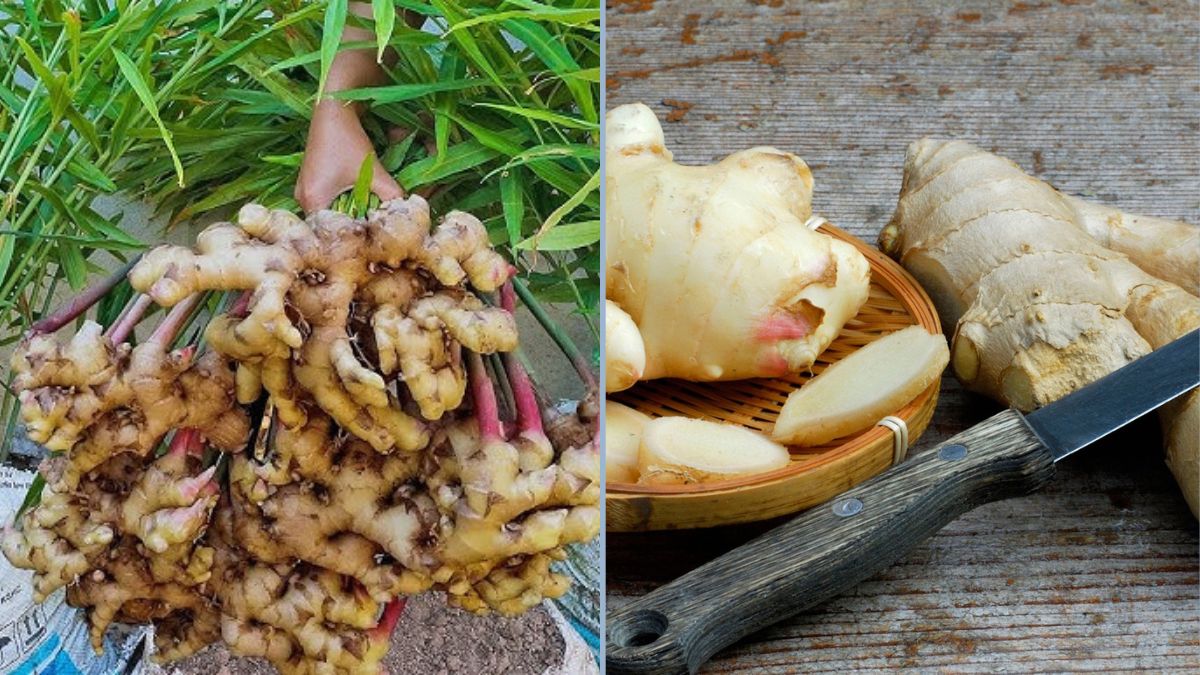
Choosing the Right Ginger for Your Garden
There are several varieties of ginger, but for beginners, common culinary ginger is the easiest to grow. When selecting rhizomes for planting:
- Look for plump pieces with visible buds (“eyes”). These are the points from which new shoots will sprout.
- Avoid shriveled or moldy roots. Healthy rhizomes are firm and free from soft spots.
- Consider organic sources. Ginger from an organic store or a nursery ensures fewer chemical treatments, giving your plants the best start.
Preparing Your Ginger for Planting
Before planting, some preparation is essential:
1. Cutting the Rhizome
If your ginger piece is large, you can cut it into smaller sections, each with at least one bud. Allow the cut pieces to dry for a day or two; this helps prevent rot after planting.
2. Soaking (Optional)
Some gardeners soak the rhizomes in lukewarm water for a few hours before planting to jumpstart growth. This is optional but can speed up sprouting.
3. Choosing a Container or Garden Bed
Ginger prefers shallow but wide containers or garden beds with loose, well-draining soil. A pot at least 12 inches deep and 14–16 inches wide works well for one rhizome.
Planting Ginger: Step-by-Step
- Soil Preparation
Mix potting soil with compost or organic matter. Ginger thrives in rich, loose soil that retains moisture but drains well. Avoid compacted or heavy clay soils. - Planting Depth
Place the rhizome horizontally, with the buds facing up, about 1–2 inches deep in the soil. Cover lightly with soil. - Spacing
If planting multiple rhizomes in a garden bed, leave 6–8 inches between each piece to allow room for growth. - Watering
Water lightly after planting. Ginger prefers consistently moist soil, but overwatering can lead to rot. - Temperature and Light
Ginger is tropical and loves warmth. Ideal temperatures are 70–85°F (21–29°C). It prefers indirect sunlight or partial shade. Direct sunlight may scorch the leaves, especially indoors.
Caring for Your Ginger Plant
Once planted, ginger is surprisingly easy to care for, but a few key practices ensure strong growth:
1. Watering
Keep the soil consistently moist but not soggy. Water when the top inch of soil feels dry. Using a saucer under pots helps maintain humidity.
2. Fertilizing
Feed your ginger every 4–6 weeks with a balanced, organic fertilizer. Alternatively, use compost tea or worm castings for a gentle nutrient boost. Avoid high nitrogen fertilizers, as they encourage leaves over rhizome growth.
3. Mulching
Applying mulch (like straw or shredded leaves) helps retain moisture, regulate soil temperature, and suppress weeds in outdoor gardens.
4. Support and Care
Ginger doesn’t need staking, but removing damaged or yellowing leaves improves airflow and reduces disease risk.
Troubleshooting Common Issues
Even beginner gardeners can face small challenges with ginger. Here’s how to handle them:
1. Slow Sprouting
If your ginger isn’t sprouting after a few weeks, ensure the soil is warm and moist. Patience is key; some rhizomes take 3–4 weeks to sprout.
2. Yellow Leaves
Yellowing often indicates overwatering or nutrient deficiency. Reduce watering slightly and provide a mild organic fertilizer.
3. Pests
Ginger is relatively pest-resistant, but watch for spider mites or aphids. Spray with water or organic insecticidal soap if needed.
4. Root Rot
Too much water or poor drainage can cause rhizome rot. Ensure proper soil mix and avoid standing water.
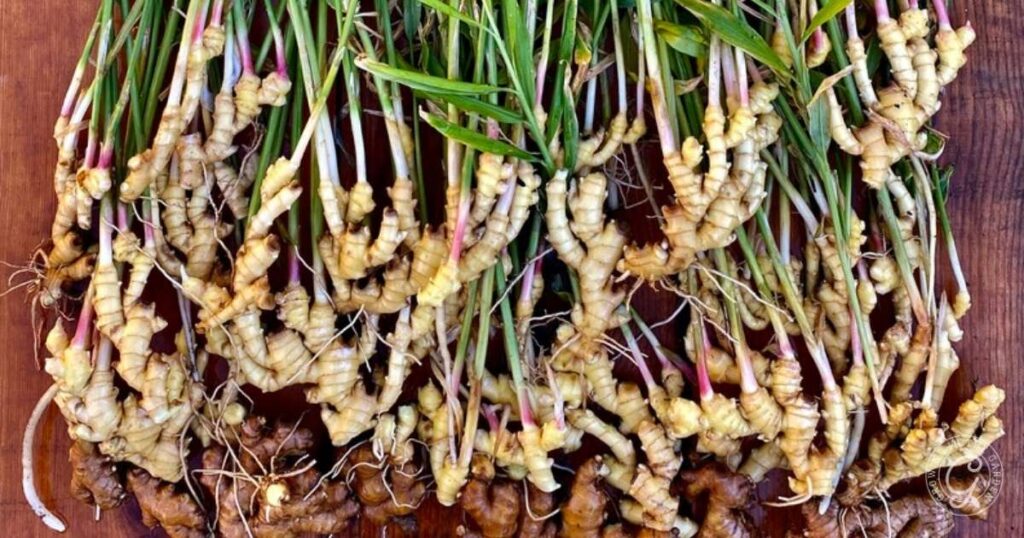
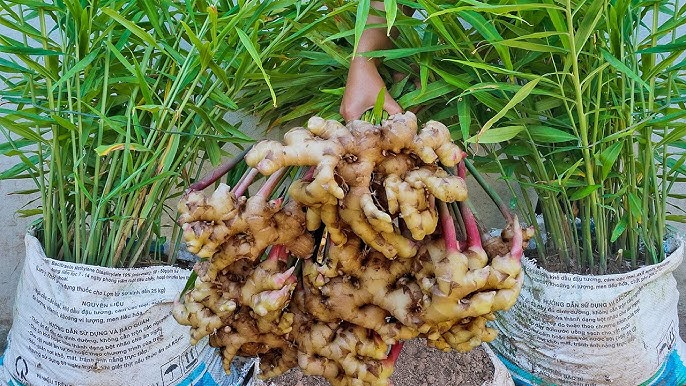
Harvesting Ginger: When and How
One of the most rewarding aspects of growing ginger is harvesting. You can choose to harvest at different stages depending on your culinary needs:
1. Young Ginger (Baby Ginger)
- Harvest 3–4 months after planting.
- The rhizomes are tender, juicy, and mild in flavor.
- Perfect for fresh teas and light cooking.
2. Mature Ginger
- Full maturity is around 8–10 months.
- The rhizomes are larger, fibrous, and packed with strong flavor.
- Ideal for cooking, baking, and long-term storage.
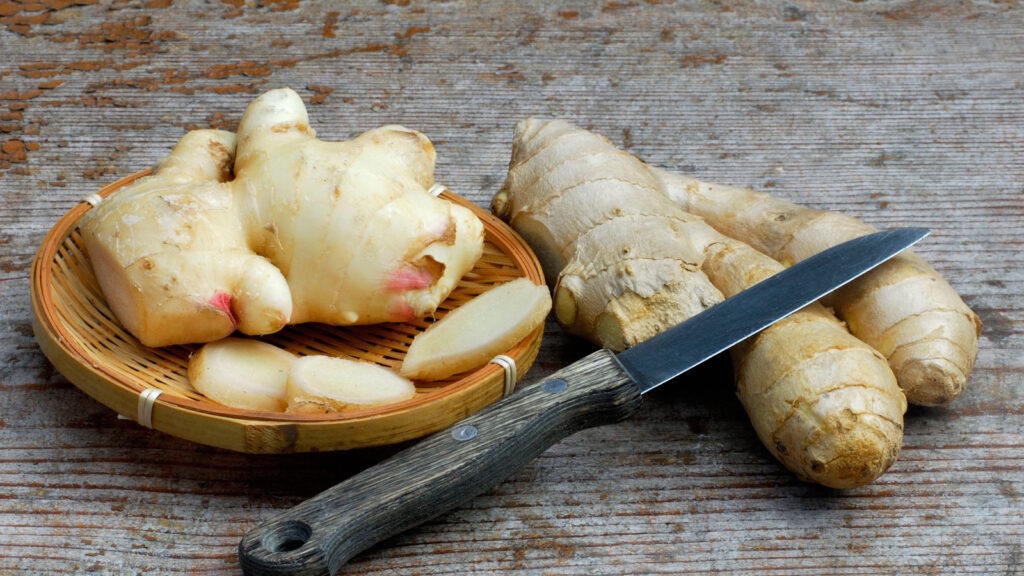
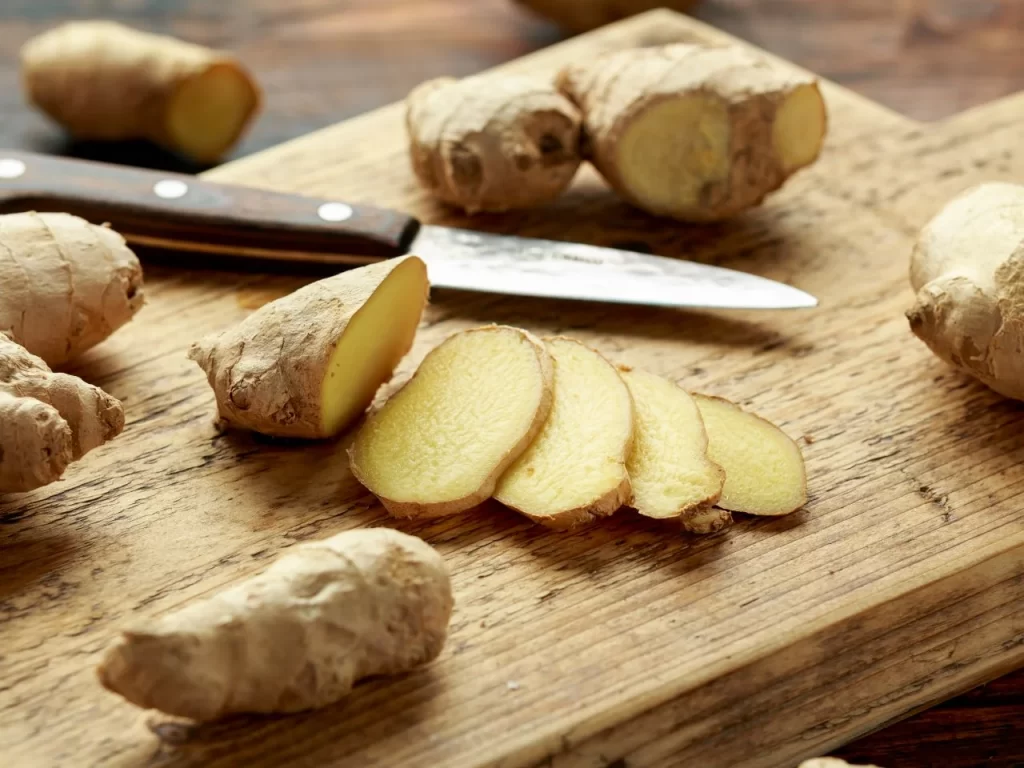
How to Harvest
- Gently dig around the plant with your hands or a small trowel.
- Cut a portion of the rhizome, leaving the rest to continue growing.
- Wash and dry before using or storing.
Tips for Year-Round Ginger Growth
- Indoors: Move pots near a bright, sunny window or use grow lights in winter.
- Temperature: Avoid frost; ginger is sensitive to cold. Bring indoor plants inside when temperatures drop below 60°F.
- Propagation: Save a piece of rhizome with a bud for replanting—ginger multiplies easily!
Creative Ways to Use Homegrown Ginger
Once you’ve successfully grown ginger, the possibilities are endless:
- Culinary Uses: Add to stir-fries, curries, soups, or baked goods.
- Beverages: Make fresh ginger tea, smoothies, or homemade ginger ale.
- Preservation: Slice and freeze or candy the rhizomes for longer storage.
- Health Benefits: Ginger is known for aiding digestion, reducing nausea, and supporting the immune system.
Final Thoughts
Growing ginger at home may seem daunting at first, but with the right preparation and care, it’s a simple and rewarding process. The key takeaways for beginners:
- Choose healthy rhizomes with visible buds.
- Plant in rich, well-draining soil with partial shade.
- Keep soil consistently moist and fertilize regularly.
- Harvest partially at 3–4 months for tender ginger, or wait 8–10 months for mature roots.
With patience and consistent care, you can transform a small rhizome into a lush, impressive ginger plant. Not only will you enjoy fresh, chemical-free ginger, but you’ll also gain the satisfaction of growing one of the most aromatic and versatile herbs in your own home.
Whether you’re a gardening novice or a seasoned plant lover, ginger is a plant that promises both beauty and utility—making it a perfect addition to any garden or indoor space. Start small, follow these simple steps, and prepare to impress yourself (and your taste buds!) with your homegrown ginger harvest.