
Bitter melon, also known as bitter gourd or Momordica charantia, is a popular vegetable in many Asian cuisines. Its health benefits are remarkable—it’s packed with vitamins, antioxidants, and compounds that help regulate blood sugar. However, growing bitter melon at home may seem daunting, especially if you’re worried about fertilizers or garden space.
What if you could turn your kitchen scraps into a nutrient-rich medium to grow bitter melon, yielding more fruits than you ever imagined? In this blog post, we’ll walk you through a simple, sustainable method to recycle kitchen waste for growing bitter melon at home. You’ll learn how to prepare compost from everyday scraps, plant and care for your vines, and maximize fruit production.
Why Bitter Melon?

Before we dive into the method, here’s why growing bitter melon is worth it:
- Health Benefits
- Rich in vitamin C, vitamin A, and potassium.
- Contains compounds that may help lower blood sugar levels.
- Supports immune health and digestion.
- High Yielding
- When grown properly, bitter melon plants can produce a continuous harvest for weeks.
- Space Efficient
- Vines can be trained vertically on trellises, making it ideal for small gardens or balcony spaces.
- Sustainable Gardening
- Bitter melon thrives in nutrient-rich soil made from recycled kitchen waste, reducing the need for chemical fertilizers.
Step 1: Collecting Kitchen Waste
Recycling kitchen waste is the first step in creating a nutrient-dense medium for your bitter melon. Here’s what works best:
- Vegetable peels: Carrot, potato, zucchini, cucumber, and leafy greens.
- Fruit scraps: Apple cores, banana peels, watermelon rinds. Avoid citrus in large amounts as it can make the compost too acidic.
- Coffee grounds and tea leaves: Excellent nitrogen source.
- Eggshells: Rich in calcium, helps prevent blossom end rot.
- Avoid: Meat, dairy, and oily food scraps as they can attract pests and produce foul odors.
Step 2: Making the Compost
Turning kitchen waste into a fertile medium requires proper composting. Here’s how:
- Layering: Start with coarse material like dried leaves or shredded newspaper at the bottom of a compost bin or container.
- Add Kitchen Waste: Layer your collected scraps on top of the coarse base.
- Moisture Control: Keep the pile damp but not soggy. Use water spray if necessary.
- Aeration: Turn the compost every few days to introduce oxygen, helping beneficial microbes break down the organic matter.
- Decomposition: Within 2–3 weeks in warm conditions, you’ll have dark, crumbly compost ready to use as a growing medium.
Pro Tip: If you’re in a hurry, chop waste into smaller pieces to speed up decomposition.
Step 3: Preparing Containers for Bitter Melon
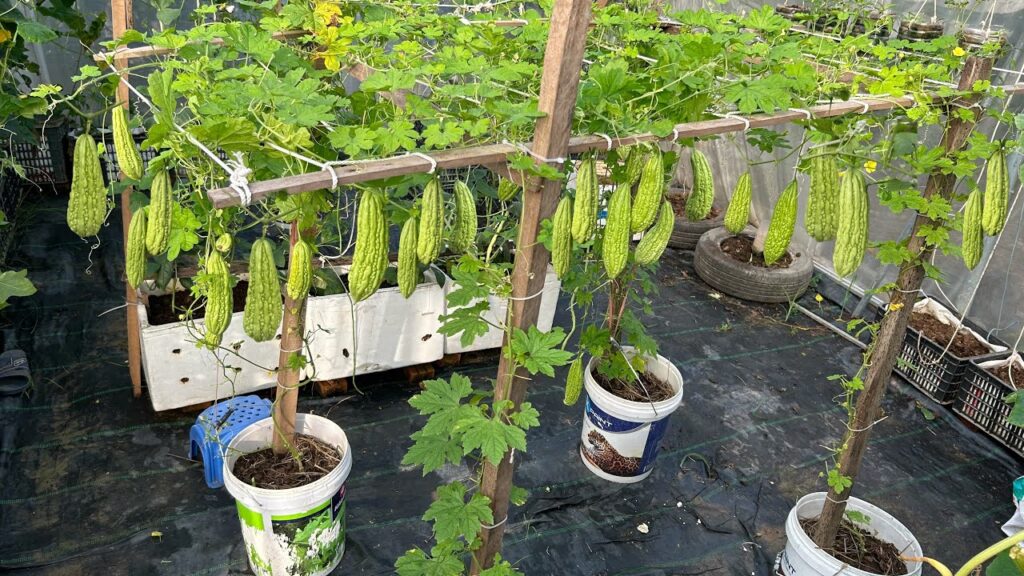
Bitter melon is a vigorous vine, so container choice is crucial for home cultivation.
- Container Size: Use pots or grow bags that are at least 12–15 inches deep and 12 inches wide. Large containers allow roots to expand.
- Drainage: Ensure holes at the bottom for proper water flow to prevent root rot.
- Soil Mix: Combine your composted kitchen waste with garden soil or cocopeat in a 2:1 ratio for a nutrient-rich medium.
Step 4: Sowing Bitter Melon Seeds
- Seed Selection: Choose fresh, healthy bitter melon seeds. Heirloom or local varieties often produce stronger plants.
- Soaking: Soak seeds in water overnight to soften the outer shell, improving germination rates.
- Planting: Plant seeds 1–2 cm deep in the prepared container. Cover lightly with soil and water gently.
- Germination: Seeds usually sprout within 7–14 days. Keep the soil consistently moist.
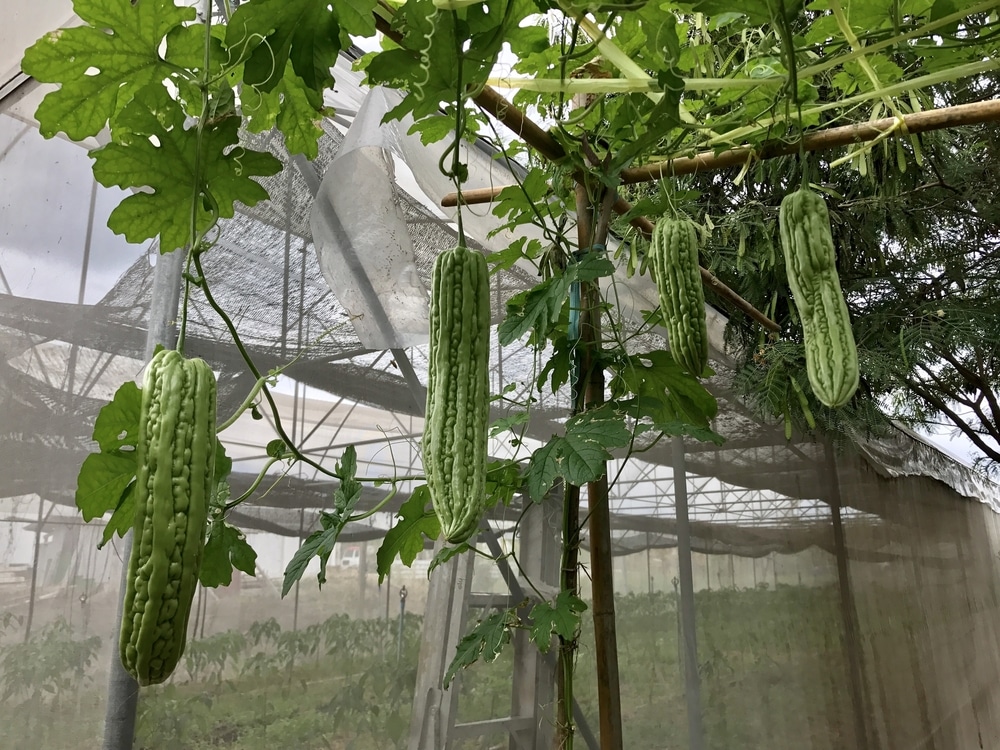
Step 5: Supporting the Vines
Bitter melon is a climbing vine and requires vertical support to grow efficiently.
- Trellis or Cage: Install a sturdy trellis or mesh for the vine to climb. Bamboo sticks, PVC frames, or even string supports can work.
- Training Vines: Gently guide young tendrils to the trellis to encourage upward growth, which increases air circulation and reduces pest problems.
Step 6: Watering and Nutrient Management
Even with nutrient-rich kitchen compost, proper watering is critical:
- Watering: Keep soil consistently moist, but not waterlogged. Bitter melon prefers well-drained soil.
- Mulching: Add a layer of straw or dried leaves to retain moisture and prevent weed growth.
- Fertilization: As the plant grows, supplement with liquid organic fertilizers like diluted compost tea or fish emulsion once every 2–3 weeks for maximum fruit production.
Pro Tip: Leaves turning yellow may indicate nutrient deficiency—add more compost or organic fertilizer.
Step 7: Pollination for More Fruits
Bitter melon flowers are usually pollinated by insects, but indoor or balcony plants may need hand-pollination:
- Male vs. Female Flowers: Male flowers appear first, female flowers follow with tiny fruit at the base.
- Hand Pollination: Use a small brush or cotton swab to transfer pollen from male to female flowers to ensure fruit set.
This simple step can dramatically increase the number of fruits, sometimes doubling the harvest.
Step 8: Pest and Disease Management

Using kitchen waste as compost may attract certain pests or fungal problems if the medium is too wet.
- Common pests: Aphids, whiteflies, and fruit flies.
- Organic solutions: Neem oil, insecticidal soap, or manual removal.
- Fungal issues: Powdery mildew or root rot can occur if air circulation is poor or soil stays soggy. Ensure adequate spacing and proper drainage.
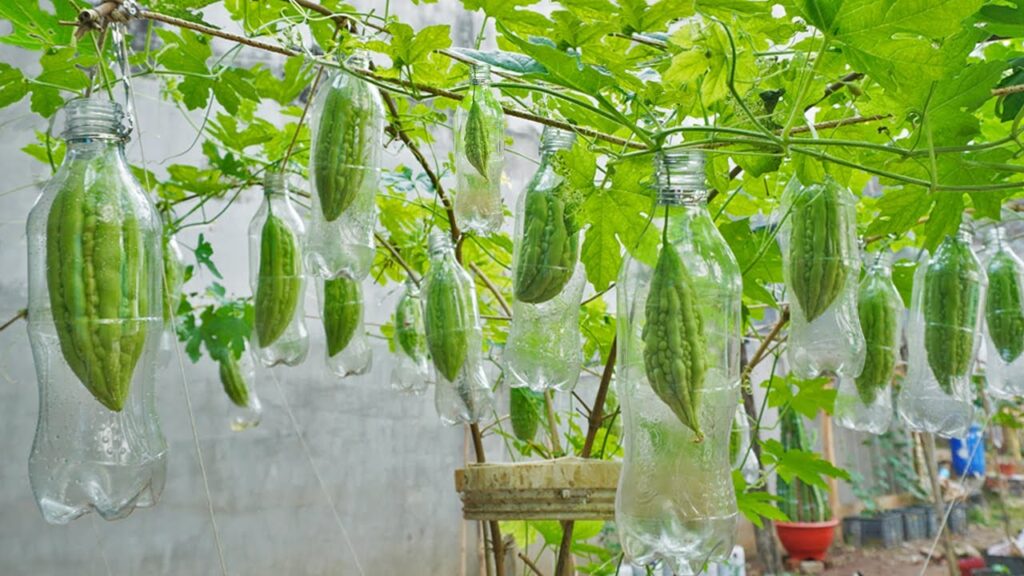
Step 9: Harvesting Bitter Melon
Bitter melon is usually ready for harvest 50–70 days after sowing, depending on the variety.
Harvesting tips:
- Pick fruits when they are green and firm; overripe fruits turn yellow and become bitter.
- Use scissors or garden shears to avoid damaging the vine.
- Frequent harvesting encourages the plant to produce more fruits.
In my experience, using kitchen compost and vertical support, the plant produced more fruits than expected, giving a continuous harvest for weeks.
Benefits of Using Kitchen Waste to Grow Bitter Melon
- Eco-Friendly: Reduces household waste while creating fertile soil.
- Cost-Effective: No need for chemical fertilizers.
- High Yield: Nutrient-rich compost promotes vigorous growth and fruiting.
- Fresh and Organic: You know exactly what goes into your plant, ensuring chemical-free produce.
- Educational: Great for families to learn about recycling, composting, and gardening.
Tips for Maximum Yield
- Rotate crops and compost scraps to maintain soil fertility.
- Ensure sunlight exposure of 6–8 hours per day.
- Maintain consistent watering schedules, especially during flowering and fruiting stages.
- Keep vines trained and pruned to avoid overcrowding.
- Harvest regularly to stimulate new fruit growth.
Conclusion
Growing bitter melon at home doesn’t have to be complicated or expensive. By recycling kitchen waste into compost, you not only reduce household trash but also create a nutrient-rich medium that produces healthy, abundant fruits.
With proper care—from seed soaking, trellis support, watering, hand pollination, to pest management—bitter melon vines can thrive even in limited spaces like balconies or small gardens.
This method proves that sustainable gardening is possible, rewarding, and surprisingly fruitful. Your kitchen scraps, once considered waste, can turn into a thriving mini-garden yielding fresh, organic bitter melon for weeks.
Start small, recycle wisely, and you might just be surprised by the bounty you can harvest from your home garden!
SEO & Social Media Hashtags:
#BitterMelon #HomeGarden #KitchenWasteRecycling #OrganicGardening #UrbanFarming #SustainableLiving #CompostGarden #VegetableGardenTips