
Pak choy—also known as bok choy or pakcoy—is one of the easiest and fastest leafy vegetables to grow. Whether you have a garden, pots, or just a small balcony, this vegetable can thrive with minimal effort. In many Asian households, especially in Indonesia, Malaysia, and China, pak choy is a kitchen staple thanks to its mild flavor, quick growth, and high nutritional value.
Inspired by the video titled “Cara mudah menanam pakcoy dari benih sampai panen || Easy way to plant pak choy from seed to harvest,” this blog post will guide you step-by-step through the simplest and most effective method to grow pak choy—from choosing seeds to harvesting fresh leaves in just a few weeks.
Why Grow Pak Choy?
Before getting into the how-to, here are some reasons why pak choy is perfect for beginners and home gardeners:
- Fast harvest time: Ready to eat in just 25–40 days.
- Can be grown anywhere: Pots, garden beds, hydroponics, or recycled containers.
- Minimal maintenance: Doesn’t require complicated care.
- Nutritious: High in vitamins A, C, and K, as well as fiber and antioxidants.
- Grows well in tropical and temperate climates.
With a little preparation and attention, you can enjoy a continuous supply of fresh, organic pak choy right from home.
Step 1: Choosing the Right Seeds
Pak choy seeds are small, round, and typically black or dark brown. Look for high-quality seeds labeled as:
- F1 hybrid (fast-growing and resistant to pests)
- Baby pak choy (ideal for pots or small spaces)
- Organic seeds (for chemical-free gardening)
Check the seed expiry date and source from a trusted supplier to ensure good germination rates.
Step 2: Prepare the Growing Medium
Pak choy thrives in loose, fertile, and well-draining soil. Whether you’re planting in a garden bed or pot, the soil mix should be nutrient-rich.
Recommended soil mix:
- 2 parts garden soil or cocopeat
- 1 part compost or manure
- 1 part rice husk, sand, or perlite for aeration
Make sure the pH is around 6.0–7.0. Before planting, loosen the soil and remove stones, weeds, or debris. Good soil preparation ensures fast seedling growth and strong root development.
Step 3: Seed Sowing Made Easy

There are two methods to plant pak choy seeds:
A. Direct Sowing (Tanam Langsung)
Best for garden beds and large containers.
- Make shallow holes or rows (0.5–1 cm deep).
- Place 1–2 seeds per hole.
- Cover lightly with soil.
- Water gently using a spray bottle or watering can.
B. Nursery Tray or Seedling Starter
Ideal for beginners and controlled growth.
- Fill seedling trays or small pots with moist soil mix.
- Place 1–2 seeds in each cell.
- Cover very lightly with soil.
- Keep in a shaded area with good air circulation.
Seeds usually germinate in 3–5 days.
Step 4: Proper Watering and Light
Pak choy loves consistent moisture but not waterlogging.
Watering tips:
- Water once or twice daily (depending on temperature).
- Use spray mist for seedlings.
- Avoid dry soil or standing water.
Light requirements:
- Full sun (4–6 hours) is best.
- Can tolerate partial shade, especially in hot climates.
For indoor or balcony gardening, place containers near windows or use LED grow lights if needed.
Step 5: Transplanting Seedlings (If Using Trays)

After 10–14 days, when seedlings have 3–4 true leaves, they’re ready to be moved.
How to transplant:
- Water the seedlings lightly before transferring.
- Prepare planting holes 10–15 cm apart.
- Gently lift seedlings with the soil around roots.
- Place them in the holes and press soil around the base.
- Water immediately after transplanting.
Spacing ensures pak choy grows wide and healthy.
Step 6: Fertilizing for Fast Growth
Pak choy grows quickly, so it needs steady nutrition.✅ Organic fertilizer options:
- Compost tea
- Cow or goat manure
- Liquid fish fertilizer
- EM-4 solution (effective microorganisms)
- Banana peel soak (for potassium)
Application schedule:
- First feeding: 7–10 days after transplant
- Second feeding: At 3 weeks
- Optional: Light feeding weekly for maximum growth
Avoid chemical fertilizers if you want organic produce.
Step 7: Protecting Pak Choy from Pests
Common pests include:
- Aphids (kutu daun)
- Caterpillars (ulat)
- Flea beetles
- Snails
Organic pest control methods:
- Spray neem oil + mild soap
- Use garlic-chili water spray
- Cover with insect netting
- Handpick caterpillars early in the morning
- Keep surroundings clean to avoid pest buildup
Healthy soil and spacing reduce pest problems naturally.
Step 8: Caring for Growth
For better and faster growth:
- Loosen soil around plants every two weeks.
- Remove yellow or damaged leaves.
- Mulch with rice husk, grass clippings, or dried leaves to retain moisture.
- Rotate crops if planting again in the same area to prevent disease.
If growing hydroponically, maintain nutrient solution and water pH.
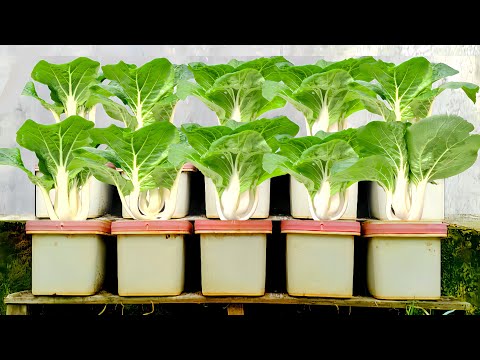
Step 9: Harvesting Pak Choy
One of the best things about pak choy is its quick harvest time.
Harvest Timeline:
- Baby pak choy: 25–30 days after planting
- Full-size pak choy: 35–45 days after planting
Harvesting methods:
A. Cut-and-grow method:
Cut leaves 2–3 cm above the base. New leaves will regrow, giving multiple harvests.
B. Uproot method:
Pull the entire plant out when fully grown. Ideal for replanting cycles.
Harvest tips:
- Harvest in the morning for freshness.
- Wash gently and store in the fridge.
- Consume within 3–5 days for best quality.
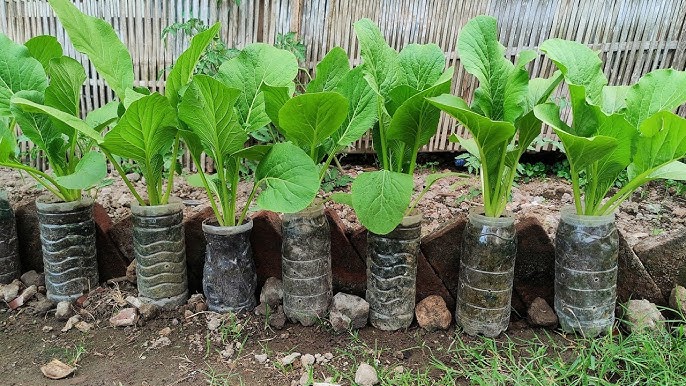
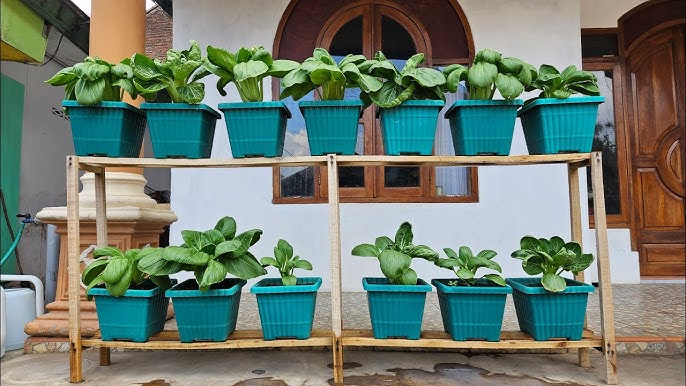
Growing Pak Choy in Pots or Containers
Don’t have land? No problem!
Use:
- Plastic pots
- Fabric grow bags
- Buckets
- Recycled bottles
- Styrofoam boxes
- Hydroponic systems
Minimum container size:
- Depth: 15–20 cm
- Width: 20–30 cm
- Drainage holes required
Plant 1–3 seedlings per pot depending on size.
Hydroponic Pak Choy (Optional Method)
More people are using hydroponics for fast, clean, and soil-free farming.
Popular systems:
- NFT (Nutrient Film Technique)
- Wick system
- Floating raft
- Kratky method (no pump needed)
Hydroponic pak choy can be harvested in 20–25 days.
Common Growing Problems & Solutions
| Problem | Cause | Solution |
|---|---|---|
| Yellow leaves | Lack of nutrients | Add compost tea or manure |
| Stunted growth | Poor soil or spacing | Loosen soil, replant if crowded |
| Leggy seedlings | Lack of sunlight | Move to brighter area |
| Holes in leaves | Pests | Use neem or chili spray |
| Wilting | Water stress | Water regularly, mulch soil |
Tips for Faster and Healthier Harvest
Use quality seeds
Keep soil moist, not soggy
Apply organic fertilizer regularly
Give good sunlight
Protect from pests early
Provide proper spacing
Harvest at the right time
With these steps, your pak choy will grow quickly, evenly, and organically.
Conclusion
Growing pak choy from seed to harvest is truly easy—even for beginners. With simple tools, basic care, and organic methods, you can enjoy fresh, pesticide-free vegetables in less than a month. Whether you’re gardening in a backyard, pot, balcony, or small urban space, this leafy green adapts beautifully and rewards you with quick results.