
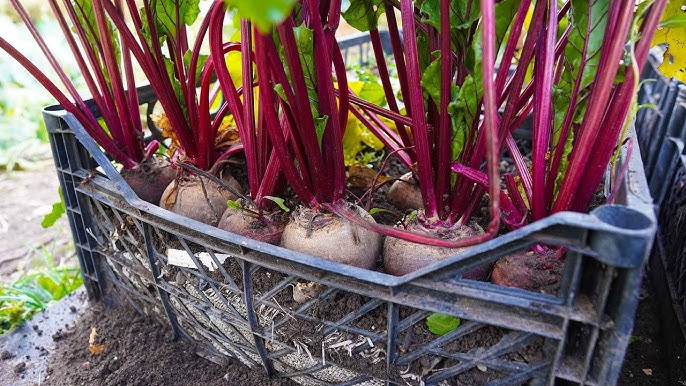
Urban gardening has become a popular trend, especially for those who have limited space but still want to enjoy fresh, homegrown vegetables. One of the most versatile and rewarding vegetables to grow at home is red beet. Packed with nutrients, red beets are perfect for salads, juices, and even roasted dishes. But what if you don’t have a garden or backyard? The solution is simple: growing red beets in a self-watering PET bottle. This method is not only eco-friendly by recycling plastic bottles, but it also provides a convenient way to ensure your plants get consistent moisture for healthy growth.
In this blog post, we’ll explore the step-by-step process of growing red beets in PET bottles, the benefits of a self-watering system, and tips to maximize your yield, even if you are a beginner.
Why Choose PET Bottles for Growing Beets?
Plastic bottles are often considered waste, but they can be transformed into an efficient container for urban gardening. Here are a few reasons why PET bottles are ideal for growing red beets:
- Eco-Friendly: Recycling PET bottles reduces plastic waste and gives them a second life as a planter.
- Compact and Space-Saving: Perfect for apartments, balconies, or small patios.
- Cost-Effective: Most households already have empty bottles, so there’s no need to buy expensive planters.
- Self-Watering Capability: With some modifications, PET bottles can be converted into a self-watering system, reducing the frequency of watering and promoting consistent soil moisture.
Materials You’ll Need
Before starting, gather the following items:
- 2-liter PET bottle (or any large plastic bottle)
- Scissors or utility knife
- Cotton cloth or small rope (for wick)
- Soil (preferably a mix of compost and garden soil)
- Red beet seeds
- Water
- Small stones or pebbles (optional for drainage)
Step-by-Step Guide to Growing Red Beets in a PET Bottle
Step 1: Preparing the Bottle
- Wash the bottle thoroughly to remove any residue.
- Cut the bottle in half horizontally. The bottom half will hold the soil and beet seeds, while the top half will act as a reservoir for water.
- Invert the top half (with the cap removed) and place it into the bottom half. This creates a self-watering system.
Step 2: Creating a Wick
- Take a cotton cloth or rope and thread it through the neck of the inverted top half.
- Make sure one end of the wick reaches the water in the bottom half, while the other end touches the soil.
- The wick will draw water up into the soil, keeping it moist for the beet seeds.
Step 3: Adding Soil and Seeds
- Place a layer of small stones or pebbles at the bottom for drainage (optional but recommended).
- Fill the soil in the top half of the bottle. Make sure the soil is loose and well-draining.
- Plant red beet seeds about 1 inch deep into the soil. Space them out to give each seedling enough room to grow.
Step 4: Watering and Maintenance
- Pour water into the bottom half of the bottle. The wick will automatically supply moisture to the soil.
- Keep the soil consistently moist, but not waterlogged. Too much water can lead to root rot.
- Place the bottle in a location that receives at least 4–6 hours of sunlight daily. A sunny windowsill or balcony is perfect.
Tips for Healthy Red Beet Growth

- Fertilizing: Every two weeks, use a diluted liquid fertilizer to give your plants an extra nutrient boost.
- Thinning Seedlings: Once your seedlings grow 2–3 inches tall, thin them by snipping weaker seedlings to allow space for strong ones.
- Pest Control: Monitor for pests like aphids and treat them naturally with neem oil or a mild soap solution.
- Harvesting: Red beets are usually ready to harvest 7–10 weeks after planting. Gently pull them from the soil once they reach 1.5–2 inches in diameter.
Benefits of a Self-Watering PET Bottle System
Growing red beets in a self-watering PET bottle is not only practical but also highly efficient. Here’s why:
- Consistent Moisture: The wick system ensures the soil stays consistently moist, reducing stress on the plant and encouraging healthy root development.
- Less Frequent Watering: You won’t need to water every day, making it perfect for busy individuals or frequent travelers.
- Reduced Risk of Overwatering: Since water is supplied gradually, the risk of waterlogging and root rot is minimized.
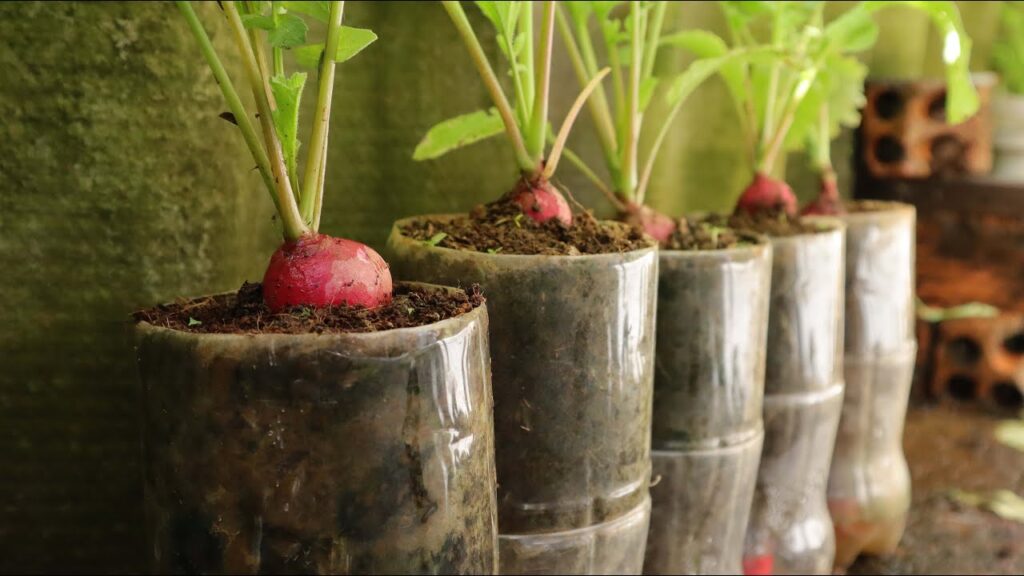
- Easy Observation: The transparent bottle allows you to monitor root growth and soil moisture easily.
Common Mistakes to Avoid
- Overcrowding Seeds: Planting too many seeds in one bottle can stunt growth. Thin seedlings properly.
- Neglecting Sunlight: Red beets need adequate sunlight to grow. Avoid placing the bottle in dark corners.
- Ignoring Water Levels: Even though it’s self-watering, the reservoir can run dry. Check periodically.
- Poor Soil Quality: Nutrient-poor soil will result in small, unhealthy beets. Always mix compost for better growth.
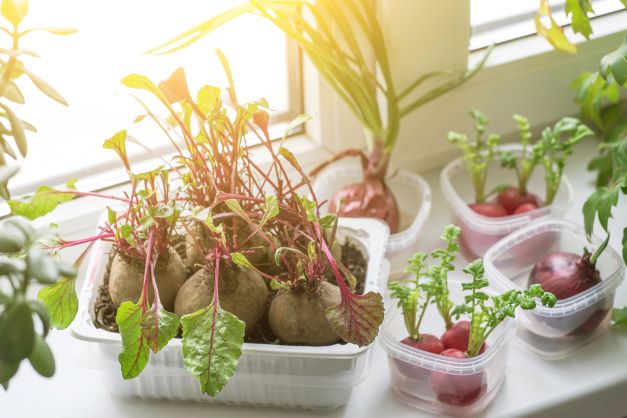
Expanding Your Urban Garden
Once you’ve mastered growing red beets in a PET bottle, you can try other vegetables and herbs using the same technique. Carrots, spinach, lettuce, and even cherry tomatoes can thrive in a self-watering PET bottle setup. The compact and recyclable nature of this system makes it a perfect choice for anyone wanting to cultivate fresh produce at home, regardless of space.
Conclusion
Growing red beets in a self-watering PET bottle is an innovative and sustainable method for urban gardening. It allows anyone to enjoy fresh, nutrient-rich vegetables without the need for a traditional garden. With proper sunlight, soil, and care, your PET bottle can become a mini-garden, producing healthy beets for weeks to come. Not only does this method promote eco-friendly practices by recycling plastic bottles, but it also introduces the joys of gardening to beginners and busy city dwellers alike.
Whether you’re an experienced gardener or someone exploring home gardening for the first time, this self-watering PET bottle system is a practical and rewarding project. Start with red beets, watch them grow, and eventually expand your urban garden to include a variety of vegetables and herbs.
Your journey toward a greener, healthier lifestyle can literally start with a simple plastic bottle and a few beet seeds!