Urban gardening has become an essential hobby for many people, especially those living in apartments or homes without traditional garden spaces. Growing your own vegetables not only provides fresh, healthy produce but also promotes sustainability and a connection with nature. One of the easiest and most rewarding vegetables to grow at home is the humble turnip. Packed with vitamins, minerals, and antioxidants, turnips are a nutritious addition to your meals.
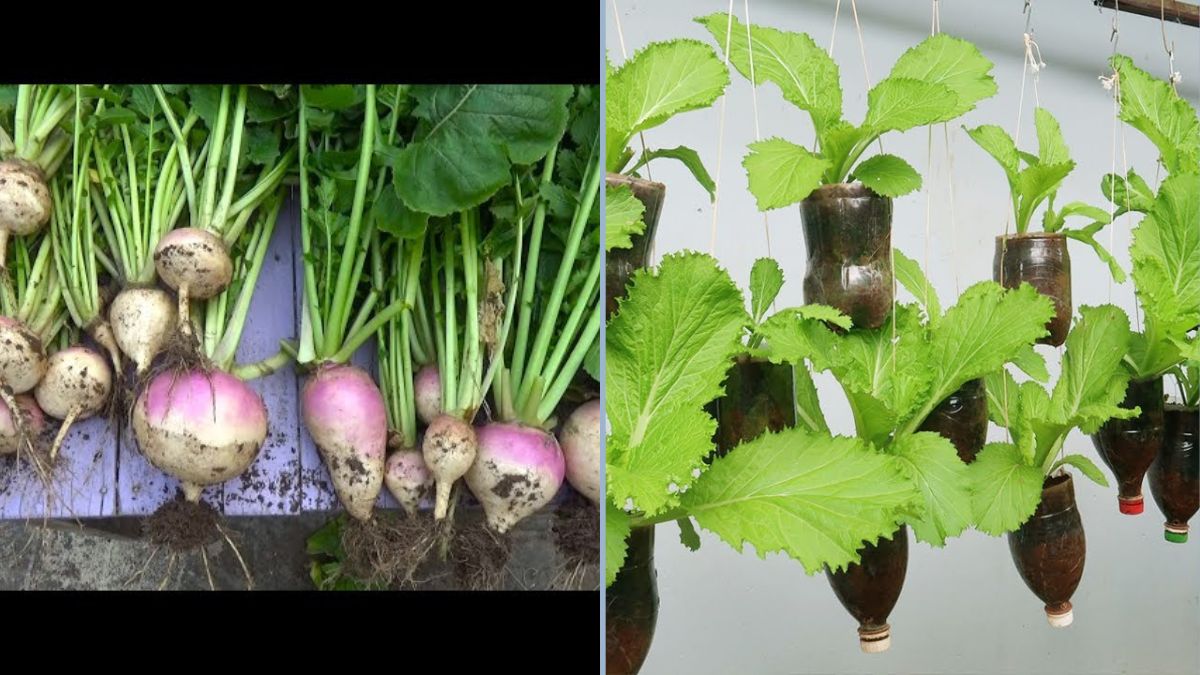
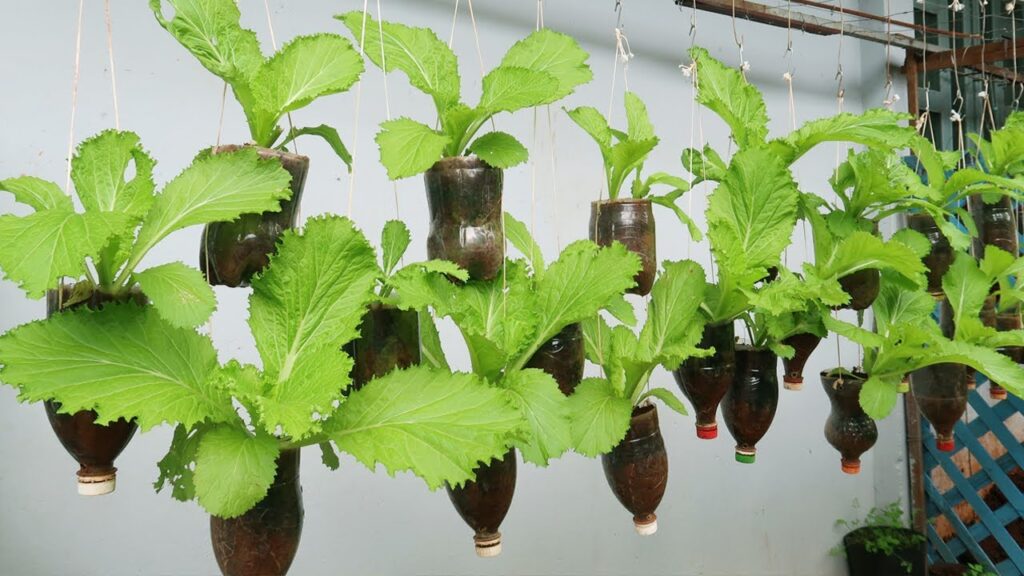
If you thought growing vegetables required a garden or backyard, think again! With just a plastic bottle and a little effort, you can cultivate turnips on your rooftop. This method is eco-friendly, cost-effective, and perfect for urban spaces. In this blog post, we’ll guide you through the entire process of growing turnips in plastic bottles at home, along with tips for care, harvesting, and maximizing your yield.
Why Grow Turnips in Plastic Bottles?
Using plastic bottles for gardening is not only innovative but also environmentally friendly. Here’s why growing turnips in plastic bottles is a smart choice:
- Recycling Made Useful: Plastic bottles that would otherwise become waste can be repurposed as planters.
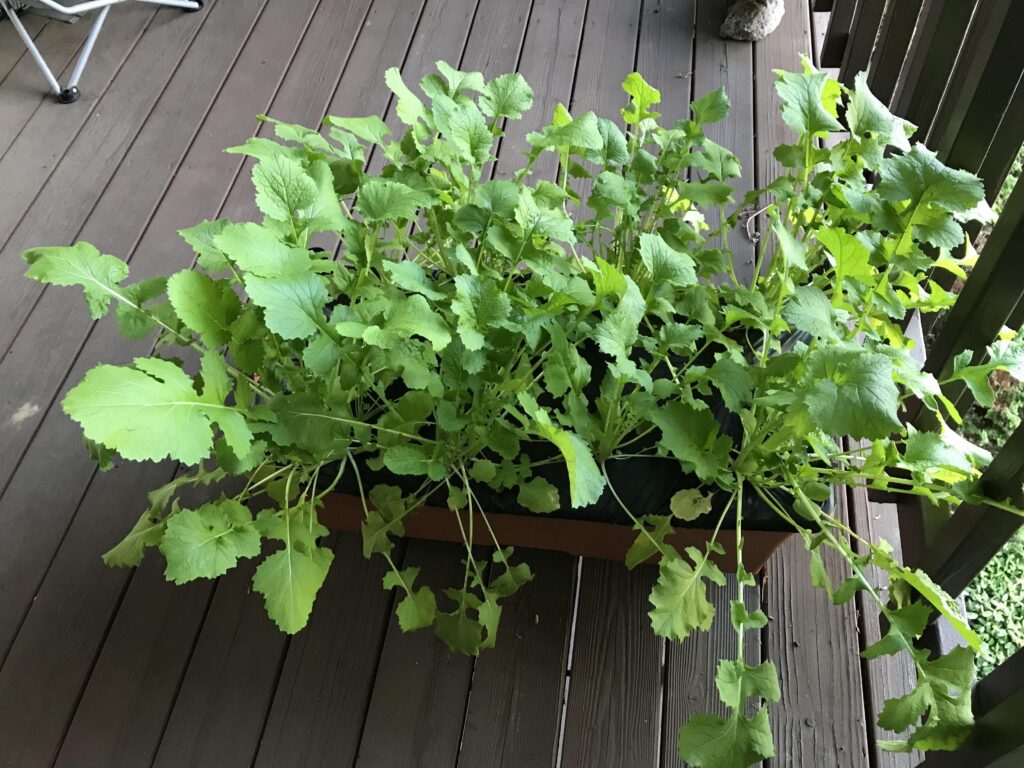
- Space-Saving: Ideal for rooftops, balconies, or small patios where traditional gardening isn’t feasible.
- Cost-Effective: Plastic bottles are free and easily available, eliminating the need for expensive pots.
- Controlled Watering: Bottles can be modified into self-watering systems to maintain consistent soil moisture.
- Portability: Bottles are lightweight and easy to move, making it simple to adjust sunlight exposure or bring them indoors during extreme weather.
Materials You’ll Need
Before starting, gather these basic materials:
- Large plastic bottles (2-liter bottles work well)
- Scissors or utility knife
- Soil (a mix of garden soil and compost works best)
- Turnip seeds
- Water
- Small stones or pebbles for drainage
- Cotton cloth or string for a wick (optional for self-watering setup)
Step-by-Step Guide to Growing Turnips in Plastic Bottles
Step 1: Preparing the Bottle
- Clean the plastic bottle thoroughly to remove any residue.
- Cut the bottle horizontally into two halves. The bottom half will serve as the base or water reservoir, while the top half will hold the soil and seeds.
- If desired, make a self-watering setup by inverting the top half into the bottom half and threading a wick (cotton cloth or string) from the soil into the water reservoir.
Step 2: Adding Drainage
- Place a layer of small stones or pebbles at the bottom of the top half to help with drainage.
- Good drainage prevents waterlogging and promotes healthy root growth.
Step 3: Filling with Soil
- Add nutrient-rich soil to the top half of the bottle. A mixture of compost and garden soil is ideal.
- Leave some space at the top to allow watering without overflow.
Step 4: Planting Turnip Seeds
- Plant turnip seeds about 1 inch deep into the soil.
- Space the seeds evenly to avoid overcrowding. Typically, 2–3 seeds per bottle are sufficient.
- Cover lightly with soil and gently pat down.
Step 5: Watering

- Pour water into the bottom half if you are using a self-watering setup. Otherwise, water the soil directly, keeping it consistently moist but not soggy.
- Turnips require regular watering to grow well, especially in hot rooftop conditions.
Step 6: Sunlight and Placement
- Place the bottles in a sunny spot that receives at least 4–6 hours of sunlight daily.
- Turnips thrive in moderate sunlight, so make sure the rooftop area isn’t too harsh or exposed to extreme heat.
Tips for Healthy Turnip Growth
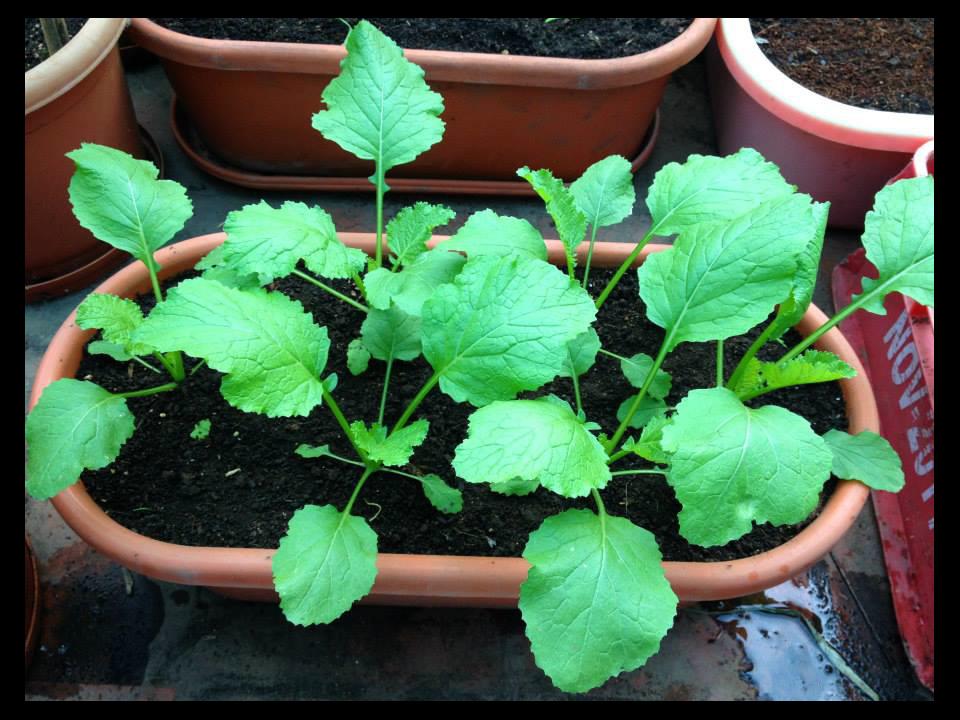
- Thinning Seedlings: Once the seedlings sprout and grow 2–3 inches tall, thin weaker seedlings to allow space for the strongest plants.
- Fertilization: Use a balanced liquid fertilizer once every 2–3 weeks to support healthy growth.
- Pest Management: Keep an eye out for pests like aphids or caterpillars. Natural remedies like neem oil or mild soap spray can be effective.
- Temperature: Turnips grow best in cooler temperatures, but a rooftop garden can still work if you provide some shade during extreme heat.
- Rotation: If growing multiple batches, rotate the bottles occasionally to ensure even sunlight exposure.
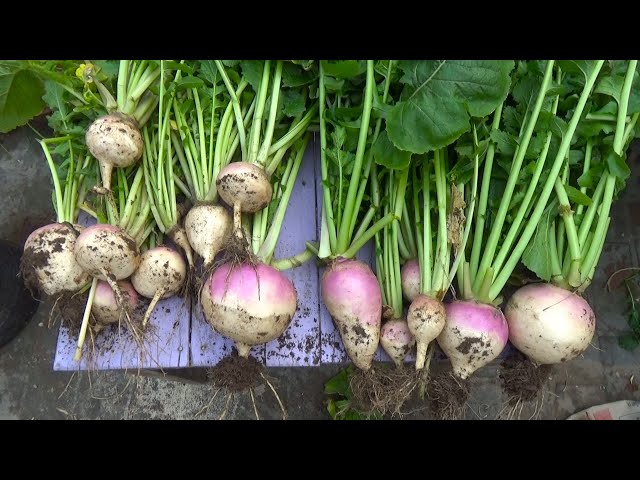
Harvesting Turnips
Turnips are usually ready to harvest 6–8 weeks after planting, depending on the variety. Here’s how to know when they’re ready:
- Size: The turnip roots should be around 2–3 inches in diameter.
- Leaves: Healthy, green leaves are a sign of mature roots.
- Technique: Gently loosen the soil around the base and pull the turnip root carefully. Avoid tugging too hard to prevent damaging the root.
- Leaf Use: Don’t discard the leaves—they are edible and nutritious, perfect for stir-fries, soups, or salads.
Benefits of Growing Turnips on Your Rooftop
- Fresh, Homegrown Produce: You control the quality and avoid harmful pesticides.
- Saves Money: Growing your own vegetables reduces grocery costs.
- Promotes Sustainability: Reusing plastic bottles and growing food locally reduces waste and carbon footprint.
- Therapeutic Activity: Gardening is a relaxing and rewarding hobby that reduces stress.
- Education: A rooftop garden is a great way to teach children and family members about the importance of plants and nutrition.
Common Mistakes to Avoid
- Overcrowding Seeds: Too many seeds in one bottle can stunt growth and reduce yield.
- Neglecting Sunlight: Turnips need sufficient sunlight to grow properly.
- Overwatering: While turnips like moisture, overwatering can cause root rot. Check soil moisture regularly.
- Ignoring Soil Quality: Poor or nutrient-deficient soil will result in small, unhealthy turnips. Always mix compost for best results.
- Ignoring Pests: Small infestations can quickly damage plants. Monitor regularly and act quickly.
Expanding Your Rooftop Garden
Once you’ve successfully grown turnips in plastic bottles, you can experiment with other vegetables such as carrots, radishes, lettuce, or spinach. The self-watering bottle system works well for many root vegetables and leafy greens. With creative use of vertical space and proper sunlight management, your rooftop can become a mini urban farm, producing a variety of fresh, organic vegetables year-round.
Conclusion
Growing turnips in plastic bottles on your rooftop is an innovative and sustainable way to enjoy homegrown vegetables, even with limited space. With a few simple materials and consistent care, you can cultivate nutritious turnips while promoting recycling and reducing plastic waste.
This method is perfect for urban gardeners, beginners, or anyone looking to supplement their diet with fresh, homegrown produce. By following these steps, you can transform empty plastic bottles into a thriving rooftop garden. From planting the seeds to harvesting the roots and leaves, this project offers a satisfying and educational experience.
Start small, be patient, and watch your turnips flourish. With a little creativity and effort, your rooftop can become a green oasis, providing healthy, delicious vegetables and a touch of nature in the heart of the city.