lf you’ve ever wanted to enjoy fresh, tender pea shoots straight from your home, you’re in the right place. Pea shoots, also called pea sprouts or tendrils, are young, edible stems and leaves of the pea plant that are nutritious, sweet, and crunchy. They’re perfect for salads, stir-fries, smoothies, or garnishes.
Inspired by the YouTube video “How to Grow Pea Shoots – EASY and PRODUCTIVE!”, this guide will walk you through a step-by-step process to grow your own pea shoots at home — quickly, easily, and with a high yield. Even beginners can follow this guide and enjoy multiple harvests in a few weeks.
Why Grow Pea Shoots at Home?
Growing pea shoots is one of the easiest and fastest ways to grow your own greens. Unlike full-grown peas, pea shoots:
- Grow quickly: Ready to harvest in 10–14 days.
- Are highly productive: You can get multiple harvests from the same seeds.
- Require minimal space: Perfect for small kitchens, balconies, or windowsills.
- Are nutrient-rich: High in vitamins A, C, K, folate, and antioxidants.
- Can be grown year-round: Indoors or outdoors, depending on your climate.
If you enjoy healthy eating, sustainable gardening, or simply want fresh, organic greens without leaving your home, pea shoots are an ideal choice.
What You’ll Need
Before starting, gather the following materials:
- Pea seeds: Look for organic or garden pea seeds; avoid seeds meant for cooking.
- Container or tray: Shallow containers, seed trays, or small pots.
- Growing medium: Soil, coco peat, or a mix of compost and soil.
- Watering method: Spray bottle or small watering can.
- Optional: Natural fertilizer like compost tea or diluted liquid seaweed.
Step 1: Preparing the Seeds

The first step is to soak your seeds to encourage germination:
- Place the pea seeds in a bowl of clean water.
- Soak for 8–12 hours or overnight.
- Drain and rinse the seeds.
Soaking softens the seed coat, allowing the roots to emerge faster. This step ensures uniform germination and faster growth.
Step 2: Preparing the Container
You don’t need a large garden to grow pea shoots — a small container or tray works perfectly.
- Choose a container at least 5–7 cm deep with drainage holes.
- If using a tray, line the bottom with a thin layer of soil or coco peat (about 2–3 cm).
- Pea shoots don’t require deep soil because they grow vertically rather than forming large roots.
Step 3: Planting the Seeds
- Spread the soaked seeds evenly over the soil surface.
- Cover lightly with 0.5–1 cm of soil.
- Press gently to ensure good seed-to-soil contact.
- Water lightly using a spray bottle.
Tip: Avoid overcrowding seeds — leave a small gap between each seed to allow shoots to grow without competition.
Step 4: Finding the Right Spot

Pea shoots grow best in cool, bright conditions.
- Place the container in indirect sunlight or near a south-facing window.
- If outdoors, choose a partially shaded spot to prevent overheating.
- Ideal temperature for growth: 15–25°C (59–77°F).
Proper light ensures strong, crisp shoots rather than leggy or weak stems.
Step 5: Watering and Care
Watering is critical for pea shoots because the soil should remain consistently moist but not soggy.
- Mist the soil 1–2 times per day using a spray bottle.
- Avoid pouring water directly, which can displace seeds or damage tender shoots.
- Keep the humidity moderate — high humidity encourages mold growth.
Optional: Add a diluted natural fertilizer after a week, such as compost tea or a small amount of liquid seaweed, to boost growth.
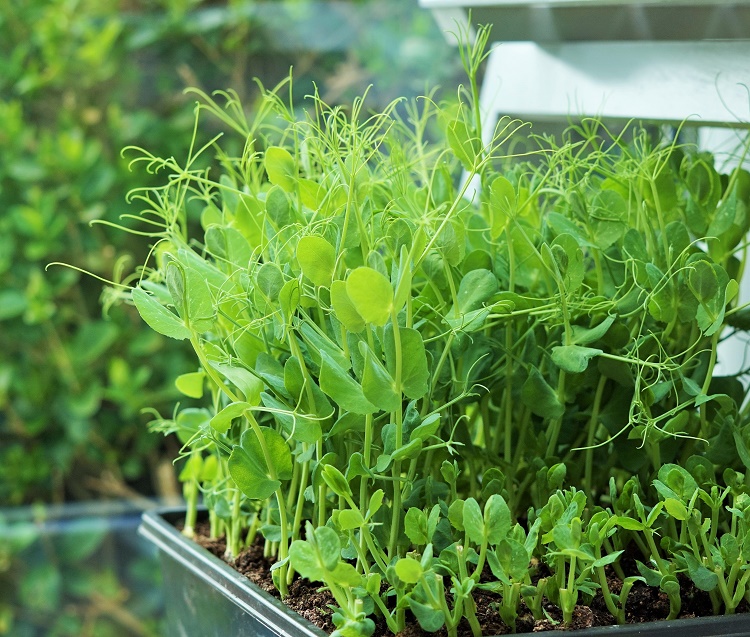
Step 6: Watching the Shoots Grow
Within 3–5 days, you’ll see tiny green sprouts emerging from the soil.
- The seedlings will quickly grow taller, developing small tendrils and leaves.
- Keep misting and ensure adequate sunlight.
- If shoots become too tall and weak, rotate the container daily to promote even growth.
Pea shoots grow rapidly, often 10–15 cm in just 10 days, making them ideal for quick harvest cycles.
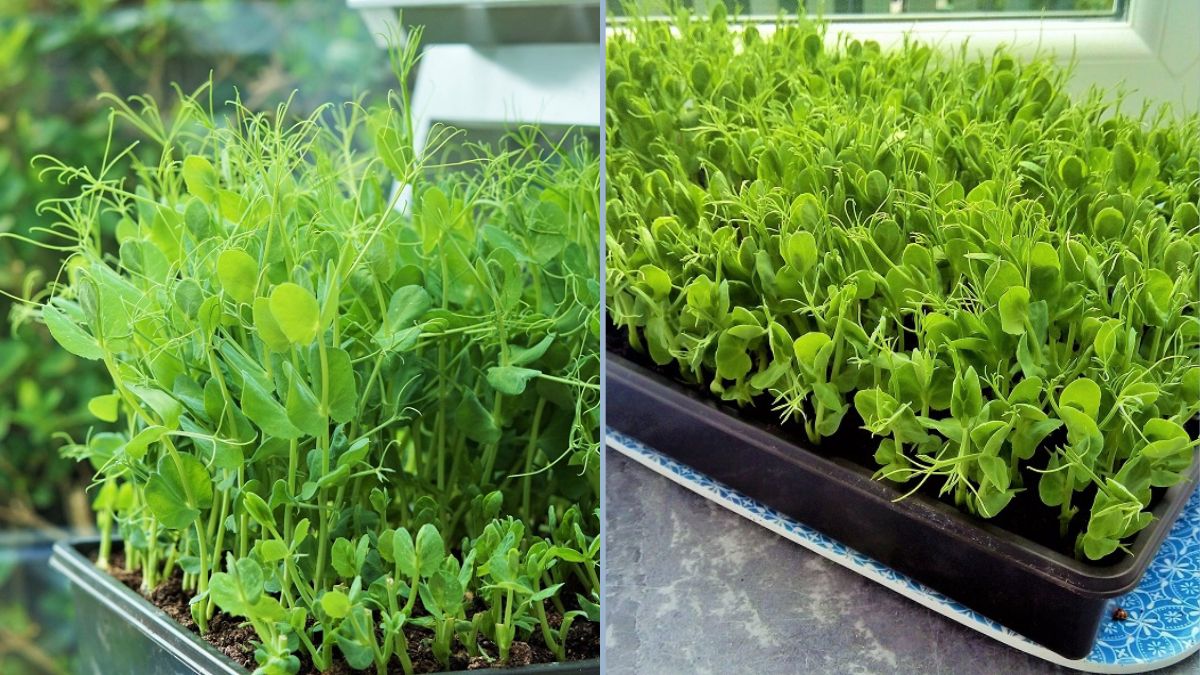
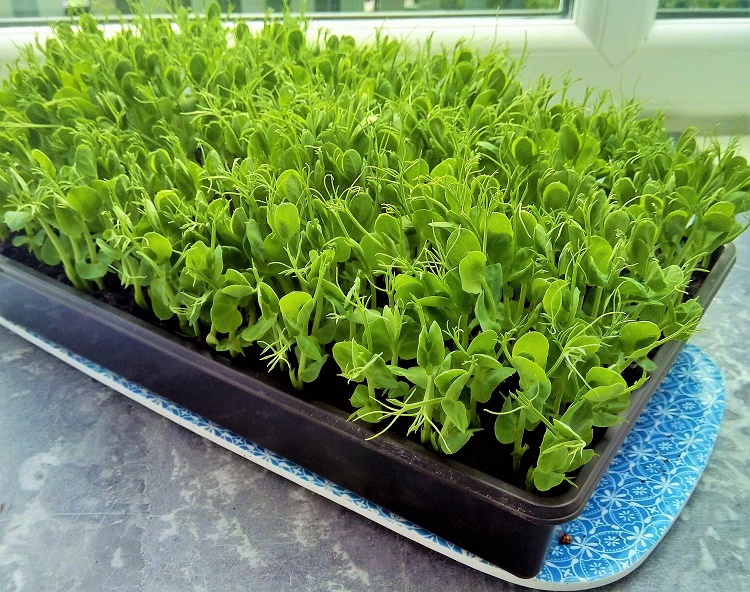
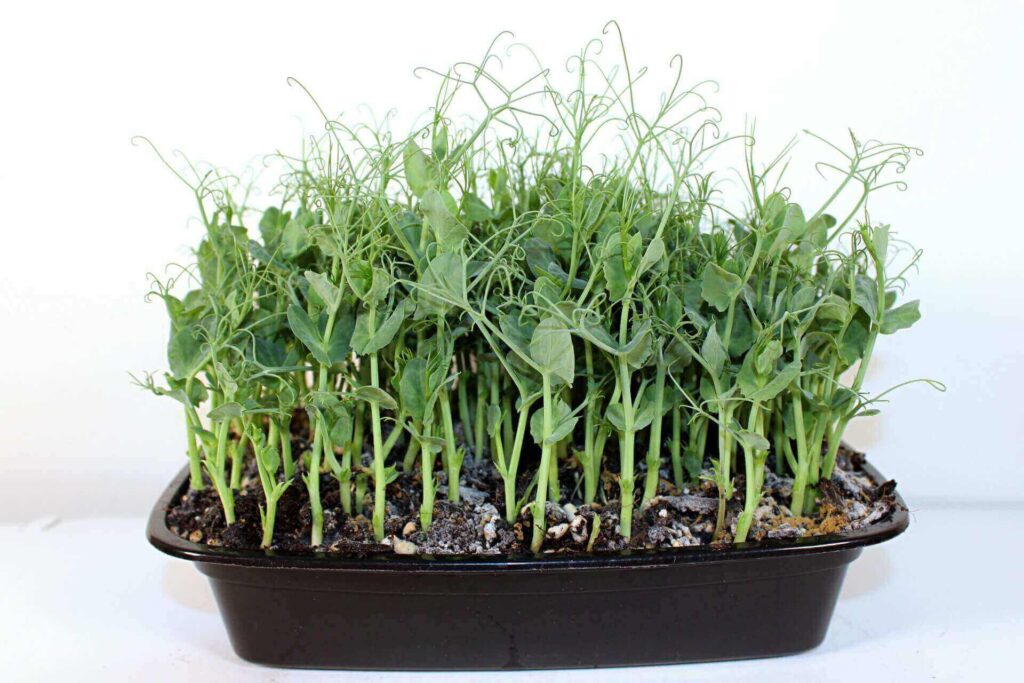
Step 7: Harvesting Pea Shoots
Pea shoots are usually ready to harvest in 10–14 days, when they have 2–3 pairs of true leaves and are about 10–15 cm tall.
- Cut the shoots just above the soil line using scissors.
- Avoid pulling them out — leaving the roots intact allows a second growth cycle.
- You can harvest a second batch within another week or two, depending on plant vigor.
Tips for Maximum Yield
- Multiple trays: Plant in staggered batches for continuous harvest.
- Avoid overcrowding: Thin seedlings if necessary to give each shoot space.
- Rotate trays: Ensures even sunlight exposure.
- Regular misting: Keeps soil moist and encourages fast growth.
- Use organic nutrients: Natural fertilizers support tender, flavorful shoots.
By following these tips, you can harvest pea shoots every 10–14 days for months.
Common Problems and How to Solve Them
| Problem | Cause | Solution |
|---|---|---|
| Mold or fungus | Overwatering or poor airflow | Reduce watering, increase ventilation |
| Weak, leggy shoots | Insufficient light | Provide more sunlight or move closer to window |
| Slow germination | Old seeds or cold soil | Use fresh seeds, maintain warm soil |
| Yellow leaves | Nutrient deficiency | Add mild organic fertilizer |
Most issues are easy to fix with attention to light, water, and space.
Nutritional Benefits of Pea Shoots
Pea shoots are highly nutritious, making them an excellent addition to your diet:
- Rich in vitamins A, C, and K: Supports vision, immunity, and bone health.
- High in antioxidants: Protects cells from damage.
- Low in calories: Perfect for weight-conscious diets.
- Good source of fiber: Aids digestion.
- Contains folate and minerals: Supports metabolism and heart health.
Eating homegrown pea shoots is a simple way to boost your nutrition naturally.
Culinary Uses for Pea Shoots
Pea shoots are incredibly versatile in the kitchen:
- Stir-fries: Quickly sauté with garlic and olive oil.
- Salads: Toss raw with a light vinaigrette.
- Smoothies: Blend for a mild, sweet green boost.
- Garnishes: Use fresh shoots to decorate soups or pasta.
- Soups and broths: Add for flavor and nutrition at the last minute.
Their tender texture and subtle sweetness make them a delight in almost any dish.
Why Pea Shoots Are Perfect for Home Gardening
- Quick results: Harvest in just two weeks.
- High productivity: Multiple harvests from the same tray.
- Space-saving: Ideal for small apartments or kitchens.
- Eco-friendly: Grow indoors without pesticides or chemical fertilizers.
- Educational: Fun for kids to learn about plant growth.
Pea shoots prove that even small spaces can produce nutritious, fresh, and delicious greens.
Step 8: Continuous Harvesting
To maintain a constant supply:
- Sow new seeds every 7–10 days.
- Rotate trays and harvest mature shoots regularly.
- Keep soil fertile by lightly fertilizing each new batch.
This method ensures a never-ending supply of tender pea shoots throughout the year.
Final Thoughts
Growing pea shoots at home is simple, fast, and highly productive. With minimal space, soil, and water, you can enjoy fresh, tender greens in just two weeks. This method is perfect for urban gardeners, beginners, and anyone looking to eat organic, nutrient-rich produce without leaving home.
Whether for salads, stir-fries, or garnishes, pea shoots bring fresh flavor, nutrition, and satisfaction straight from your windowsill or balcony.
So grab some seeds, trays, and soil, and start your pea shoot garden today — your kitchen will never run out of fresh greens again!