
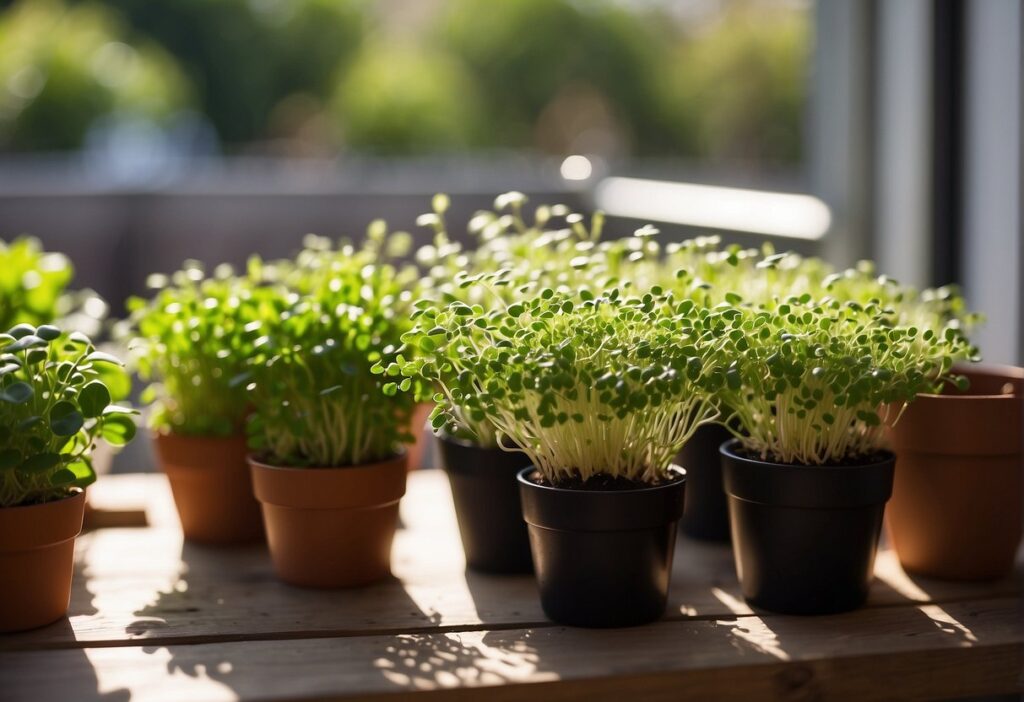
Microgreens have become one of the most popular home gardening trends — and for good reason. They’re nutrient-packed, easy to grow, and ready to harvest in just a week or two. Among the many varieties you can grow, mustard microgreens stand out for their bold, peppery flavor and powerful health benefits.
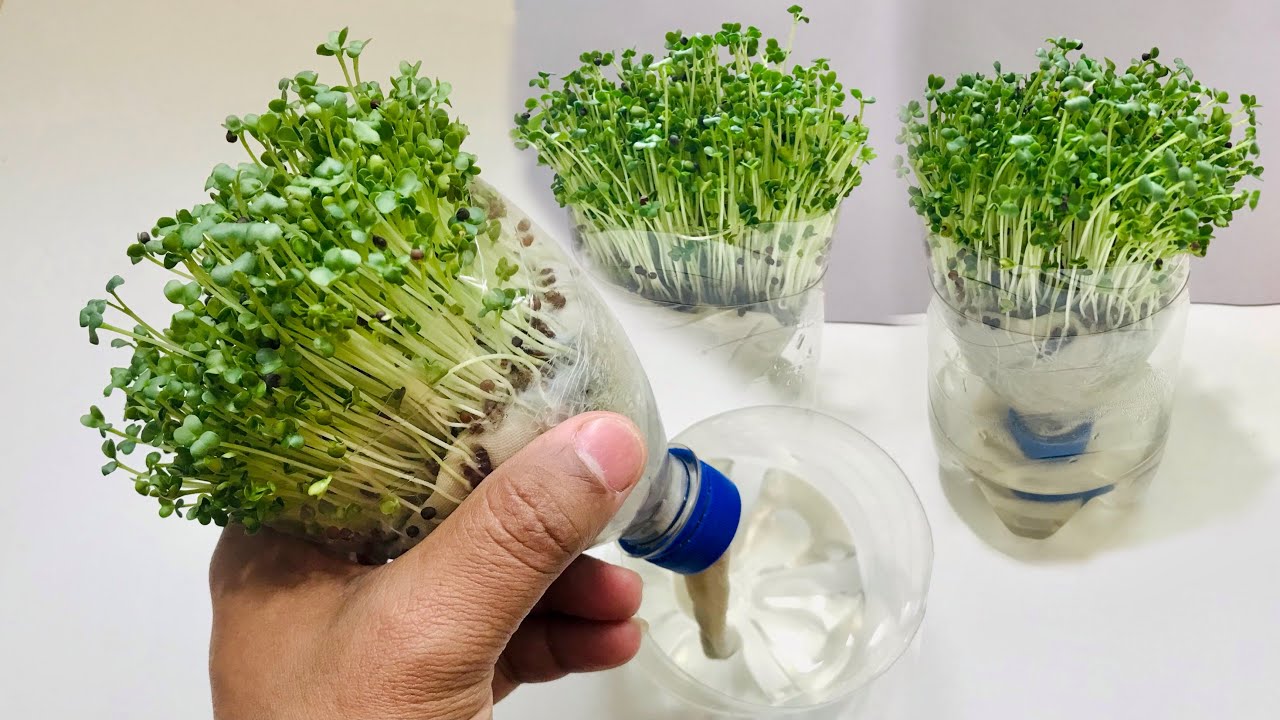
Inspired by the YouTube video “How to Grow Mustard Microgreens Using Plastic Bottle and Clothes – Self Watering Techniques,” this step-by-step guide will show you how to grow fresh, vibrant mustard microgreens at home using simple materials — including an old plastic bottle and a piece of cloth.
You don’t need a garden, pots, or expensive equipment — just a bit of creativity and care. Let’s get started!
Why Grow Mustard Microgreens?
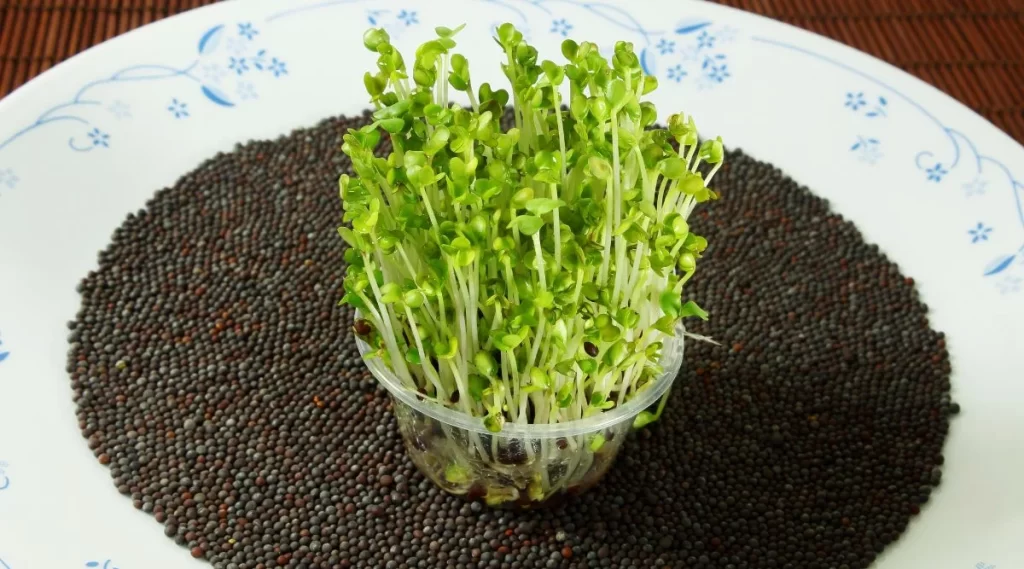
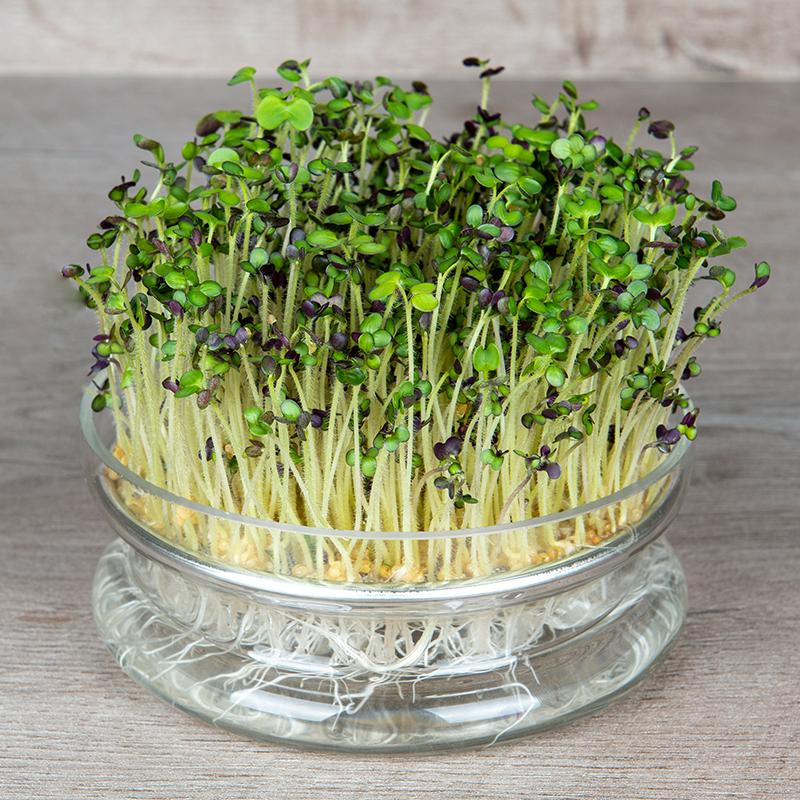
Mustard microgreens are the young seedlings of mustard plants (Brassica juncea). They’re harvested just after the first true leaves appear, offering a burst of flavor and concentrated nutrition in every bite.
Benefits of Mustard Microgreens:
- Rich in vitamins A, C, and K
- Loaded with antioxidants that help fight inflammation
- Boosts metabolism and supports digestion
- Contains beneficial plant compounds such as glucosinolates
- Low in calories but high in flavor
Best of all, mustard microgreens are incredibly easy to grow indoors. They grow quickly and don’t require much sunlight or space — making them ideal for apartment dwellers, students, or anyone wanting to eat fresh greens year-round.
The Magic of the Self-Watering System
The self-watering system in this project is a simple yet effective technique that ensures your microgreens get just the right amount of moisture — no daily watering needed.
Here’s the concept:
- The plastic bottle serves as both a container and a water reservoir.
- A cloth or cotton wick carries water from the bottom reservoir to the growing medium at the top.
This keeps your mustard seeds perfectly hydrated, helping them germinate faster and grow evenly without waterlogging.
It’s a sustainable, low-maintenance solution — ideal for busy gardeners or beginners.
Materials You’ll Need
To grow mustard microgreens using this method, gather the following:
- 1 empty plastic bottle (1.5–2 liters)
- Mustard seeds (available in grocery stores or seed shops)
- A piece of cotton cloth or old T-shirt (acts as a wick)
- Growing medium: Coco peat, vermicompost, or paper towel
- Scissors or knife (for cutting the bottle)
- Water
- Spray bottle (optional for misting)
That’s it! Most of these materials are recyclable or readily available at home.
Step 1: Prepare the Plastic Bottle
- Cut the bottle horizontally about one-third from the top.
- The bottom part will hold water.
- The top part will act as the growing tray.
- Remove the bottle cap, then insert a piece of cloth through the bottle neck.
- Leave part of the cloth hanging into the bottom half to draw up water.
- The rest should spread across the upper section to keep the growing medium moist.
This creates your self-watering wick system.
Step 2: Set Up the Self-Watering Base
- Fill the bottom half of the bottle with clean water — about two-thirds full.
- Place the top half upside down (neck facing down) so that it sits snugly inside the bottom section.
- Ensure the cloth reaches the water below and touches the surface inside the top section.
This setup allows the water to slowly rise through the cloth, keeping the soil damp without soaking it.
Step 3: Add the Growing Medium
Spread a 1–2 cm layer of growing medium over the cloth in the top half.
Recommended options:
- Coco peat: Lightweight and retains moisture well.
- Compost mix: Adds natural nutrients.
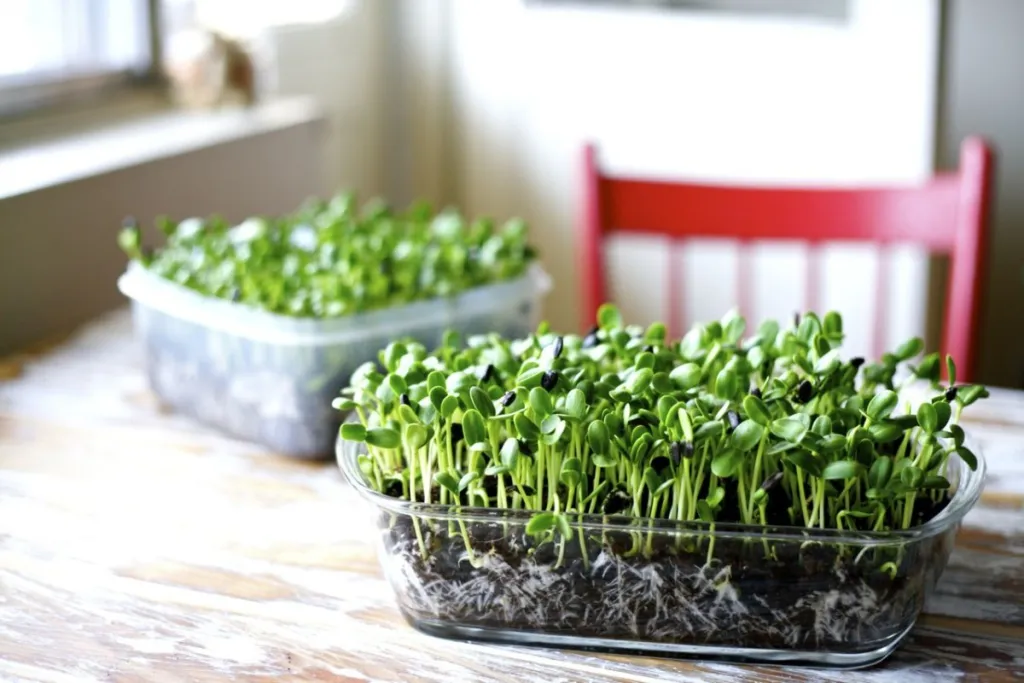
- Paper towel or cotton pads: Work well for short-term microgreen growth.
Moisten the medium lightly before sowing seeds. Avoid making it too wet — just damp is perfect.
Step 4: Sowing the Mustard Seeds
- Sprinkle mustard seeds evenly across the surface.
- Do not bury the seeds — microgreens grow best when seeds are on the surface with light contact with the medium.
- Press gently with your fingers or a small flat surface to ensure good contact.
Mustard seeds are tiny, so avoid overcrowding. A thin, even layer ensures proper air circulation and prevents mold.
Step 5: Cover for Germination
For the first 2–3 days, mustard seeds need darkness and moisture to germinate.
- Cover the top with a dark lid, paper, or another plastic piece.
- Keep the setup in a cool, dark place — away from direct sunlight.
Check daily to make sure the medium remains moist. The self-watering wick will keep it hydrated automatically.
You’ll start to see tiny sprouts emerging within 48–72 hours.
Step 6: Light Exposure and Growth
Once the mustard seeds sprout and the shoots are about 1–2 cm tall, it’s time to expose them to light.
- Move the bottle setup to a bright location with indirect sunlight.
- If indoors, place it near a sunny window or use LED grow lights.
Avoid harsh direct sunlight during early stages — it can dry out or wilt the tender shoots.
Continue letting the self-watering system do its work. The plants will draw moisture automatically, so there’s no need for daily watering.
Step 7: Caring for Your Mustard Microgreens
Even with the self-watering design, here are a few care tips to ensure healthy growth:
- Check water level daily; refill the bottom reservoir as needed.
- Avoid overfilling — water should not touch the top section directly.
- If you notice dry spots, mist lightly using a spray bottle.
- Ensure good airflow to prevent mold or fungus growth.
Within a week, your mustard microgreens will grow tall, lush, and vibrant green.
Step 8: Harvesting Mustard Microgreens
Mustard microgreens are typically ready to harvest in 7–10 days, depending on temperature and light conditions.
How to Harvest:
- Use clean scissors or a sharp knife.
- Cut the shoots just above the soil or cloth surface.
- Rinse gently in cool water and pat dry with paper towels.
They’re now ready to enjoy — fresh, spicy, and packed with nutrients!
Step 9: Storing and Using Mustard Microgreens
Storage Tips:
- Store in an airtight container in the refrigerator.
- Keep them slightly dry to prevent spoilage.
- Consume within 3–5 days for maximum freshness.
Culinary Uses:
Mustard microgreens add a zesty flavor and crisp texture to many dishes:
- Sprinkle over salads or sandwiches for extra crunch.
- Add to stir-fries or soups for a spicy kick.
- Blend into smoothies or juices for a nutrient boost.
- Use as garnish for curries, eggs, or rice dishes.
Their bold taste and bright color elevate both the nutrition and presentation of your meals.
Benefits of the Plastic Bottle Self-Watering Method
This method is more than just convenient — it’s eco-friendly and highly effective.
Advantages:
- Reuses plastic waste: Turns bottles into productive planters.
- Saves water: Wicking system minimizes evaporation.
- Low maintenance: No daily watering or soil mess.
- Perfect for small spaces: Fits easily on kitchen counters or windowsills.
- Ideal for beginners: Simple, affordable, and foolproof.
You can replicate this method for other microgreens like radish, fenugreek, or broccoli as well.
Troubleshooting Common Issues
| Problem | Cause | Solution |
|---|---|---|
| Seeds not germinating | Too dry or too wet medium | Adjust moisture; ensure wick touches water |
| Mold or fungus | Poor air circulation or overwatering | Improve airflow, remove cover earlier |
| Yellowish shoots | Lack of sunlight | Move to a brighter spot |
| Uneven growth | Uneven seed distribution | Spread seeds evenly next time |
Environmental and Health Impact
By using recycled bottles and organic materials, you’re:
- Reducing plastic waste
- Saving water
- Avoiding pesticides and chemicals
- Promoting local, sustainable food production
Plus, growing microgreens at home means your food is as fresh and clean as it gets — harvested minutes before eating!
Final Thoughts
Growing mustard microgreens using a plastic bottle and cloth is one of the most rewarding and eco-friendly gardening hacks out there. It’s simple, inexpensive, and produces fresh, healthy greens in under two weeks — even in the smallest living spaces.
This self-watering technique eliminates the biggest challenge of microgreen gardening: maintaining consistent moisture. Once set up, it practically takes care of itself.
So, next time you finish a plastic bottle, don’t toss it — turn it into a mini garden! You’ll have a constant supply of zesty, nutritious mustard microgreens to enhance your meals and boost your health.
Grow green, eat fresh, and live sustainably — one bottle garden at a time.