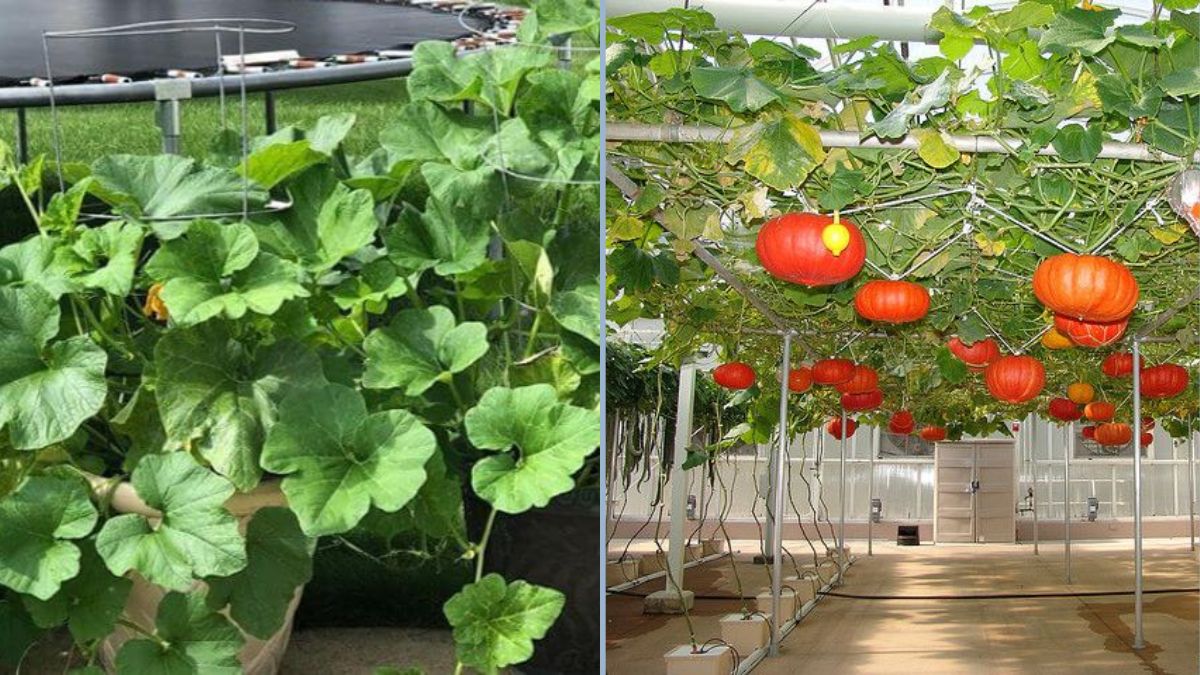
Pumpkins are often thought of as sprawling garden plants that require large plots of land to grow. Their long vines, broad leaves, and heavy fruits make many gardeners believe that pumpkins can only thrive in big spaces. But what if you could grow many pumpkins — even in a small backyard, patio, or balcony?
Yes, it’s absolutely possible! With the right techniques, you can grow pumpkins vertically on a trellis using styrofoam containers, and still enjoy an abundant harvest. This creative and space-saving method allows gardeners to manage limited spaces efficiently while keeping plants healthy and productive.
In this blog post, we’ll explore how to grow pumpkins successfully in styrofoam containers, train their vines on a trellis, and ensure maximum fruit production — all with practical, step-by-step guidance.
Why Grow Pumpkins Vertically?
Before diving into the “how,” let’s understand the “why.” Traditionally, pumpkins are grown horizontally, with vines spreading across the ground. However, vertical gardening offers several key benefits:
- Space Efficiency
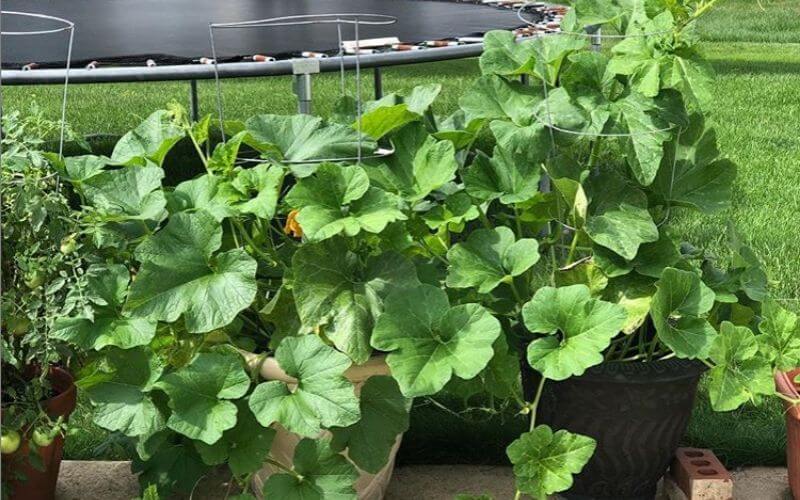
Growing pumpkins on a trellis saves valuable ground space, making it possible even in small gardens, balconies, or rooftops. - Better Air Circulation
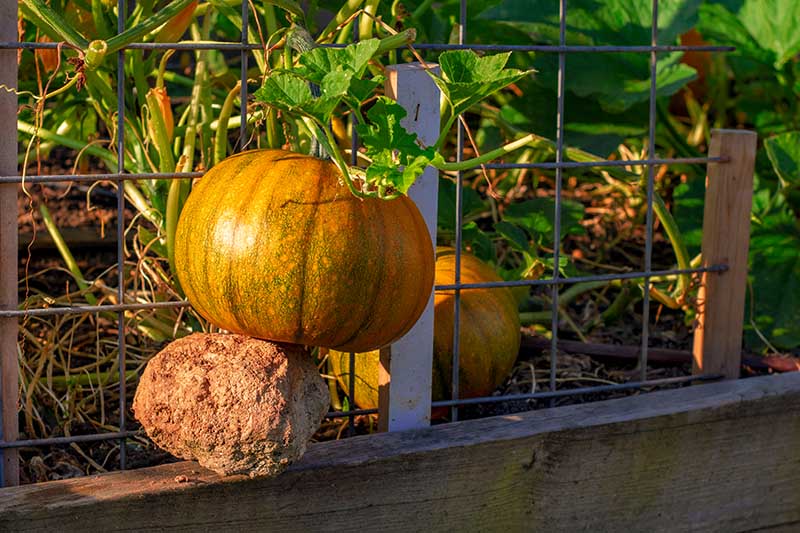
Vertical growth improves airflow around the leaves and stems, reducing the risk of fungal diseases such as powdery mildew. - Cleaner Fruits
Since the pumpkins hang off the ground, they remain clean and less susceptible to rot or pest attacks. - Easier Maintenance
Vertical systems make it easier to prune, water, and inspect the plants. - Aesthetic Appeal
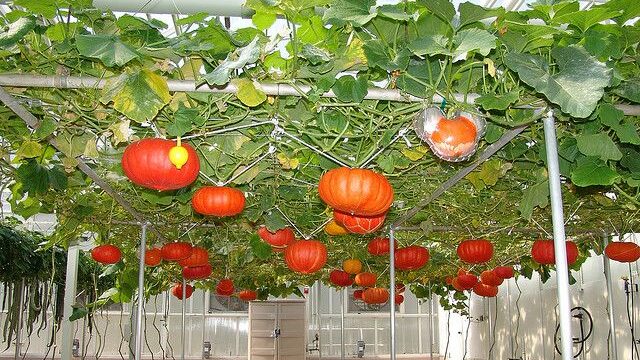
A pumpkin trellis covered in broad green leaves and hanging fruits looks stunning — like a living wall of edible art.
Why Styrofoam Containers Work Well
You might be surprised that styrofoam boxes — often used for shipping seafood or storing produce — can be excellent containers for growing pumpkins. Here’s why:
- Good insulation: Styrofoam helps maintain consistent soil temperature, which pumpkins love.
- Lightweight: They’re easy to move, even when filled with soil.
- Cost-effective: Most styrofoam containers are cheap or even free if you reuse old packaging.
- Customizable: You can easily poke holes for drainage or cut them to fit your space.
Just make sure to choose a deep and wide styrofoam box (at least 18–20 inches deep) to give the pumpkin roots plenty of room to grow.
Step-by-Step Guide: Growing Pumpkins on a Trellis in Styrofoam Containers
1. Choosing the Right Pumpkin Variety
Not all pumpkin types are ideal for container or vertical growth. Choose compact or small-fruited varieties such as:
- Baby Boo
- Jack Be Little
- Sugar Pie
- Small Sugar
- Mini Harvest
- Hooligan
These varieties produce smaller fruits, which are easier to support on a trellis and mature faster than large field pumpkins.
2. Preparing the Styrofoam Containers
Follow these steps to prepare your pumpkin containers:
- Drainage:
Use a screwdriver or heated metal rod to poke 6–8 holes in the bottom of the box for proper drainage. - Base Layer:
Add a thin layer of gravel or small stones to prevent waterlogging. - Soil Mix:
Fill the box with a rich, well-draining soil mix. A great formula is:- 40% garden soil
- 30% compost or well-rotted manure
- 20% coco peat or perlite for aeration
- 10% sand for drainage
- Fertilize the Base:
Mix in a handful of organic fertilizer like bone meal or slow-release pellets before planting.
3. Sowing or Transplanting
You can start pumpkin seeds directly in the styrofoam box or transplant seedlings from seed trays.
- Direct Sowing: Plant 2–3 seeds per box, about 1 inch deep. After germination, thin them to the strongest plant.
- Transplanting: If starting indoors, wait until seedlings have 3–4 true leaves before moving them outdoors.
Tip: Always place the containers in a sunny location. Pumpkins require 6–8 hours of direct sunlight daily to thrive.
4. Setting Up the Trellis
The trellis is the backbone of your vertical pumpkin system. It should be strong, tall, and stable enough to support both vines and fruits.
Materials you can use:
- Bamboo poles
- Metal mesh panels
- Wooden lattice
- PVC pipe frames
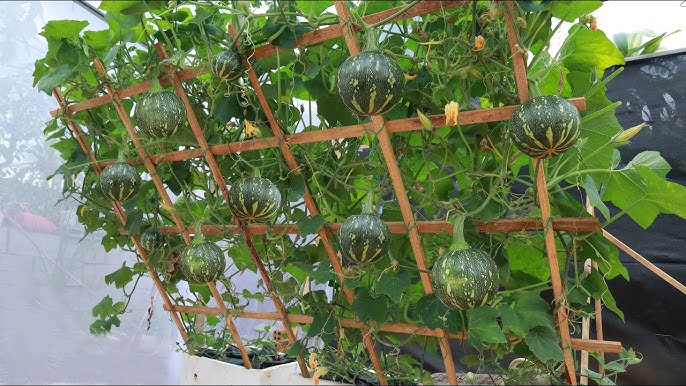
Set up the trellis right behind or above the container before the vines start spreading. As the plant grows, guide the vines gently toward the trellis using soft ties or garden clips. Avoid pulling or forcing the vines — they’re tender and can snap easily.
5. Watering and Feeding
Pumpkins are heavy feeders and drinkers. They need consistent moisture but dislike soggy soil.
- Water deeply every 2–3 days (or daily during hot weather).
- Keep the soil evenly moist but never waterlogged.
- Use mulch (like straw or dried leaves) on top of the soil to retain moisture and regulate temperature.
For feeding:
- Start applying liquid fertilizer every 10–14 days once the plant establishes.
- Use a balanced fertilizer (10-10-10) during early growth.
- Switch to a phosphorus and potassium-rich fertilizer (5-10-10) when flowering begins, to encourage more fruits.
6. Training the Vines
Once the vines start climbing, train them up the trellis carefully. Use garden twine or soft ties to secure them. Prune off any side shoots that are not producing flowers to direct energy toward fruit-bearing vines.
For large or heavy fruits, create slings or hammocks from old cloth or mesh bags to support them as they grow. Tie these to the trellis to reduce strain on the vines.
7. Pollination and Fruit Set
Pumpkins have separate male and female flowers. In container setups, pollinators may be less active, so hand-pollination helps ensure fruiting.
- Identify male flowers (thin stems) and female flowers (tiny swelling behind the petals).
- Use a small brush or remove a male flower, then gently brush its pollen onto the center of the female flower.
Within a few days, the base of the female flower should start to swell — a sign of successful pollination!
8. Pest and Disease Control
Common pests that affect pumpkins include aphids, whiteflies, and squash bugs. Keep them away by:
- Spraying a neem oil solution (5ml neem oil + a few drops of mild soap + 1L water) weekly.
- Removing yellowed or damaged leaves to prevent fungus buildup.
- Ensuring good air circulation around the trellis.
If powdery mildew appears, apply a homemade spray of 1 tablespoon baking soda + 1 teaspoon vegetable oil + 1 liter of water once a week.
9. Harvesting Your Pumpkins
Most small pumpkin varieties mature within 90–110 days after planting. You’ll know they’re ready when:
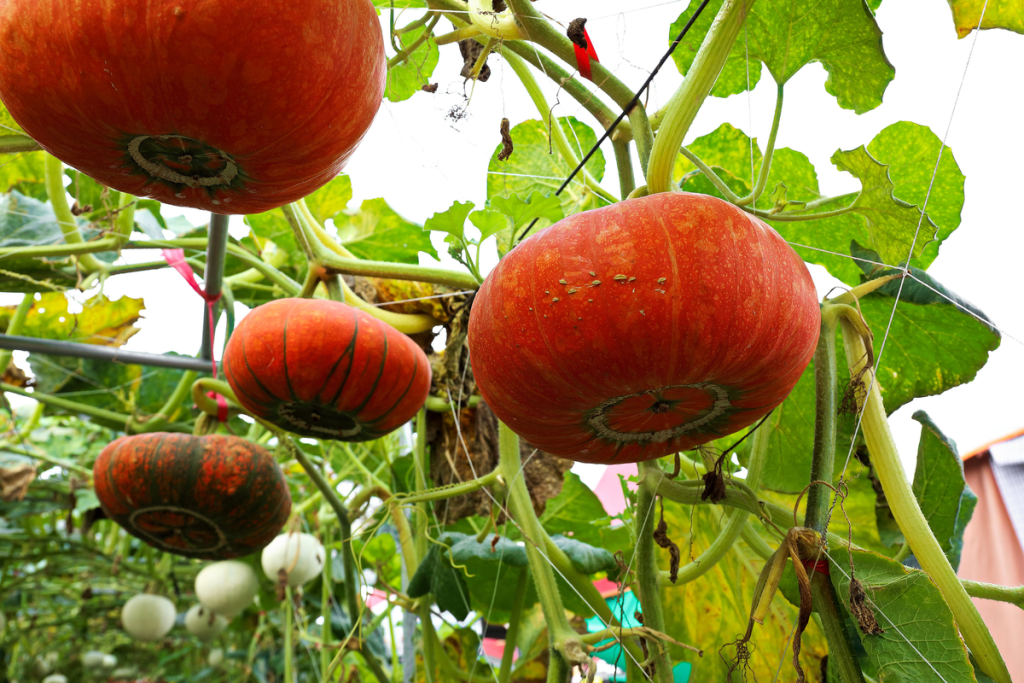
- The skin turns deep orange (or the mature color of your variety).
- The rind feels hard when pressed with your fingernail.
- The stem begins to dry and crack slightly.
Use a sharp knife or pruning shears to cut the pumpkin with a few inches of stem attached — this helps it last longer. Allow pumpkins to cure in the sun for 7–10 days to toughen the skin before storing.
Bonus Tips for More Fruits
- Regular Pruning: Remove excess leaves to allow sunlight to reach developing fruits.
- Pollinate Early: Morning pollination often yields better fruit set.
- Rotate Containers: If sunlight is uneven, rotate your boxes every few days.
- Companion Planting: Grow herbs like basil or marigolds nearby to repel pests naturally.
- Keep Vines Healthy: Avoid letting vines touch the hot ground; train them onto the trellis early.
Final Thoughts
Growing pumpkins vertically in styrofoam containers might sound unconventional, but it’s a fantastic method for urban gardeners and small-space growers. With a sturdy trellis, good soil, and proper care, you can enjoy a lush wall of vines producing multiple beautiful pumpkins — even in the smallest of spaces.
Whether you’re gardening on a balcony, a rooftop, or a narrow backyard, this technique shows that creativity can outgrow space. So grab some styrofoam boxes, build a trellis, and start your pumpkin-growing adventure today!