
Turmeric — the golden spice — is one of the most valuable and healing plants you can grow at home. Known for its vibrant color, earthy aroma, and countless health benefits, turmeric (Curcuma longa) has been used for centuries in cooking, skincare, and traditional medicine.
The best part? You don’t need a big farm or garden to grow it. You can cultivate turmeric right in your kitchen garden using recycled plastic bottles. It’s an easy, eco-friendly, and space-saving way to enjoy homegrown turmeric, even if you live in an apartment or urban area.
In this post, you’ll learn everything you need to know about planting turmeric roots in plastic bottles — from preparation and planting to care and harvest — all while reducing plastic waste and creating your own sustainable garden setup.
Why Grow Turmeric at Home?
Before we get into the “how,” let’s understand the “why.” Turmeric isn’t just a spice; it’s a powerhouse of nutrition and wellness.
Here are a few reasons to grow your own turmeric:
- Fresh and Organic: Store-bought turmeric is often dried, processed, or chemically treated. Homegrown turmeric is pure, fresh, and packed with natural oils and flavor.
- Health Benefits: Turmeric contains curcumin, a compound with anti-inflammatory and antioxidant properties. It supports joint health, boosts immunity, and promotes glowing skin.
- Sustainability: Growing turmeric in recycled plastic bottles reduces waste and promotes eco-friendly living.
- Cost-Effective: A few small rhizomes can multiply into a generous harvest within months.
- Beautiful Plant: With its lush green leaves and tropical look, turmeric adds a touch of greenery to your kitchen garden or balcony.
Understanding the Turmeric Plant
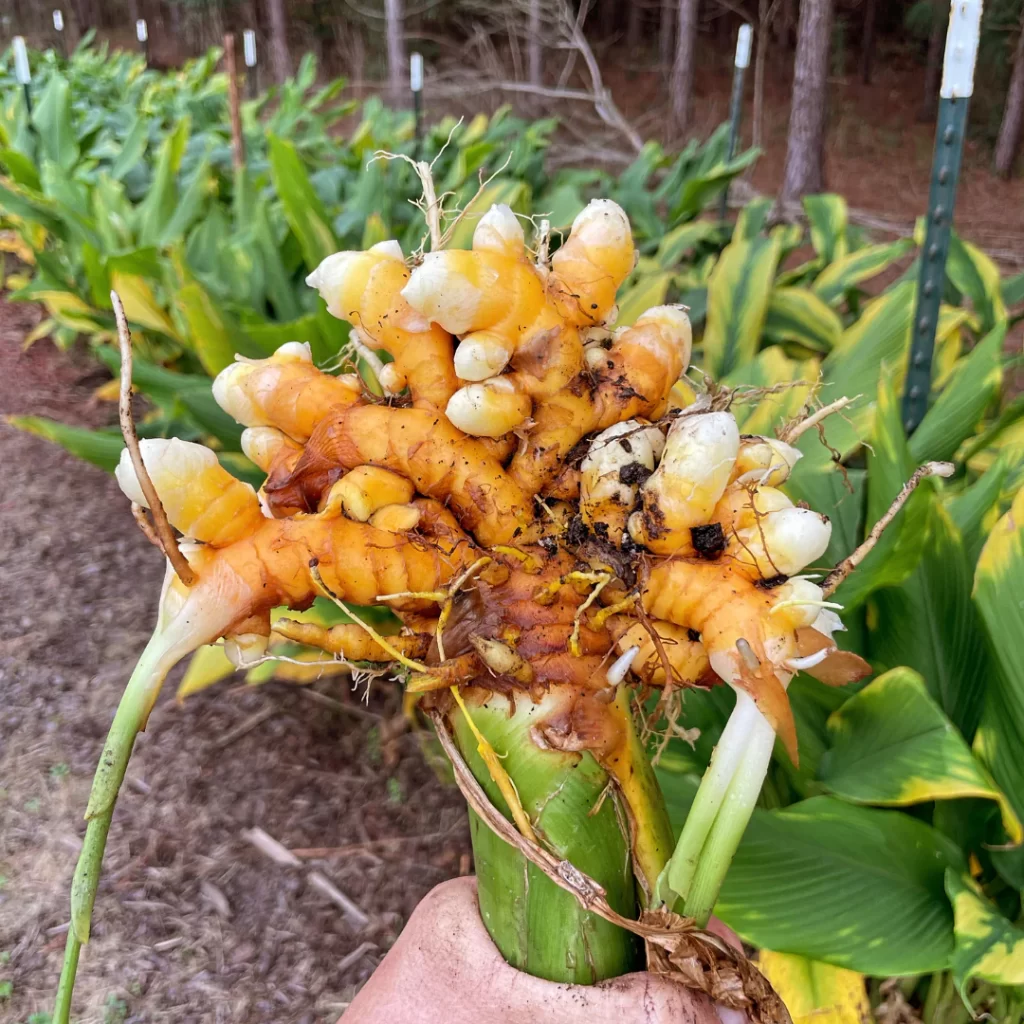
Turmeric grows from underground stems called rhizomes, similar to ginger. These rhizomes produce both the edible roots and the leafy stems above ground.
Turmeric thrives in warm, humid conditions with indirect sunlight — making it perfect for growing in kitchen gardens, balconies, or sunny windowsills.
It takes about 8 to 10 months for turmeric to mature, but you can start seeing green shoots within a few weeks.
Materials You’ll Need
To grow turmeric in plastic bottles, you’ll only need a few simple items:
- Plastic bottles (1.5L or 2L water bottles)
- Turmeric rhizomes (fresh, healthy pieces from the store or previous harvest)
- Potting mix (well-draining soil)
- Scissors or a knife (to cut bottles)
- Watering can or spray bottle
- Compost or organic fertilizer
Optional:
- Coco peat or sand for better drainage
- Mulch (dry leaves or straw) to keep moisture in
Step-by-Step Guide: Planting Turmeric in Plastic Bottles
Step 1: Choose and Prepare the Turmeric Rhizomes
Start with fresh, plump turmeric roots. Avoid dry, shriveled, or moldy ones. Look for small “eye buds” or points where new shoots will sprout.
If your rhizomes look dormant, try this quick prep trick:
- Soak the turmeric pieces in warm water (not hot) for 3–4 hours.
- Drain and place them in a warm spot for a few days until you see small sprouts forming.
This pre-sprouting step speeds up germination once planted.
Step 2: Prepare the Plastic Bottles
Plastic bottles make excellent mini planters because they’re lightweight, inexpensive, and easy to move around.
Here’s how to prepare them:
- Take a 1.5L or 2L bottle and cut it horizontally about one-third from the top.
- Poke 4–6 small holes in the bottom for drainage.
- If you’re using multiple bottles, you can also cut “windows” along the sides for planting several rhizomes in one bottle.
- Fill the bottle with well-draining soil mix, leaving about 2 inches of space from the top.
Soil Mix Recipe:
- 40% garden soil
- 30% compost or organic manure
- 20% coco peat or rice husk
- 10% sand
This ensures proper aeration, moisture retention, and drainage — key for healthy turmeric roots.
Step 3: Planting the Turmeric
Once your bottles are ready, it’s time to plant.
- Place the sprouted rhizome horizontally in the soil, about 2 inches deep.
- Ensure the buds face upward.
- Cover lightly with soil and press gently.
- Water thoroughly until the soil is moist but not soggy.
Each bottle can hold 1–2 small rhizomes. If you’re using a larger container, space them about 4 inches apart.
Step 4: Choosing the Right Spot
Turmeric thrives in warm, humid, and shaded environments. Direct sunlight can scorch the leaves, so pick a spot with filtered sunlight or partial shade — near a bright window, balcony, or terrace wall.
Ideal temperature: 25–35°C (77–95°F)
Avoid: Cold, dry, or windy areas — turmeric hates frost.
Step 5: Watering and Care
Turmeric loves moisture but dislikes waterlogged soil. Keep the soil consistently damp by watering when the top inch feels dry.
- During summer: Water every 2–3 days.
- During rainy season: Water less frequently to prevent rot.
- During winter: Mist occasionally if growing indoors.
For extra humidity, you can cover the soil surface with mulch — it helps retain moisture and keeps roots cool.
Step 6: Feeding Your Turmeric Plants
Feed your turmeric every 3–4 weeks for healthy growth. Use natural fertilizers like:
- Compost tea
- Diluted cow dung or manure solution
- Banana peel fertilizer (rich in potassium)
- Seaweed extract or fish emulsion
Avoid chemical fertilizers — turmeric grows best organically.
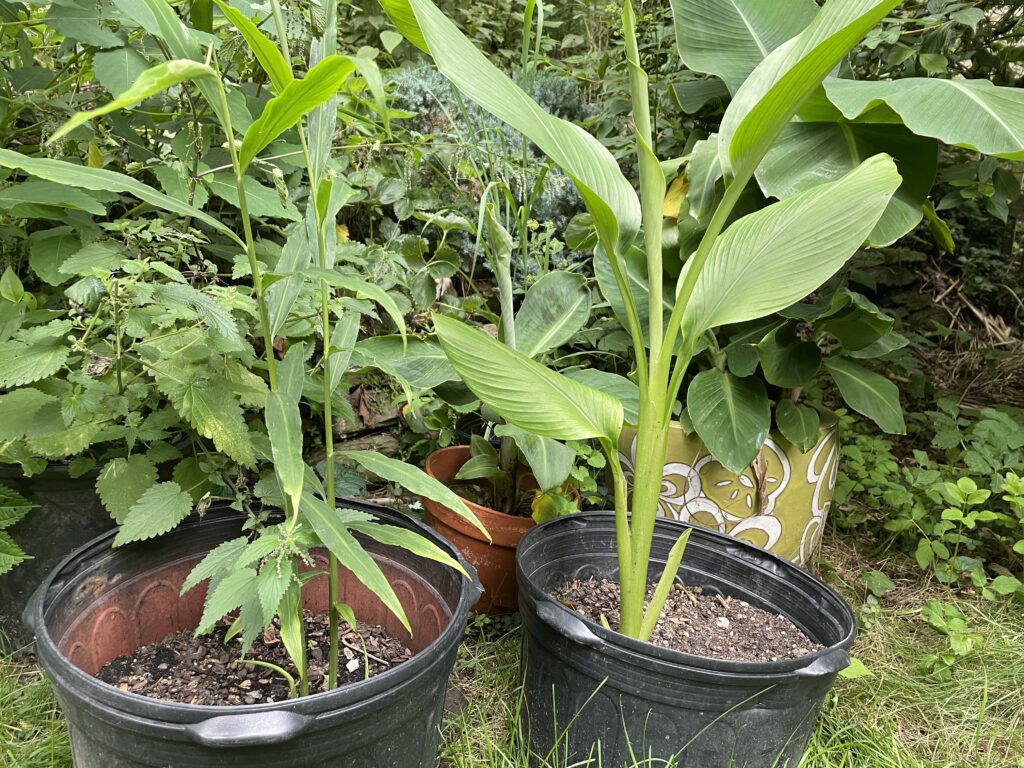
Step 7: Managing Growth in Bottles
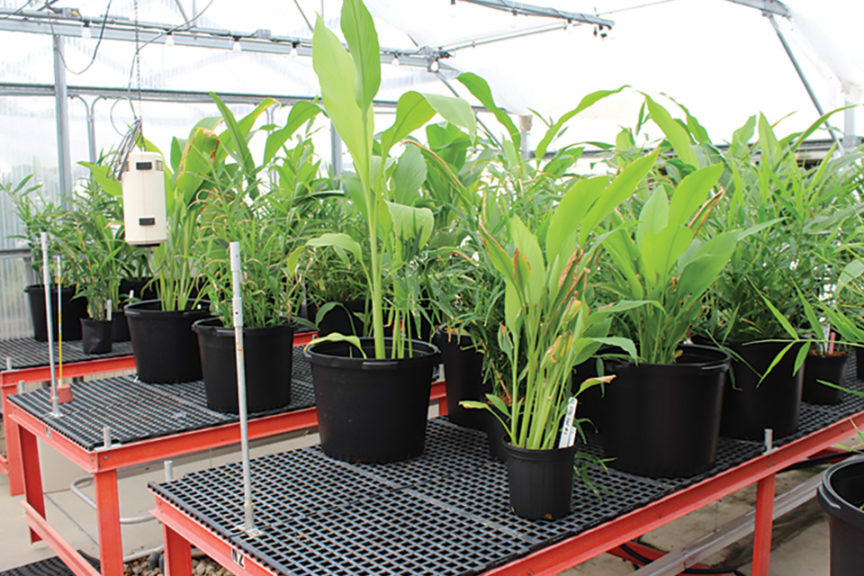
As the plant matures, you’ll notice lush green leaves reaching up to 2–3 feet tall. Occasionally, the plant may outgrow the bottle.
If that happens:
- Transplant it to a larger bottle or container.
- Or, gently cut open the plastic and place the entire soil clump into a bigger pot.
Turmeric spreads horizontally, so the more space it has, the larger the rhizomes will grow.
Step 8: Watching for Growth Stages
Here’s what to expect in the coming months:
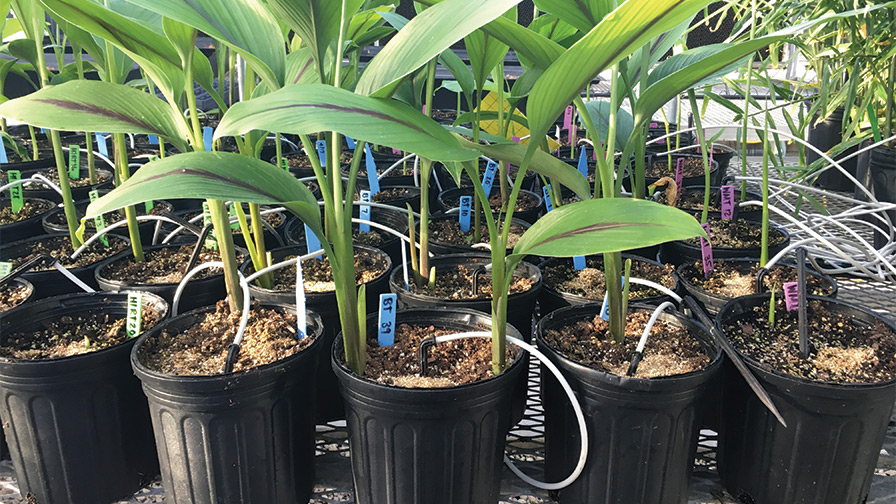
- Weeks 1–3: Sprouts emerge from the buds.
- Month 2–4: Leaves grow tall, and underground rhizomes start developing.
- Month 6–8: Leaves begin to yellow as the plant matures.
- Month 9–10: Leaves dry up completely — it’s harvest time!
Step 9: Harvesting Your Turmeric
Once the plant’s leaves have dried and turned brown, your turmeric is ready for harvest.
- Stop watering for about 10 days before harvesting.
- Cut open the bottle or gently remove the plant with soil.
- Shake off the soil and separate the rhizomes from the stems.
- Rinse gently and air-dry them for a few hours.
Keep a few of the healthiest pieces aside to replant for the next season — and enjoy a continuous turmeric cycle year after year.
Step 10: Curing and Storing Turmeric
To preserve your turmeric’s flavor and color:
- Boil the harvested rhizomes for 30–45 minutes until soft.
- Drain and peel off the thin outer skin.
- Slice or dry them in the sun for 7–10 days until crisp.
- Grind into powder or store whole in airtight containers.
You now have your own organic turmeric powder — rich in aroma, color, and nutrients!
Benefits of Using Plastic Bottles for Turmeric
This method isn’t just about convenience — it’s about sustainability. Here’s why it works so well:
- Recycling Made Practical: Gives new life to plastic waste.
- Perfect for Small Spaces: Ideal for balconies, kitchens, or window gardens.
- Control Over Soil and Water: Prevents overwatering and root rot.
- Mobility: You can move bottles to chase the sun or avoid rain.
- Low Cost: No need to buy pots — just reuse what you already have.
You’re growing a healing plant and helping the planet at the same time.
Common Mistakes to Avoid
Even though turmeric is easy to grow, beginners sometimes make these mistakes:
Overwatering — Too much water causes root rot.
Using poor soil — Hard or compact soil blocks rhizome growth.
Planting too deep — Turmeric needs to breathe; shallow planting works best.
Too much sunlight — Direct heat dries the soil and burns the leaves.
Neglecting fertilizer — Turmeric is a heavy feeder; compost is essential.
Avoid these pitfalls, and your turmeric plants will thrive beautifully.
Final Thoughts: Turn Plastic Waste into a Golden Garden
Planting turmeric in plastic bottles is more than just gardening — it’s a small act of sustainability that brings huge rewards. With a few bottles, some soil, and a handful of turmeric roots, you can grow your own supply of golden spice right in your kitchen garden.
This method is simple, affordable, and beginner-friendly. Plus, the satisfaction of harvesting your own turmeric — fragrant, fresh, and chemical-free — is priceless.
So the next time you have an empty plastic bottle, don’t throw it away. Turn it into a mini turmeric planter and start your journey toward a greener, healthier, and more self-sufficient lifestyle.
From waste to wellness — that’s the power of kitchen garden turmeric growing!