In today’s world, where space is shrinking and people are searching for sustainable, eco-friendly ways to grow food, microgreens have become a small but powerful revolution. These tiny greens are packed with nutrients, easy to grow, and can be harvested in just a week.
And the best part? You don’t even need soil!
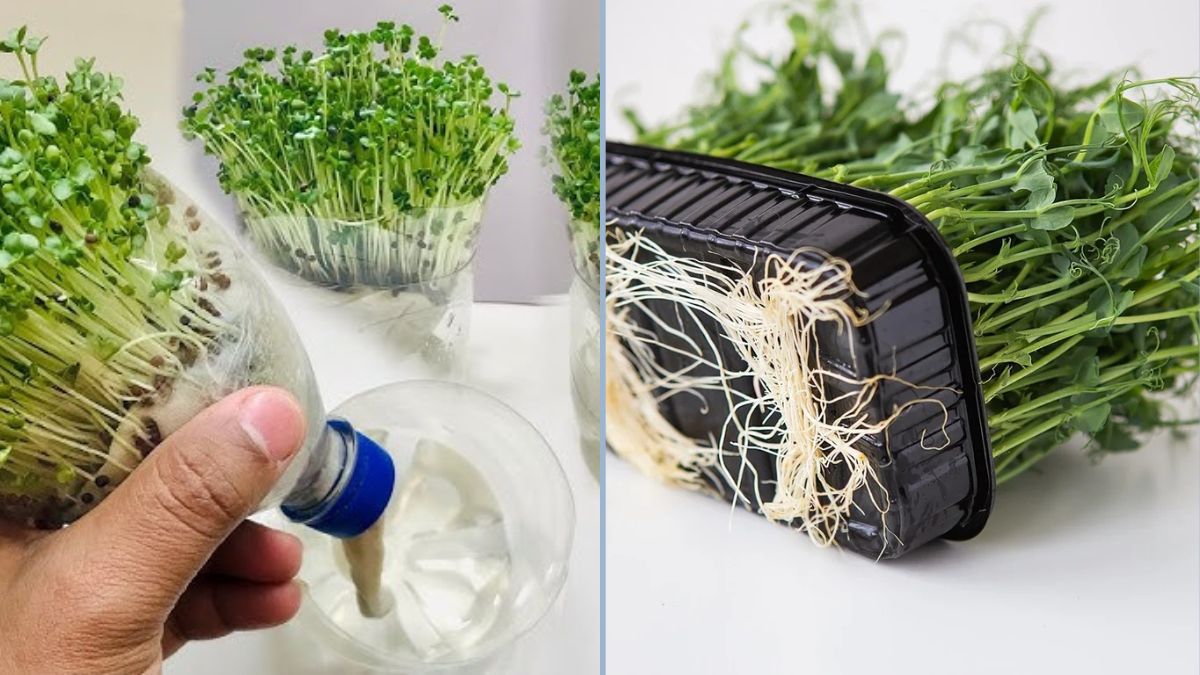
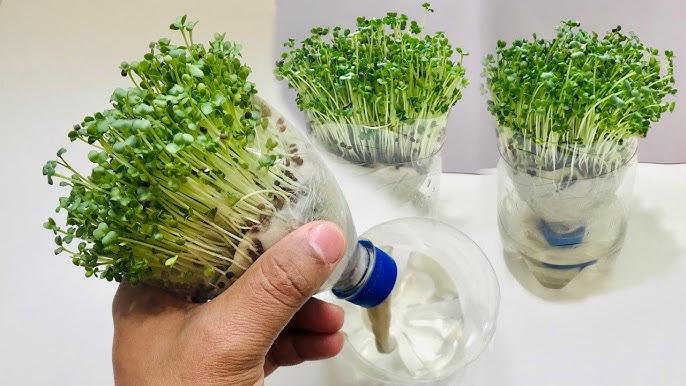
In this post, I’ll show you a brilliant hydroponic method for growing mustard microgreens using plastic bottles and water. It’s simple, clean, and incredibly satisfying — perfect for anyone who wants to grow fresh greens right in their kitchen, balcony, or classroom.
Why Grow Mustard Microgreens?
Before diving into the “how,” let’s understand why mustard microgreens are a fantastic choice for home growers.
1. Nutrient Powerhouse
Mustard microgreens are rich in vitamins A, C, and K, as well as calcium, potassium, and antioxidants. They support immunity, improve digestion, and add a peppery zing to your meals.
2. Fast and Easy to Grow
Unlike full-grown vegetables that take months, mustard microgreens are ready to harvest in 6–8 days. You can enjoy fresh greens almost every week.
3. Perfect for Small Spaces
You don’t need a garden — a sunny windowsill or balcony is enough. Plus, this method uses recycled plastic bottles, so it’s both eco-friendly and space-efficient.
4. No Soil, No Mess
By using a hydroponic system (growing plants in water), you eliminate soil-related pests, diseases, and cleanup.
Now, let’s get our hands green and start growing!
Step 1: Preparing the Plastic Bottles
The beauty of this method is that you’re reusing something most households throw away — plastic bottles. It’s a great way to recycle while creating something useful.
You’ll need:
- 1 or 2 empty plastic bottles (1–2 liters each)
- Scissors or a knife
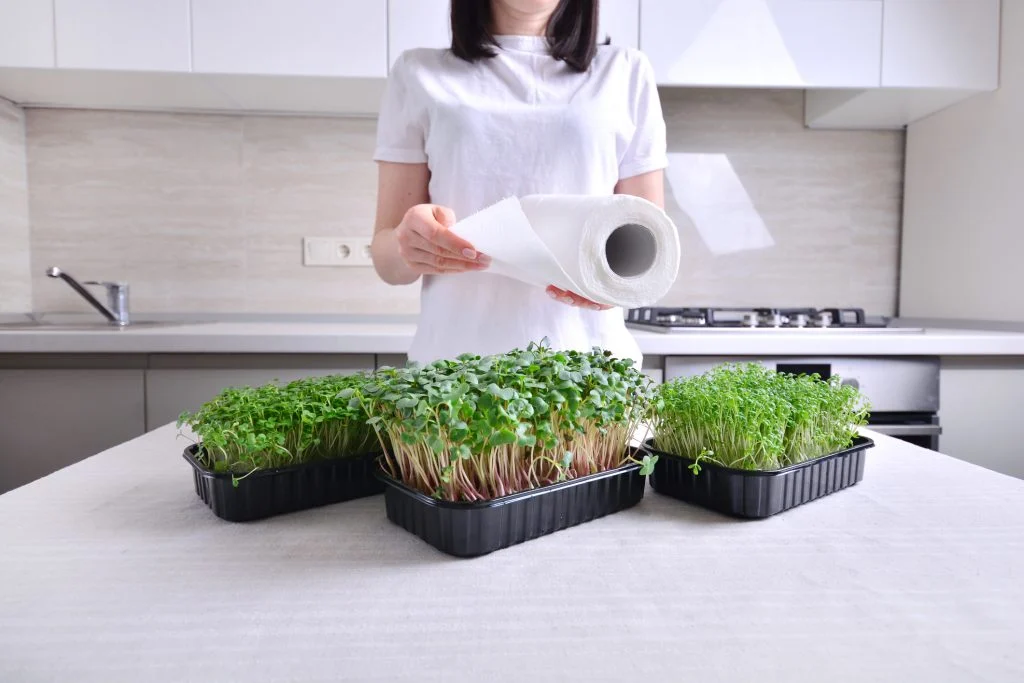
- A piece of clean cloth, cotton, or tissue paper
- Mustard seeds
- Water
How to Prepare:
- Cut the Bottle in Half:
Cut the bottle horizontally in the middle. You’ll use the top half as the growing tray and the bottom half as the water reservoir. - Make Drainage Holes:
Poke a few small holes at the base of the top half. These will allow the cloth or growing medium to draw up water from below — creating a simple wicking system. - Add the Cloth Layer:
Place a clean piece of cotton cloth or absorbent paper over the mouth of the bottle (inside the upper part). The cloth should slightly dip into the water below when assembled — this is what will keep your seeds moist. - Assemble the Hydroponic Setup:
Invert the top half of the bottle and place it inside the bottom half, like a funnel. Fill the bottom with clean water until it touches the cloth layer.
Congratulations — you’ve made a DIY hydroponic growing system!
Step 2: Soaking and Preparing Mustard Seeds
To help your mustard seeds germinate faster, you’ll need to pre-soak them.
- Measure 2–3 tablespoons of mustard seeds for each bottle.
- Rinse them gently in clean water.
- Soak the seeds for 4–6 hours in a bowl of room-temperature water.
After soaking, drain the water and let them rest for a few hours. You’ll notice tiny sprouts starting to appear — this means they’re ready to plant.
Tip: Don’t soak for too long (over 8 hours), or your seeds might rot.
Step 3: Spreading the Seeds
Now it’s time to sow your mustard seeds onto the cloth layer.
- Evenly Spread the Seeds:
Scatter the soaked mustard seeds evenly across the moist cloth or paper surface. Avoid piling them on top of each other — a dense layer will lead to poor airflow and mold growth. - Mist with Water:
Use a spray bottle to gently mist the seeds with water. They should be moist but not soaked. - Cover and Keep in Darkness:
For the first 2 days, cover the setup with a dark lid or another bottle half to mimic the natural germination process. This encourages the seeds to sprout quickly and develop strong roots.
Step 4: Providing Light and Care
After 2–3 days, your mustard seeds will have sprouted tiny shoots — it’s time to introduce them to light.
Place in Indirect Sunlight:
- Move the setup near a sunny window, balcony, or under grow lights.
- Avoid direct harsh sunlight, especially during midday, as it can dry out or burn the delicate microgreens.
Maintain Moisture:
- Check the water level daily. If it’s low, add clean water to the bottom half of the bottle.
- Mist the seedlings once or twice a day to keep them hydrated.
Airflow:
- Keep the area well-ventilated to prevent mold. You can use a small fan on a gentle setting if growing indoors.
In about 5–6 days, your mustard microgreens will grow tall and lush, with bright green leaves and white stems.
Step 5: Harvesting Your Mustard Microgreens
The best part of this entire process is the harvest — and it comes so quickly!
When to Harvest:
Your mustard microgreens are ready when they’re about 2–3 inches tall (usually around day 6–8). The leaves will have opened, and you’ll see a vibrant green canopy of tiny plants.
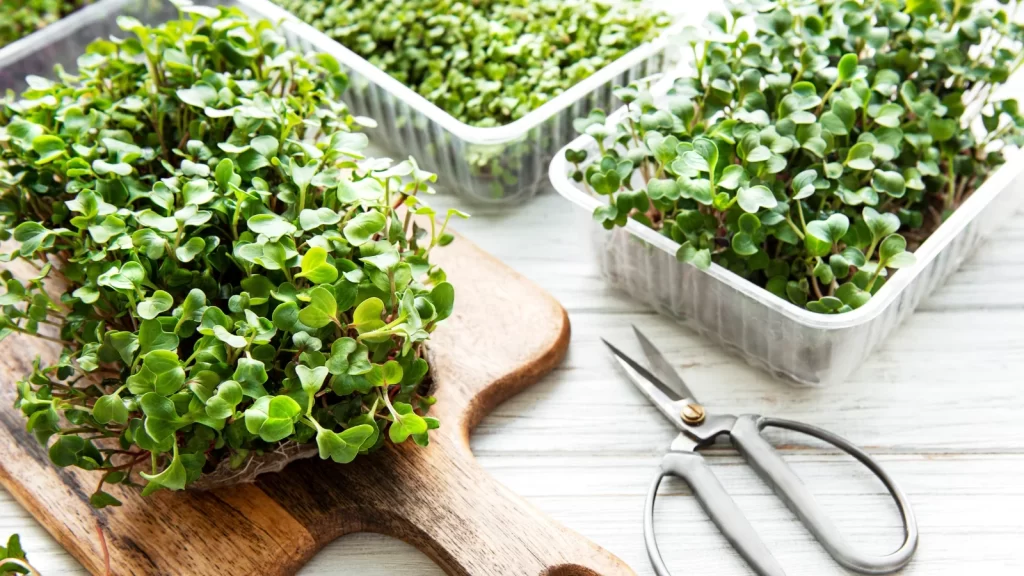
How to Harvest:
- Use clean scissors to snip the greens just above the cloth or paper layer.
- Rinse them gently in cool water to remove any residue.
- Pat them dry with a clean towel or let them air dry.
That’s it — you’ve just harvested your first batch of homegrown mustard microgreens without soil!
Step 6: Enjoying Your Fresh Mustard Microgreens
Mustard microgreens have a distinctive peppery flavor — similar to mature mustard leaves but milder and fresher. They add both nutrition and beauty to your meals.
Ways to Enjoy Them:
- Sprinkle on salads or sandwiches for a crunchy, zesty boost.
- Add to omelets, soups, or noodles for flavor and color.
- Use as a garnish for rice dishes or curries.
- Blend into smoothies for a vitamin-rich punch.
Storage Tip: Keep harvested microgreens in an airtight container in the refrigerator. They’ll stay fresh for about 3–4 days.
Step 7: Reusing Your Bottle Setup
Once you’ve harvested your microgreens, you can easily reuse the same setup.
- Discard the old seed mat and rinse the bottle parts thoroughly with warm water.
- Clean the cloth or replace it with a new one.
- Add fresh water and start a new batch of seeds.
You can reuse plastic bottles many times before they wear out, making this method both cost-effective and environmentally friendly.
Why This Method Is Brilliant
This simple hydroponic setup using plastic bottles is a game-changer for anyone who wants to grow food sustainably. Let’s look at why it works so well:
Eco-Friendly Recycling
Instead of throwing away bottles, you’re giving them a second life — reducing plastic waste and promoting sustainability.
Water-Efficient
Hydroponics uses up to 90% less water than soil gardening because the system recycles moisture through evaporation and condensation.
No Chemicals or Soil Contamination
Since this method is soil-free, you avoid chemical fertilizers, soil-borne diseases, and pests.
Accessible for Everyone
Whether you live in an apartment or a rural area, you can grow mustard microgreens with just a few bottles and seeds.
Quick Results
You’ll see visible growth within days, making it a fun and educational project for kids, beginners, or anyone interested in home gardening.
Common Problems and Easy Fixes
1. Mold Growth:
- Cause: Poor ventilation or excess moisture.
- Fix: Improve airflow and reduce misting frequency. Use clean water.
2. Seeds Not Germinating:
- Cause: Old seeds or too much soaking.
- Fix: Use fresh seeds and soak for only 4–6 hours.
3. Yellow Leaves:
- Cause: Lack of light.
- Fix: Move your microgreens to a brighter spot.
4. Slow Growth:
- Cause: Cold environment.
- Fix: Maintain room temperature around 20–25°C (68–77°F).
Conclusion: Fresh, Fast, and Sustainable
Growing mustard microgreens in water using plastic bottles isn’t just a brilliant idea — it’s a small step toward a greener planet and healthier living. With minimal supplies, zero soil, and just a few days of patience, you can enjoy a continuous harvest of crisp, flavorful greens right at home.
This DIY hydroponic method is affordable, beginner-friendly, and endlessly rewarding. Every time you reuse a bottle and grow another batch, you’re not only saving money but also reducing waste and improving your diet.
So don’t wait — grab a few plastic bottles, some mustard seeds, and a bit of curiosity. In just a week, you’ll have a vibrant, edible garden growing right on your windowsill!