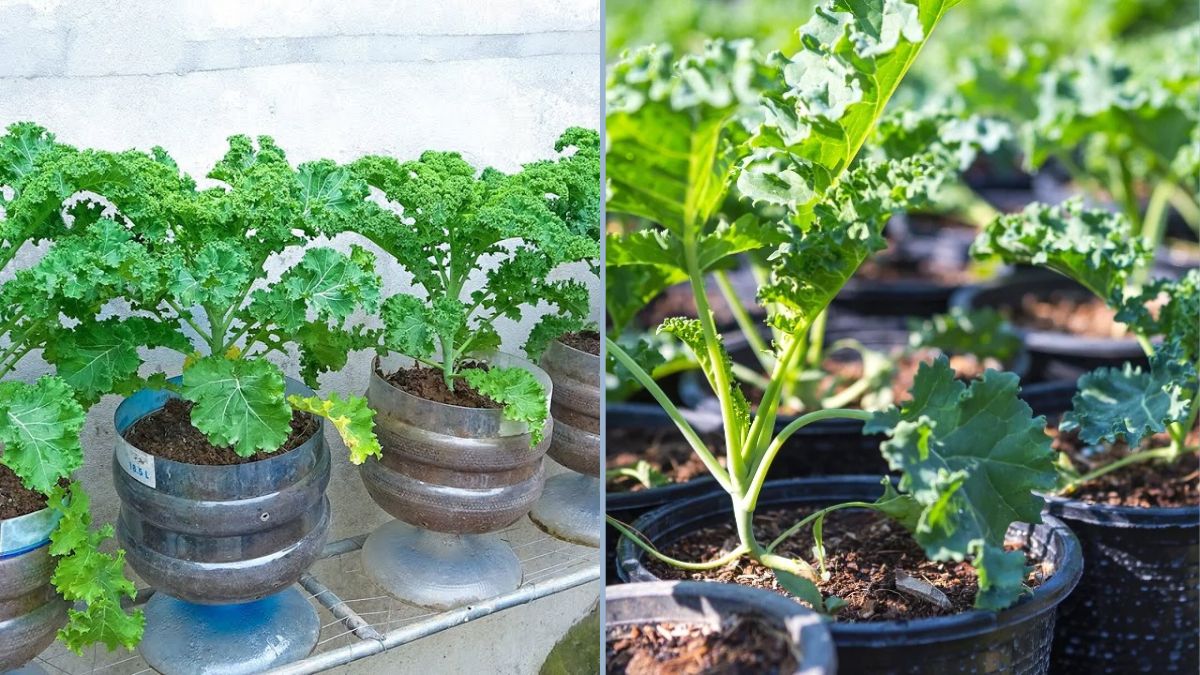
Kale is a superfood packed with nutrients, antioxidants, and vitamins, making it a favorite among health enthusiasts and home gardeners alike. But what if you could grow this leafy green without the constant need for watering and without taking up much space? In this guide, we’ll explore an innovative and highly productive method: growing kale in plastic bottles without watering. This approach is perfect for urban gardeners, beginners, and anyone looking to maximize yield with minimal effort.
Why Grow Kale in Plastic Bottles?
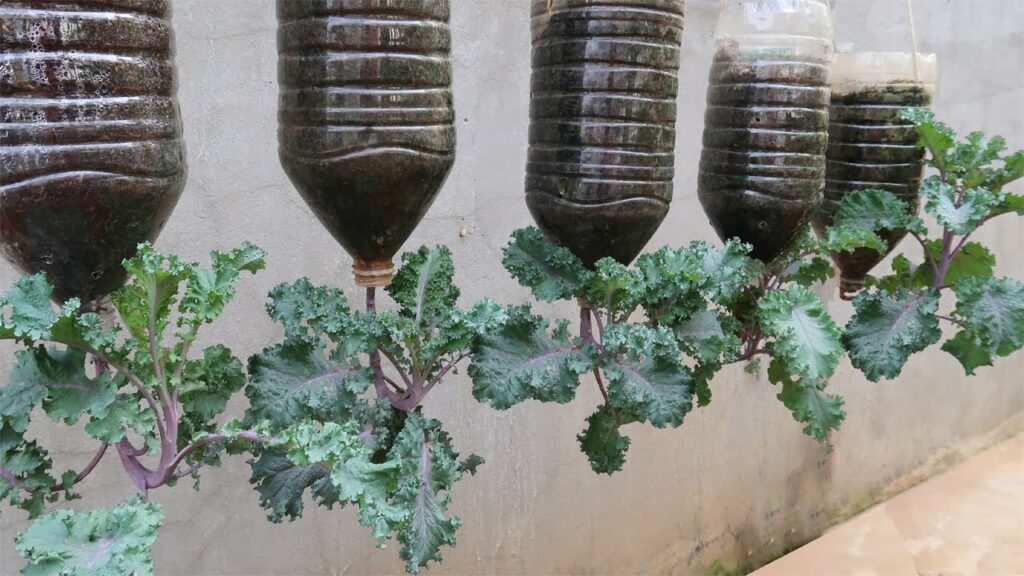
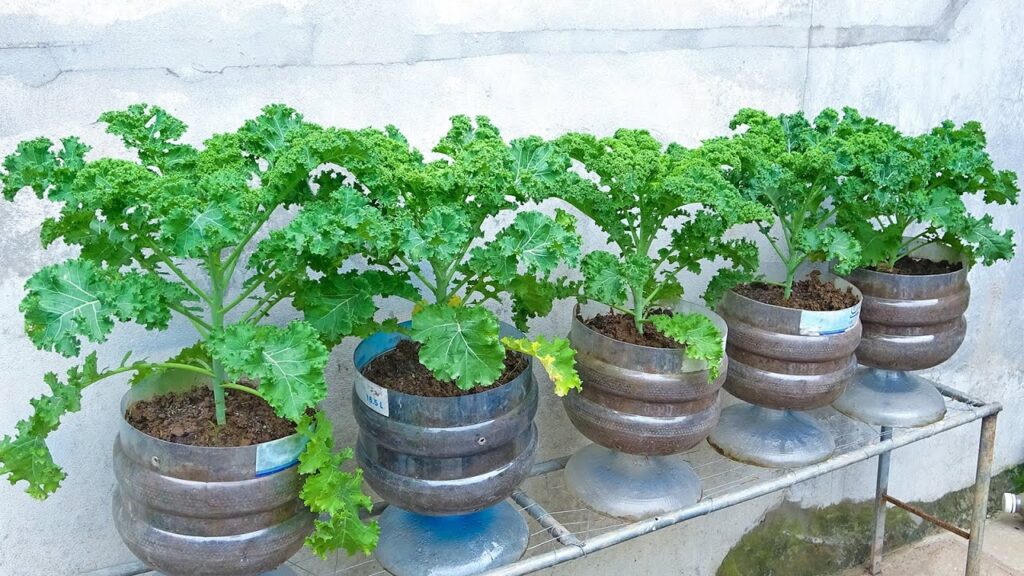
Plastic bottles are one of the most accessible and affordable gardening tools you can use. Rather than throwing them away, you can repurpose them to create a controlled environment for your kale plants. Here’s why this method is ideal:
- Space-saving: Perfect for balconies, windowsills, and small patios.
- Cost-effective: Reduces the need for expensive pots and irrigation systems.
- Sustainable: Reuses plastic bottles and minimizes water wastage.
- Low maintenance: Once set up, these bottles require minimal care.
By utilizing plastic bottles, you can create a micro-garden that is productive, eco-friendly, and simple to maintain.
Materials You’ll Need
Before diving into the process, gather the following materials:
- Plastic bottles (1–2 liters are ideal)
- Kale seeds or seedlings
- Potting soil or coconut coir
- Organic compost
- Perlite or sand (optional, for better drainage)
- A sharp knife or scissors
- A tray or shallow container (to catch any excess water)
This setup is inexpensive and relies on materials you likely already have at home.
Step-by-Step Guide to Growing Kale in Plastic Bottles
1. Prepare the Bottle
Start by thoroughly washing your plastic bottle to remove any residues. Cut the bottle horizontally about one-third from the top. You’ll use the bottom part as the main container for soil and the top part to act as a cover or mini-greenhouse.
Next, make small holes at the bottom for drainage. Although this method requires minimal watering, good drainage ensures the roots don’t rot.
2. Add the Growing Medium
Fill the bottom part of the bottle with a mixture of potting soil, compost, and perlite. This blend retains moisture, provides essential nutrients, and allows air to reach the roots. The key is to maintain a balance between water retention and aeration to ensure the kale grows vigorously.
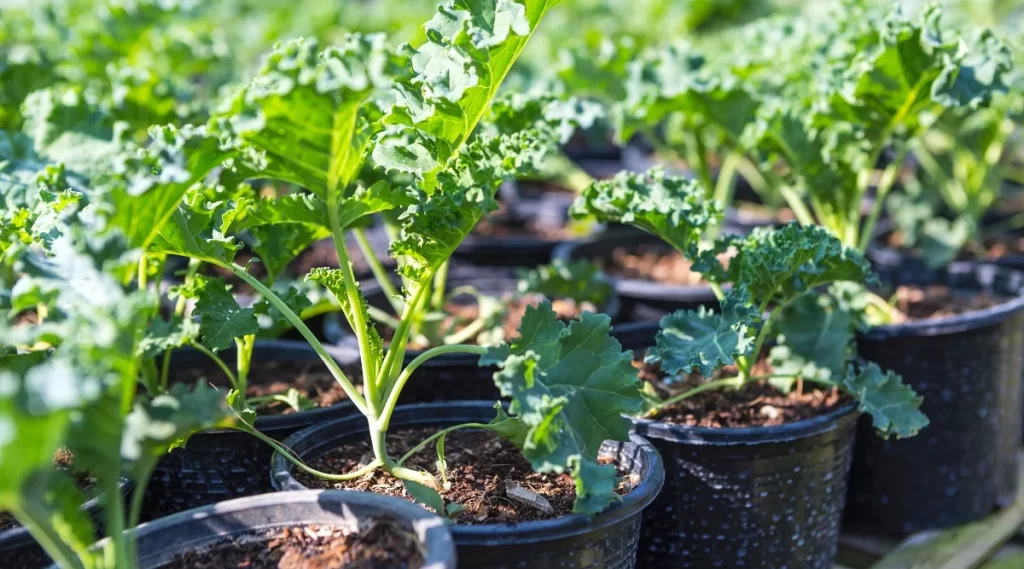
3. Plant the Kale Seeds or Seedlings
Plant your kale seeds about 1 cm deep into the soil. If you are using seedlings, gently remove them from their nursery tray and transplant them into the bottle, making sure the roots are fully covered with soil. Space is limited, so typically, only one or two seedlings per bottle are recommended for optimal growth.
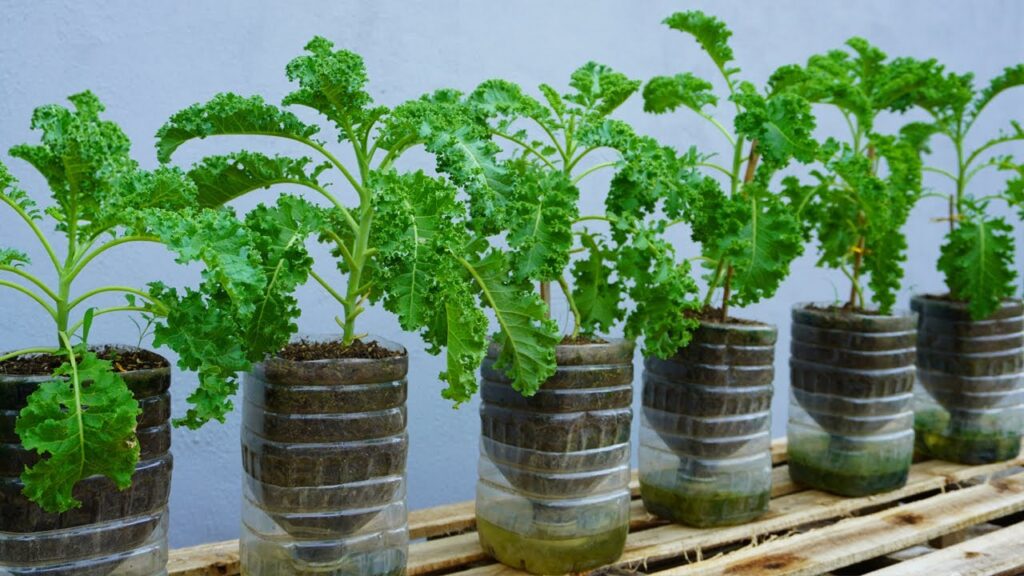
4. Create a Self-Watering System
Here’s where the “without watering” magic happens. By placing the top part of the bottle upside down into the bottom half, you create a mini-greenhouse effect. This setup traps moisture inside the bottle, which continuously nourishes the soil and roots.
For even better results, you can add a small layer of water at the very bottom before filling it with soil. As the water evaporates, it condenses on the inner walls and gradually falls back into the soil, creating a self-sustaining watering cycle. This method significantly reduces the need for frequent manual watering.
5. Position Your Bottle Properly
Kale thrives in sunlight, so place your bottle in a location where it receives at least 4–6 hours of sunlight daily. A south-facing window or balcony is ideal. If sunlight is limited, consider using an LED grow light for 12–14 hours a day to ensure the plants grow robustly.
6. Maintain and Monitor Your Kale
Even though this method minimizes watering, it’s essential to occasionally check the soil’s moisture level. If the soil looks too dry, add a little water. Fertilizing once every two weeks with organic liquid fertilizer can also boost growth.
Pruning is another key step for high productivity. Remove yellow or damaged leaves regularly. This encourages the plant to focus its energy on producing new, healthy leaves.
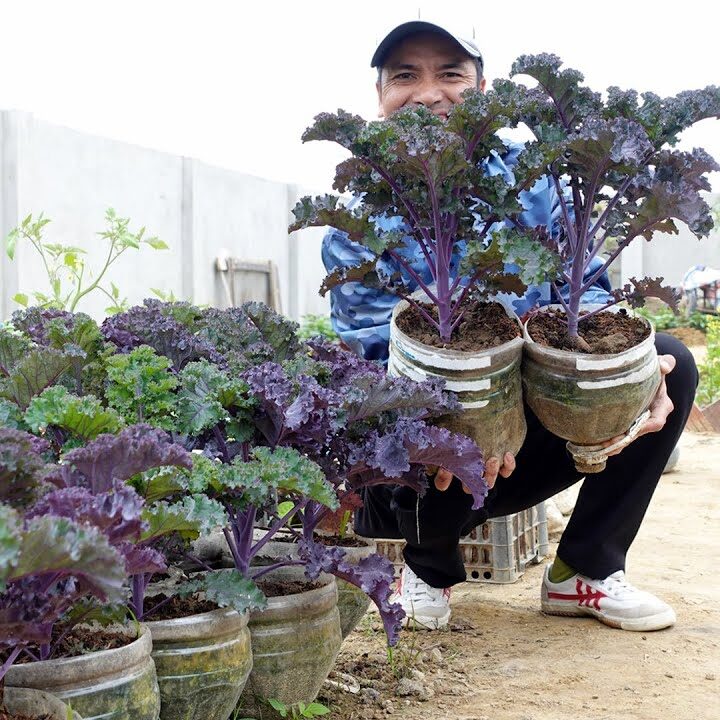
Benefits of Growing Kale This Way
- High Productivity: The controlled environment ensures faster growth and larger leaves.
- Minimal Effort: Once set up, the self-watering system reduces daily maintenance.
- Space Efficiency: Vertical stacking of bottles allows multiple plants in a limited area.
- Eco-Friendly Gardening: Reusing bottles reduces plastic waste while growing fresh food.
Tips for Maximizing Kale Growth
- Rotate Bottles: Rotate the bottles every few days to ensure even sunlight exposure.
- Use Nutrient-Rich Compost: Healthy soil produces healthier plants.
- Companion Planting: You can plant herbs like basil or mint in adjacent bottles for a mini-garden ecosystem.
- Keep Pests Away: Although kale is hardy, check for pests like aphids and caterpillars. Organic neem oil can help control infestations.
Harvesting Your Kale
Kale is typically ready for harvest 6–8 weeks after planting. You can harvest the outer leaves first, allowing the inner leaves to continue growing. This way, your kale plant continues producing fresh leaves for weeks, maximizing your yield from a single bottle.
Conclusion
Growing kale in plastic bottles without watering is a game-changer for urban gardeners and anyone looking to save time, space, and water. This method is simple, cost-effective, and sustainable, yet yields healthy, nutrient-rich kale that can enhance your meals and promote wellness.
By repurposing plastic bottles and creating a self-watering system, you can enjoy fresh, home-grown kale year-round. With minimal maintenance and a bit of patience, you can transform any small corner of your home into a productive mini-garden.
Start with one bottle today, and soon you’ll have a thriving kale garden with high productivity, all without the hassle of daily watering. Whether you’re a beginner or an experienced gardener, this method proves that innovation and sustainability can go hand in hand, making gardening easier and more enjoyable than ever.