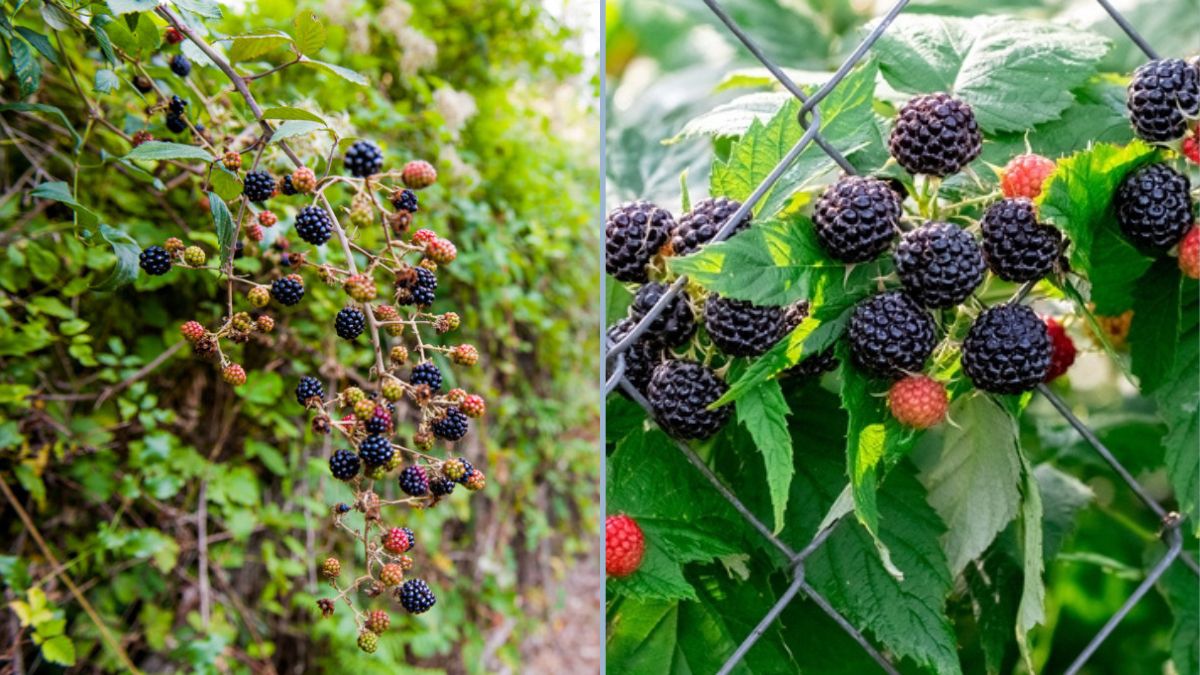
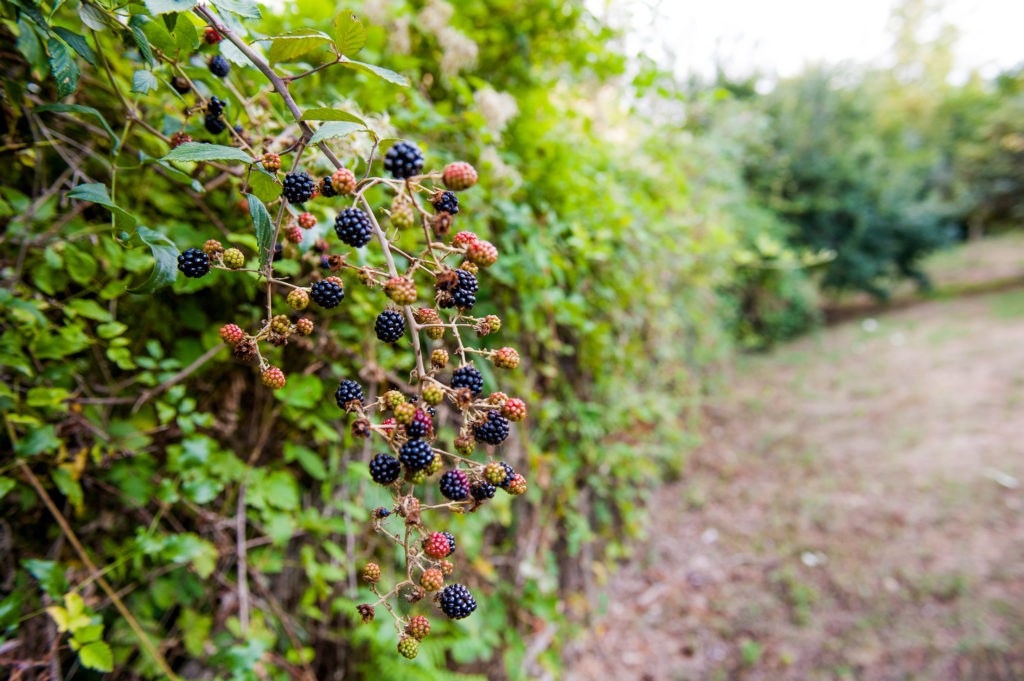
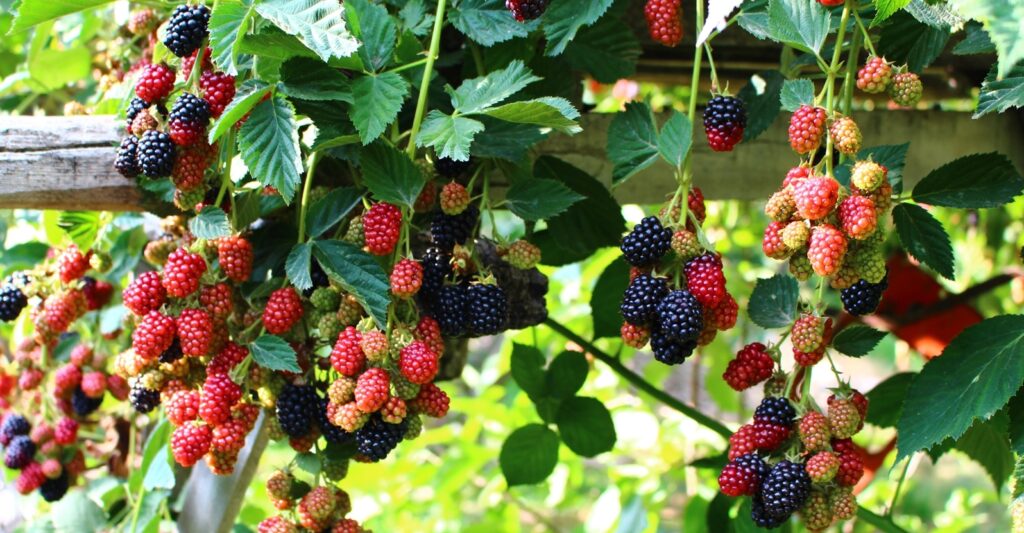
Blackberries are one of the most rewarding fruits to grow at home. Their juicy, tangy-sweet berries are perfect for fresh eating, jams, desserts, or smoothies. Whether you have a small garden, a balcony, or a backyard orchard, transplanting blackberry plants is a key skill that ensures healthy growth and abundant harvests.
In this comprehensive guide, we’ll cover why, when, and how to transplant blackberries, soil preparation, care tips, and strategies to help your plants thrive in their new location. By the end, you’ll have all the knowledge to successfully move your blackberry plants and enjoy bountiful fruit for years to come.
1. Why Transplant Blackberries?
Blackberries are resilient, but there are several reasons you might need to transplant them:
- Rejuvenation: Older plants may have slowed fruit production. Transplanting allows new root development for better yields.
- Space management: If your bushes are overcrowded, moving some plants creates room for growth.
- Soil improvement: Moving to nutrient-rich, well-draining soil improves plant health.
- Pest and disease control: Shifting plants away from infected areas reduces risk of disease spread.
- New garden layout: You may want to redesign your backyard orchard or move plants to a sunnier spot.
Regardless of the reason, transplanting blackberries correctly ensures minimal stress and maximum survival.
2. Best Time to Transplant Blackberries
Timing is crucial when moving blackberry plants. Ideally, you want to transplant during the plant’s dormant period, when growth is slow and the plant is not actively flowering or fruiting.
Optimal transplanting periods:
- Early spring: Before new buds break, usually late February to early March in temperate climates.
- Late fall: After harvest and leaf drop, ensuring roots are dormant.
Transplanting in summer or during active fruiting can stress the plant, reduce fruit production, and increase mortality.
3. Choosing the Right Blackberry Plant
Not all blackberry plants transplant equally well. Look for healthy, vigorous canes for best results.
Ideal characteristics for transplanting:
- Strong, disease-free stems
- Healthy root system (avoid damaged or rotted roots)
- Medium-aged canes (1–3 years old are ideal)
- Active growth in dormant season (not flowering or fruiting)
Avoid transplanting weak, overgrown, or heavily diseased plants — these have lower survival rates.
4. Preparing the New Planting Site
Before transplanting, you need to prepare the new location for optimal growth.
Site requirements:
- Sunlight: 6–8 hours of direct sunlight daily for optimal berry production.
- Soil: Well-draining loamy or sandy soil, slightly acidic (pH 5.5–6.5).
- Space: Leave at least 3–4 feet between plants and 6–8 feet between rows to accommodate sprawling canes.
- Protection: Choose a spot sheltered from strong winds to prevent cane breakage.
Soil preparation:
- Remove weeds and debris from the planting area.
- Mix in organic compost or well-rotted manure to enrich the soil.
- Loosen the soil to a depth of 12–18 inches to help roots spread easily.
- Add perlite or sand if drainage is poor.
This preparation ensures the blackberry bush thrives after transplanting.
5. Digging Up the Blackberry Plant
Careful removal of the plant is critical to avoid damaging roots.
Steps for digging up blackberries:
- Prune the canes: Cut back about one-third of the plant’s height. This reduces water loss and transplant stress.
- Mark the root zone: Measure about 12 inches from the base of the plant to ensure you dig a sufficiently wide root ball.
- Loosen the soil: Use a spade or garden fork to gently dig around the root ball, taking care not to cut the main roots.
- Lift the plant: Carefully lift the bush, keeping the root ball intact.
- Protect the roots: Wrap the root ball in burlap or place it in a container with moist soil if transplanting isn’t immediate.
Avoid letting roots dry out — moisture is critical for transplant survival.
6. Preparing the Blackberry for Planting
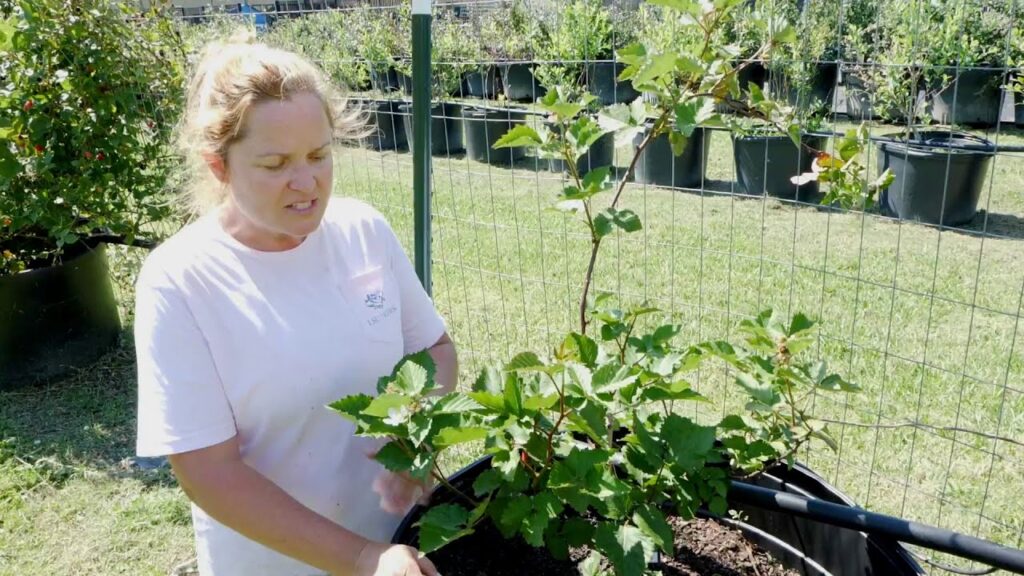
Once dug up, your blackberry bush may need a little prep before replanting.
Preparation steps:
- Trim damaged, broken, or diseased roots.
- Shorten long canes to reduce stress on roots.
- Dip roots in a root-stimulating solution (optional) to improve recovery.
- Keep roots moist and shaded until planted.
These steps help the plant adjust quickly to its new environment.
7. Planting the Blackberry Transplant
Now it’s time to place the bush in its new home.
Step-by-step planting:
- Dig a hole slightly wider and deeper than the root ball.
- Position the bush so the crown (where roots meet the stem) sits just above soil level.
- Fill the hole with soil, gently pressing to remove air pockets.
- Water thoroughly to settle soil around roots.
- Apply a 2-inch layer of mulch around the base to conserve moisture and suppress weeds.
💡 Tip: Avoid burying the crown too deeply — this can lead to rot.
8. Watering and Early Care
Blackberries are sensitive during transplanting, so proper watering is crucial.
Watering tips:
- Water deeply immediately after planting.
- Keep soil consistently moist for the first 2–3 weeks.
- Avoid waterlogging — soggy soil can kill roots.
- Gradually reduce watering as the plant establishes, usually after 4–6 weeks.
Proper moisture management helps the plant recover from transplant shock and encourages new root growth.
9. Fertilizing After Transplanting
Avoid heavy fertilization immediately after transplanting, as it can stress the plant.
Recommended feeding:
- Wait 4–6 weeks after transplanting before applying fertilizer.
- Use a balanced, slow-release fertilizer or organic compost.
- During the first growing season, focus on nitrogen to promote healthy foliage and root development.
This approach encourages strong growth without overwhelming the plant.
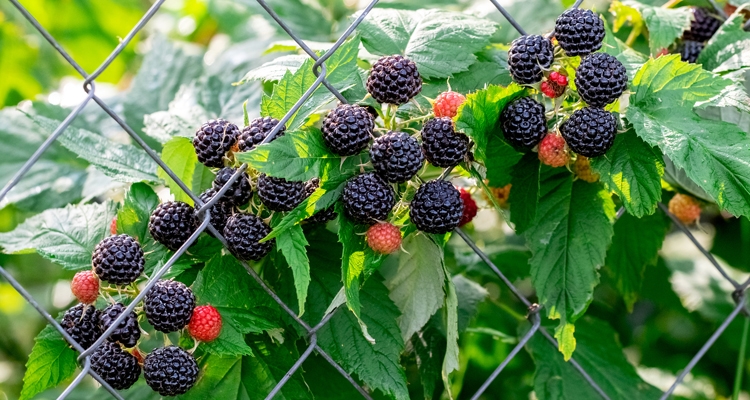
10. Supporting the Bush
Blackberries produce long, sprawling canes that benefit from support.
Support options:
- Trellises or stakes: Keep canes upright for better air circulation and easier harvesting.
- Tying canes: Use soft garden twine to loosely secure canes to support structures.
- Pruning for structure: Remove weak, crossing, or overcrowded canes to focus energy on strong stems.
Proper support reduces breakage and improves fruit quality.
11. Monitoring for Stress and Pests
Transplanted blackberries are vulnerable to stress, pests, and disease.
Signs of transplant stress:
- Wilting leaves
- Yellowing or dropping leaves
- Slowed growth
Pest and disease management:
- Inspect regularly for aphids, spider mites, or fungal infections.
- Use organic treatments like neem oil or insecticidal soap if needed.
- Ensure good air circulation to prevent powdery mildew or root rot.
Early intervention ensures your transplanted bush thrives.
12. Pruning and Training for Long-Term Growth
Once established, proper pruning and training are key to productive blackberry bushes.
- Summer-bearing varieties: Prune floricanes after fruiting; leave new canes for next season.
- Ever-bearing varieties: Can be pruned to the ground in late winter for one large fall harvest, or selectively for two crops.
- Maintain 6–8 strong canes per bush for optimal production.
Regular pruning improves sunlight exposure, airflow, and berry quality.
13. Harvesting Your Blackberries
Blackberries typically bear fruit 1–2 years after transplanting depending on the cane type.
Signs of ripeness:
- Deep black color with a slight shine
- Soft but firm to touch
- Berries easily detach when gently pulled
Pick frequently to encourage new fruiting and prevent overripe berries from spoiling.
14. Long-Term Care and Maintenance
Transplanted blackberries can thrive for 8–10 years with proper care.
Tips for longevity:
- Mulch annually to maintain soil moisture and acidity.
- Fertilize in spring and mid-summer with organic amendments.
- Water consistently, especially during dry spells.
- Monitor for diseases and prune annually for healthy growth.
A well-maintained transplant will reward you with abundant berries for years.
15. Final Thoughts: The Joy of Blackberry Transplants
Transplanting blackberry bushes may seem intimidating, but with the right timing, soil preparation, and care, it’s straightforward and highly rewarding.
By following these steps, you can rejuvenate old plants, redesign your backyard orchard, and enjoy sweet, juicy blackberries year after year — all from bushes you transplanted yourself.
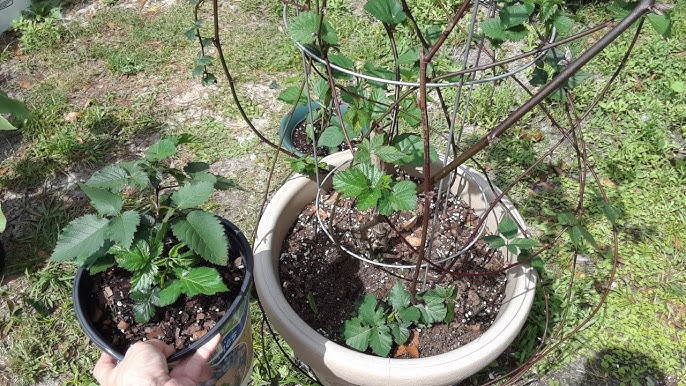
Even a small garden, patio, or balcony can become a fruitful blackberry haven with proper container placement, soil care, and support.
Start today, and in a few seasons, you’ll be harvesting bowls of fresh, homegrown blackberries — a delicious and satisfying reward for your gardening efforts.
If you want, I can also create SEO metadata and focus keywords for this post so it’s fully optimized for WordPress or Blogger, making it easier to rank for terms like blackberry transplant, container blackberry growing, and backyard orchard tips.
Do you want me to do that next?