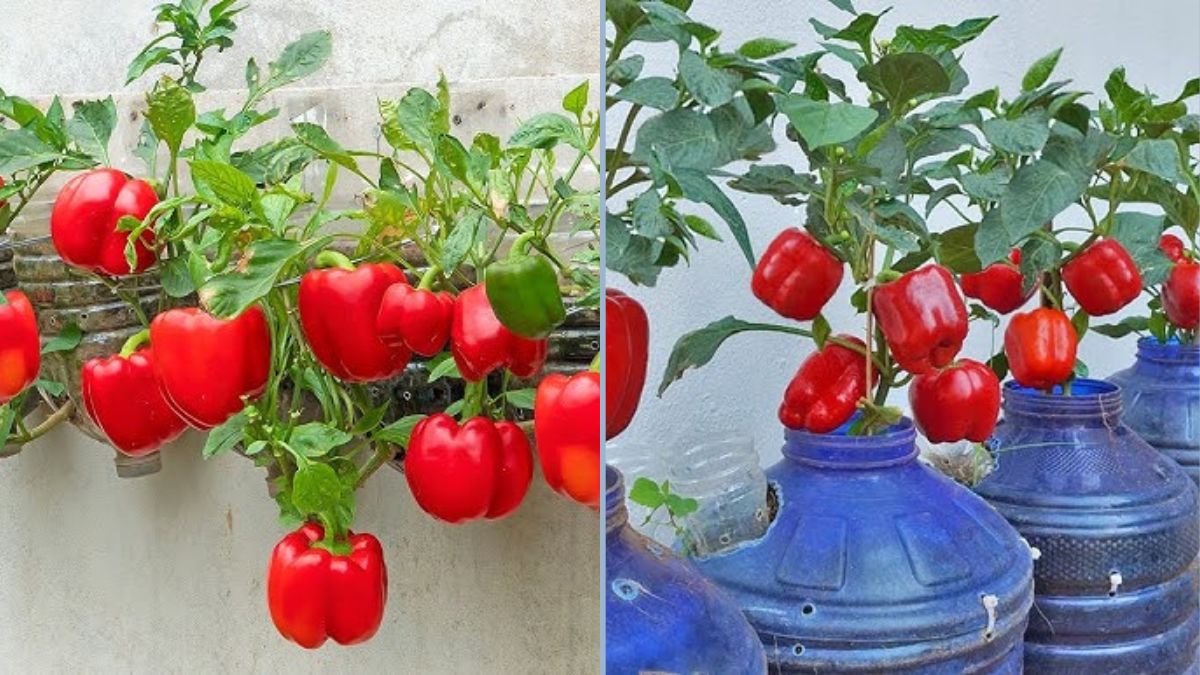
If you love the idea of harvesting fresh, crunchy bell peppers (capsicum) right from your own balcony, you’ll be thrilled to know that you don’t need a big garden or expensive equipment to make it happen. With a few recycled plastic bottles, a handful of soil, and the right technique, you can easily grow bell peppers at home — even in a small apartment.
This method is not just affordable but also eco-friendly and incredibly productive. By repurposing everyday waste like plastic bottles, you can turn your balcony or windowsill into a thriving mini-garden. Let’s dive into the step-by-step process and some expert tips for growing healthy, fruit-laden bell pepper plants right in bottles.
Why Grow Bell Peppers in Plastic Bottles?

Using plastic bottles as containers for growing vegetables is becoming a popular trend among urban gardeners. It’s practical, sustainable, and space-saving. Here’s why it works so well for bell peppers:
- Recycling Made Useful: Instead of throwing away used bottles, you give them a second life as mini-planters.
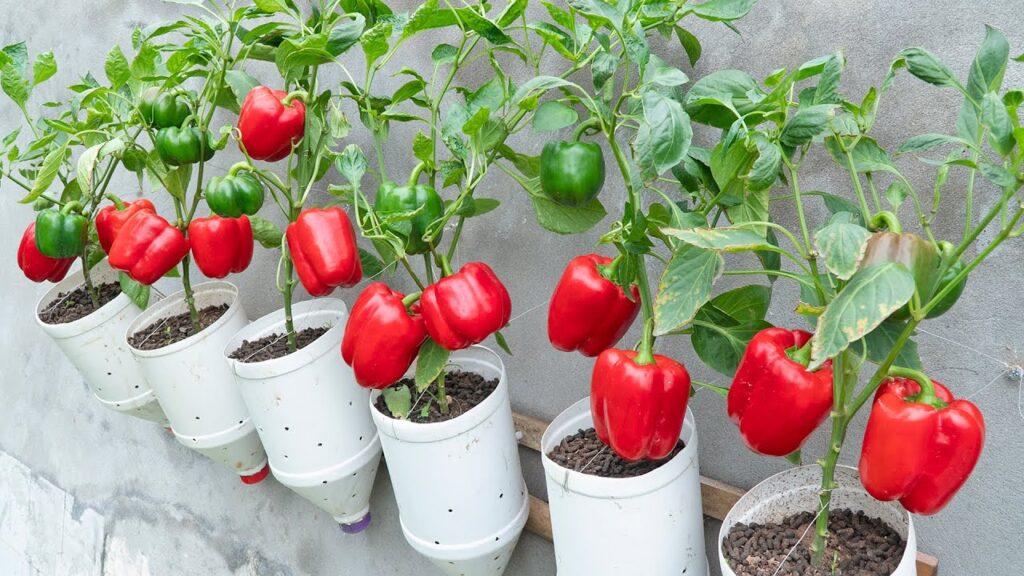
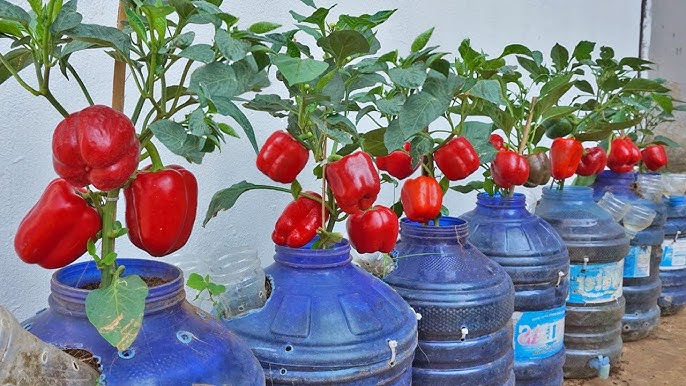
- Perfect for Small Spaces: Even if you have a tiny balcony or windowsill, bottle gardening allows you to grow multiple plants vertically or in rows.
- Easy Water Management: Transparent bottles let you monitor soil moisture levels easily.
- Portable: You can move the bottles to adjust for sunlight or rain exposure.
- Cost-Effective: No need to buy pots — plastic bottles do the job perfectly for free.
Bell peppers (also known as capsicum or sweet peppers) adapt well to container gardening. They’re colorful, flavorful, and grow wonderfully in limited space when cared for properly.
What You’ll Need
Before you start planting, gather these basic supplies:
- Plastic bottles – 1.5L or 2L size work best (transparent or colored).
- Bell pepper seeds or seedlings – choose a healthy, disease-free variety.
- Potting mix – a blend of garden soil, compost, and cocopeat (1:1:1 ratio).
- Compost or organic fertilizer – vermicompost or kitchen compost works great.
- Cutter or scissors – for cutting the bottles.
- Watering can – or a spray bottle for gentle watering.
- Sunny balcony or window – peppers need at least 6 hours of sunlight daily.
Step 1: Prepare the Plastic Bottles
Choose bottles of at least 1.5 to 2 liters capacity so the pepper roots have enough room to grow.
How to prepare:
- Cut the top part of the bottle about one-third from the top to create an open container.
- Poke 4-5 small drainage holes at the bottom to allow excess water to escape.
- Keep the bottle cap on if you’re hanging it vertically, or remove it if you’re placing it upright on a tray.
- Optionally, paint or wrap the outside of clear bottles to block harsh sunlight on the roots.
Tip: If you plan to hang the bottles, make two holes near the cut edge and tie a strong cord or wire through them to hang on your balcony railing.
Step 2: Mix and Fill the Soil
The secret to healthy bell pepper plants is light, nutrient-rich, and well-draining soil.
Mix together:
- 1 part garden soil
- 1 part compost (organic fertilizer or vermicompost)
- 1 part cocopeat or sand (for drainage)
Fill each bottle up to about 2–3 inches from the top. Water lightly before planting to settle the mix.
Step 3: Planting Bell Pepper Seeds or Seedlings
You can start from seeds or small nursery seedlings.
If using seeds:
- Sow 2–3 seeds per bottle about 1 cm deep.
- Cover gently with soil.
- Mist the surface lightly to keep it moist.
- Keep in partial shade until germination (usually 7–10 days).
If using seedlings:
- Make a small hole in the center of the soil.
- Gently transplant one healthy seedling per bottle.
- Press soil lightly around the base and water well.
Step 4: Provide Proper Light and Temperature
Bell peppers are sun-loving plants. Place your bottles in a sunny balcony, terrace, or window ledge where they receive 6–8 hours of sunlight daily.
If your balcony doesn’t get enough direct sun, you can use reflective surfaces (like mirrors or white walls) to maximize available light.
Maintain a temperature between 20–30°C (68–86°F) for best growth.
Step 5: Watering Routine
Container plants dry out faster than those grown in soil beds, so consistent watering is key.
- Keep the soil slightly moist but not soggy.
- Water once a day in summer or every other day in cooler weather.
- Check soil moisture by pressing your finger an inch deep — if it feels dry, it’s time to water.
Tip: Use a spray bottle or gentle watering can to avoid disturbing the young roots.
Step 6: Feeding and Maintenance
Once the seedlings are established and about 6–8 inches tall, begin feeding with organic fertilizer every 2–3 weeks.
You can use:
- Banana peel compost or liquid fertilizer (for potassium)
- Epsom salt solution (1 tsp per liter of water, once a month)
- Diluted fish emulsion or compost tea
This helps encourage flowering and fruiting.
Keep removing yellow or dry leaves regularly to improve airflow and reduce disease.
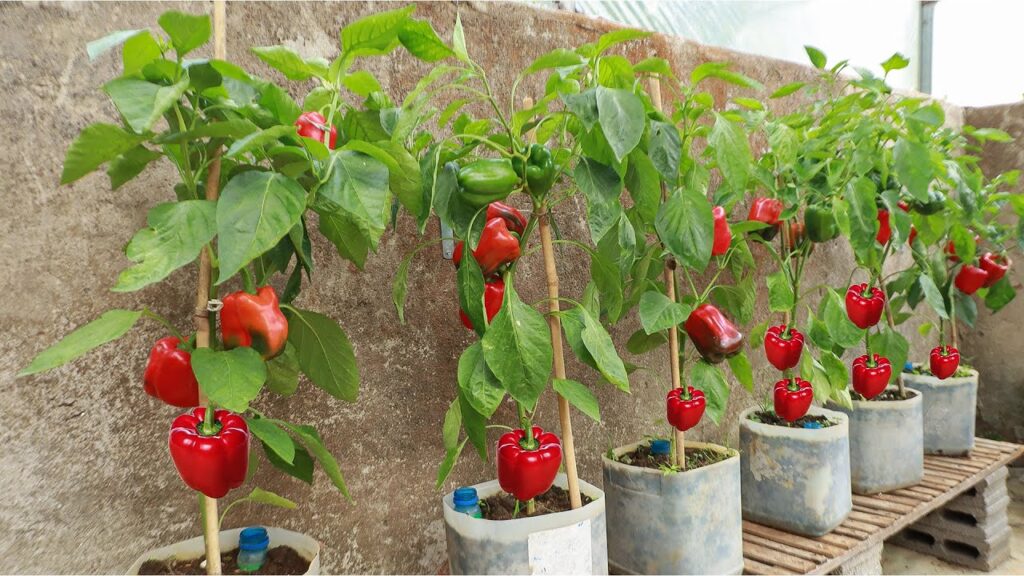
Step 7: Supporting the Plants
As bell peppers grow and start forming fruits, the stems may bend due to the weight.
- Use a small bamboo stick or straw as a support.
- Tie the stem loosely using a soft string or cloth strip.
- This helps the plant stay upright and healthy.
Step 8: Pollination and Flower Care
Bell peppers are self-pollinating, but a little help increases fruit set — especially in balconies where natural pollinators (like bees) are few.
- Gently shake the plant or tap the flowers to spread pollen.
- You can also use a small paintbrush or cotton swab to transfer pollen between flowers.
Ensure good air circulation around the plants to prevent mold or fungal issues.
Step 9: Harvesting Bell Peppers
Depending on the variety, your bell peppers will be ready 70–90 days after transplanting.
- Harvest when they are firm and reach the desired color (green, red, yellow, or orange).
- Use scissors or a knife to cut the fruit, leaving a small stem attached.
Continuous harvesting encourages the plant to produce more fruits.
Step 10: Reuse and Replant
After harvesting, you can reuse the same bottle by refreshing the soil with compost and planting a new seedling.
This sustainable system lets you enjoy multiple harvests throughout the year without needing new pots each time.
Common Problems and Solutions
| Problem | Cause | Solution |
|---|---|---|
| Yellow leaves | Overwatering or poor drainage | Check bottle holes, water less often |
| No flowers or fruit | Lack of sunlight or nutrients | Move to a sunnier spot; feed with compost tea |
| Small or misshapen fruits | Irregular watering | Keep soil consistently moist |
| Pests (aphids, mites) | Warm humid conditions | Spray neem oil or soapy water weekly |
Benefits of Growing Bell Peppers in Bottles
- Eco-friendly gardening: Reduces plastic waste and promotes recycling.
- Fresh produce year-round: Enjoy chemical-free vegetables anytime.
- Budget-friendly: No need for costly planters or tools.
- Decorative: Colorful peppers add beauty to balconies and windows.
- Great for beginners: Easy, rewarding, and fun for kids and adults alike.
Expert Tips for Maximum Yield
- Prune wisely: Remove lower leaves touching the soil to prevent fungal infection.
- Rotate bottles: Turn them every few days for even sunlight exposure.
- Use companion plants: Grow basil or marigold nearby to repel pests.
- Mulch the soil: A thin layer of dry leaves or cocopeat helps retain moisture.
- Avoid overcrowding: Keep bottles spaced at least 8–10 inches apart.
Final Thoughts
Growing bell peppers in plastic bottles is more than just a creative experiment — it’s a smart, sustainable way to make the most of limited space. This method proves that even a tiny balcony can become a productive mini-farm with the right technique.
From cutting the bottle to harvesting your first shiny pepper, the process is simple, low-cost, and incredibly satisfying.
So the next time you finish a bottle of water or soda, don’t throw it away — give it a second life as a home for your next crop of beautiful, home-grown bell peppers.