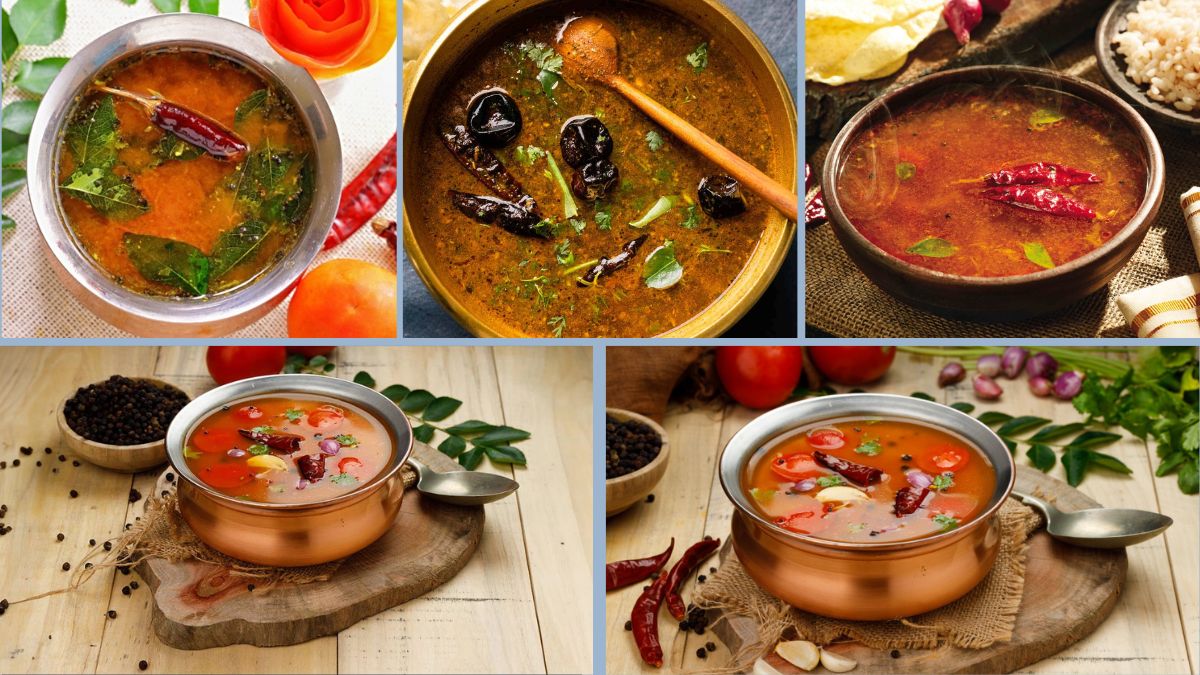
Rasam, a traditional South Indian soup, is cherished for its tangy, spicy, and comforting qualities. It’s an integral part of South Indian cuisine, commonly served as a flavorful accompaniment to rice or enjoyed as a light soup. Rasam is known not only for its vibrant taste but also for its medicinal properties, as it often includes ingredients that aid digestion and immunity.
This article offers a detailed 6-step guide to making authentic, tangy, and comforting rasam at home, focusing exclusively on vegetarian ingredients and traditional methods. Whether you are a beginner or an experienced cook, these steps will help you master the art of preparing perfect rasam that warms the soul and delights the palate.
Step 1: Selecting and Preparing the Key Ingredients
The essence of rasam lies in its unique blend of spices, tamarind, lentils, and herbs. The primary ingredients include:
- Tamarind pulp: Provides the characteristic tangy base.
- Toor dal (pigeon peas): Cooked lentils add body and nutrition.
- Tomatoes: Enhance flavor and balance acidity.
- Rasam powder: A special spice blend usually made with coriander seeds, black pepper, cumin seeds, dry red chilies, and mustard seeds.
- Mustard seeds, cumin seeds, asafoetida (hing), curry leaves: For tempering and flavor enhancement.
- Fresh coriander leaves: For garnish.
- Green chilies, garlic, ginger: For heat and aroma.
Selecting fresh tamarind and ripe tomatoes will significantly elevate the flavor profile.
Step 2: Preparing Tamarind Extract and Cooking Lentils
Tamarind Extract:
- Soak a lemon-sized ball of tamarind in warm water for 20-30 minutes.
- Mash and squeeze to extract thick tamarind juice.
- Strain to remove fibers and seeds.
- Set aside approximately 1 cup of tamarind water for the recipe.
Cooking Lentils:
- Rinse ½ cup toor dal thoroughly under running water.
- Pressure cook the dal with 1½ cups water until soft and mushy (typically 3-4 whistles).
- Mash the cooked dal gently and set aside.
Using a pressure cooker speeds up the process and yields perfectly cooked lentils essential for rasam’s texture.
Step 3: Preparing the Rasam Powder (Optional but Recommended)

While store-bought rasam powder is convenient, freshly ground rasam powder offers superior aroma and taste.
Ingredients for homemade rasam powder:
- Coriander seeds (2 tablespoons)
- Cumin seeds (1 tablespoon)
- Black peppercorns (1 teaspoon)
- Dry red chilies (2-3, adjust to taste)
- Mustard seeds (1 teaspoon)
Method:
- Dry roast all spices on low heat until fragrant and golden brown.
- Allow to cool completely.
- Grind to a fine powder using a spice grinder or mortar and pestle.
- Store in an airtight container for future use.
Fresh rasam powder delivers a bold, complex flavor that elevates the dish.
Step 4: Cooking the Base – Tomatoes, Tamarind, and Spices

- In a pot, heat 1 tablespoon oil or ghee.
- Add mustard seeds and cumin seeds; when they crackle, add a pinch of asafoetida and curry leaves.
- Add finely chopped garlic, ginger, and slit green chilies; sauté until fragrant.
- Add chopped tomatoes and cook until soft and pulpy.
- Pour in the tamarind extract and bring to a gentle boil.
- Add 1 to 2 teaspoons of rasam powder and salt to taste.
- Let the mixture simmer for 10 minutes to allow the flavors to meld.
This step builds the tangy and spicy base of the rasam, with the tomatoes and tamarind creating a perfect balance.
Step 5: Incorporating Cooked Lentils and Adjusting Consistency
- Add the mashed toor dal to the simmering tamarind-tomato mixture.
- Stir well to combine and check the consistency.
- Add water if necessary to achieve a thin, soup-like texture typical of rasam.
- Allow the rasam to simmer gently for another 5-7 minutes.
- Taste and adjust salt and tamarind or spice levels as needed.
The lentils enrich the rasam, giving it a creamy texture without overwhelming the broth-like consistency.
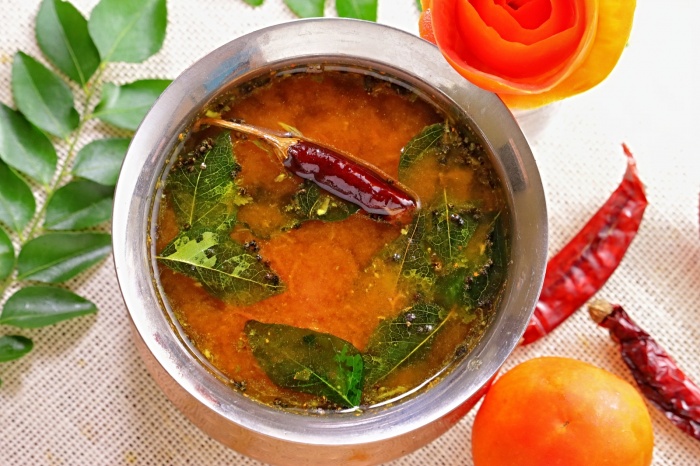
Step 6: Final Tempering and Garnishing
- Heat 1 tablespoon oil or ghee in a small pan.
- Add mustard seeds; once they pop, add dried red chili, curry leaves, and a pinch of asafoetida.
- Pour this tempering (known as “tadka”) over the hot rasam.
- Mix gently to infuse the aromas.
- Garnish generously with freshly chopped coriander leaves.
This final step imparts an irresistible fragrance and depth to the rasam, making it truly comforting and flavorful.
Serving Suggestions and Nutritional Benefits
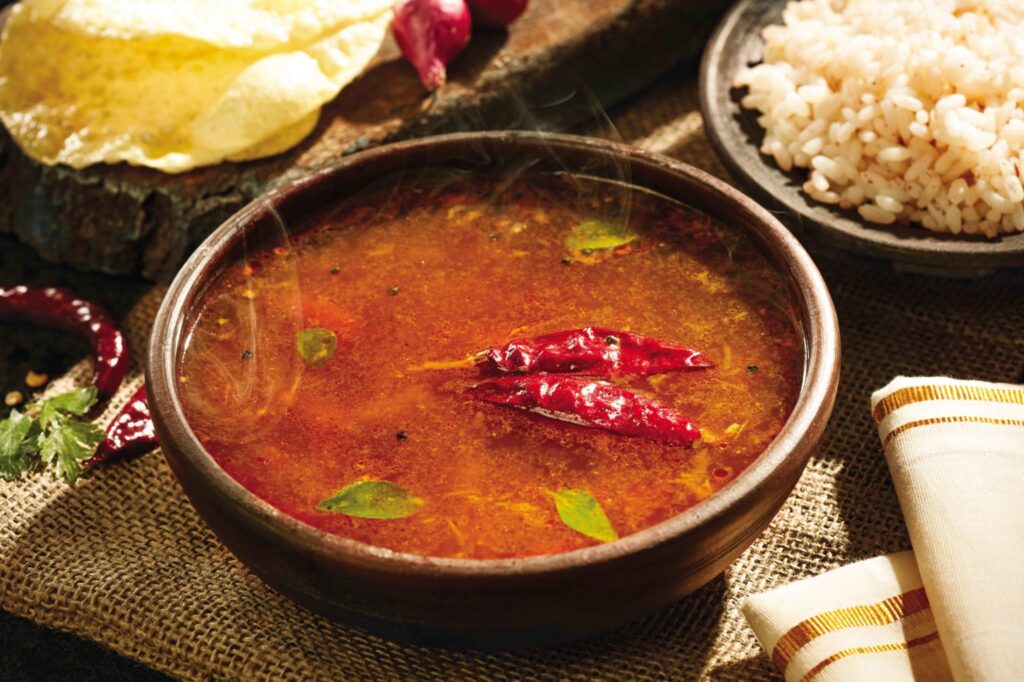
Rasam is traditionally served hot with steamed rice, often accompanied by a vegetable side dish or papad. It can also be enjoyed as a light soup, perfect for digestion and appetite stimulation.
Nutritional Highlights:
- Rich in antioxidants: Tamarind and tomatoes contribute lycopene and vitamin C.
- High in protein and fiber: Lentils support muscle health and digestion.
- Low in fat and calories: Ideal for a healthy diet.
- Digestive aid: Spices like cumin, black pepper, and asafoetida stimulate digestion and reduce bloating.
Tips for Perfect Rasam Every Time
- Use fresh tamarind and tomatoes for vibrant flavor.
- Avoid overcooking the spices to prevent bitterness.
- Adjust the tamarind and rasam powder quantities according to taste preferences.
- Do not skip the final tempering; it is crucial for authentic aroma.
- Prepare rasam fresh; however, it keeps well refrigerated for a day and reheats nicely.
Conclusion
Rasam is more than just a dish; it’s a comforting elixir that combines tradition, health benefits, and robust flavors in one bowl. By following these 6 simple steps, you can prepare a tangy, aromatic, and soul-soothing rasam at home, purely vegetarian and packed with authentic South Indian essence.
Whether served as part of a full meal or enjoyed as a restorative soup, this rasam recipe is sure to become a staple in your kitchen, bringing warmth and flavor to your dining table every time.