English scones occupy a treasured place in the culinary traditions of Britain. They are not just a simple baked good but a cultural symbol—served at afternoon teas, family gatherings, and bakeries across the globe. Characterized by their tender crumb, delicate rise, and lightly sweet flavor, scones bridge the gap between bread and cake.
Traditionally, English scones often include dairy and eggs, which help with binding and richness. However, with the increasing demand for plant-based options, creating scones without non-vegetarian ingredients is both possible and rewarding. By understanding the underlying science of baking and following a systematic approach, bakers can craft scones that are light, flaky, and perfectly golden.
This article outlines five carefully designed steps to achieve the perfect English scones using only vegetarian-friendly, egg-free ingredients. Each step is grounded in both practical baking experience and food science principles.
Step 1: Selecting the Right Ingredients

The foundation of a perfect scone begins with ingredient selection. Unlike bread, which relies heavily on yeast fermentation, scones use chemical leavening (baking powder or baking soda) for rise. Therefore, the quality and type of each ingredient directly affect texture, flavor, and structure.
- Flour: Use plain all-purpose flour for balance. For a lighter crumb, sift the flour to aerate it before mixing. Whole wheat or oat flour can be substituted in part for nutrition but should be blended with white flour (at least 50:50) to avoid density.
- Leavening Agents: Baking powder is essential. Double-acting baking powder releases carbon dioxide twice—first when mixed with liquid and again during baking—helping create that iconic rise. A ratio of about 2 teaspoons baking powder per cup of flour ensures lightness without bitterness.
- Fat: Traditionally, butter is used, but plant-based fats work beautifully. Options include vegan butter, coconut oil (for a hint of sweetness), or even margarine. The key is to keep the fat cold so that it creates flaky layers when it melts in the oven.
- Liquid: Non-dairy milk such as almond, oat, or soy milk serves as the hydrating agent. Soy milk, in particular, provides slightly more protein, which improves structure.
- Sweeteners: A small amount of sugar (2–3 tablespoons) balances flavor. Coconut sugar or brown sugar can add depth, while white sugar maintains a neutral sweetness.
- Flavor Enhancers: A pinch of salt sharpens flavor, while vanilla extract or lemon zest elevates aroma.
Food Science Insight: The balance between flour (structure), fat (tenderness), and liquid (hydration) determines the final crumb of the scone. Cold fat pieces trapped within the dough create steam pockets, which expand during baking, producing flakiness.
Step 2: Mastering the Mixing Technique
How ingredients are combined is just as crucial as the ingredients themselves. Overmixing leads to gluten development, which can toughen scones, while undermixing leaves them crumbly and uneven.
- Sift the Dry Ingredients: Combine flour, baking powder, sugar, and salt. Sifting prevents lumps and aerates the flour, ensuring even distribution of leavening.
- Cut in the Fat: Add cold plant butter or coconut oil, cutting it into the flour mixture with a pastry cutter or fingertips. The goal is to achieve a texture resembling coarse crumbs, with pea-sized bits of fat still visible. These fat pieces are essential for flakiness.
- Add the Liquid: Pour chilled plant milk into the mixture and stir gently with a wooden spoon until the dough just comes together. Do not over-stir—stop as soon as there are no large dry patches of flour.
Tip: If you want extra richness, replace part of the liquid with unsweetened plant yogurt. It adds tang and tenderness, much like traditional cream.
Food Science Insight: Gluten formation begins as soon as liquid is added to flour. Gentle mixing minimizes gluten development, keeping scones tender rather than chewy like bread.
Step 3: Shaping and Handling the Dough
Once the dough is formed, careful handling ensures height and uniformity in the final bake.
- Turn Out the Dough: Place it on a lightly floured surface. The dough should be soft but not sticky. If too wet, sprinkle in a small amount of flour.
- Pat, Don’t Roll: Use your hands to gently pat the dough into a round about 2–3 cm thick. Rolling with a pin compresses the dough, reducing rise.
- Fold for Layers: For extra flakiness, fold the dough over itself two or three times before patting it flat again. This creates layers similar to puff pastry, though less dramatic.
- Cut the Scones: Use a sharp, floured cutter or knife. Press straight down—twisting seals the edges, preventing proper rise. Standard size is about 5–6 cm in diameter.
Tip: Arrange the cut scones close together on the baking tray. As they bake, they push against one another, forcing them to rise upward instead of spreading outward.
Food Science Insight: Folding the dough incorporates thin layers of fat and flour. When heat hits, the fat melts and creates steam, puffing up the layers and giving scones their characteristic height.
Step 4: Baking to Perfection
Baking transforms raw dough into golden, fragrant scones. Proper temperature and timing are critical.
- Oven Temperature: Preheat to 200°C (400°F). The high initial heat ensures rapid steam formation, which helps scones rise tall.
- Pan Preparation: Use a lined baking sheet with parchment paper. This prevents sticking and encourages even browning.
- Brushing the Tops: For a glossy finish, brush the tops with a little plant milk or a mixture of plant milk and maple syrup. Avoid brushing the sides, as it can hinder rising.
- Baking Time: Bake for 12–15 minutes, until tops are golden brown and bottoms are firm. Overbaking dries out the scones, while underbaking leaves them doughy inside.
Food Science Insight: During baking, starches in the flour gelatinize, proteins set, and fats melt, creating structure and texture. The sugar caramelizes on the surface, giving that delicate golden hue.
Step 5: Serving and Enhancing the Experience
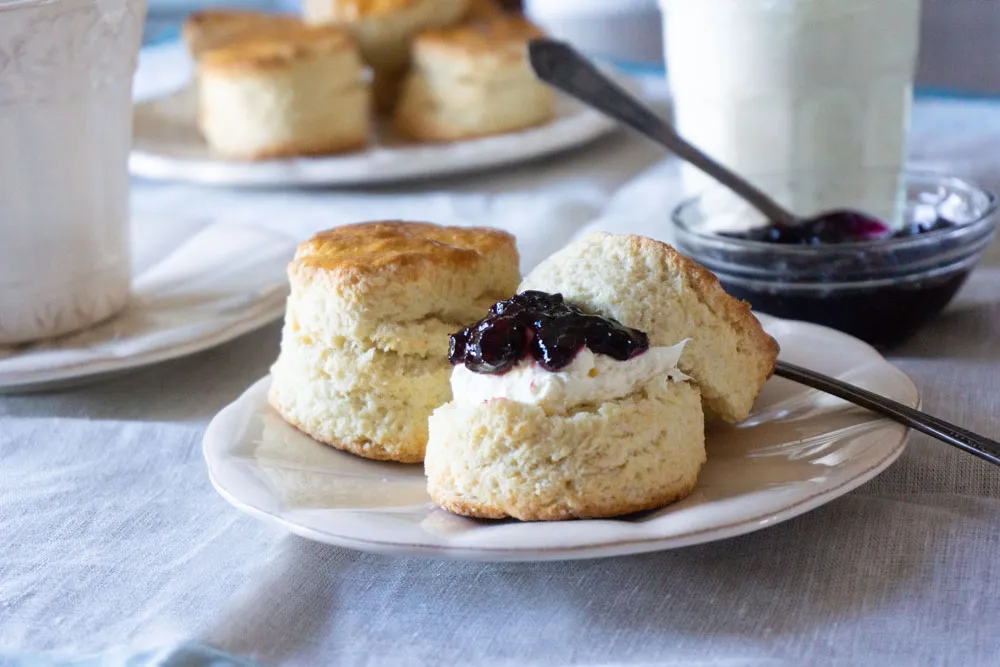
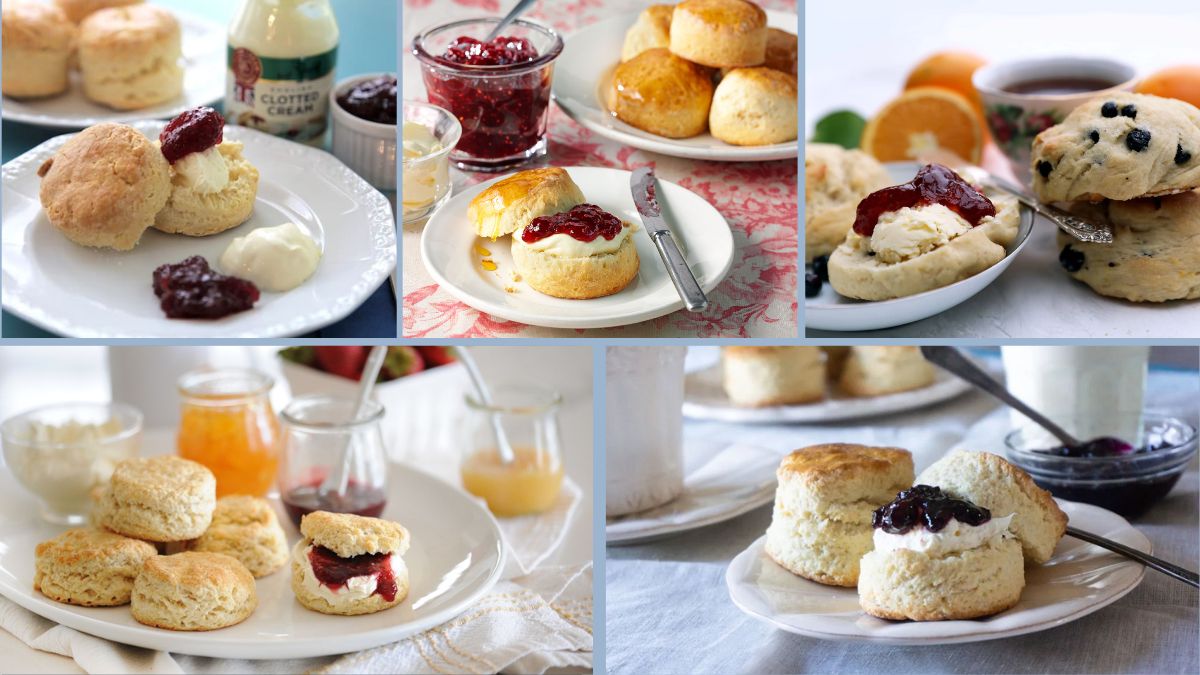
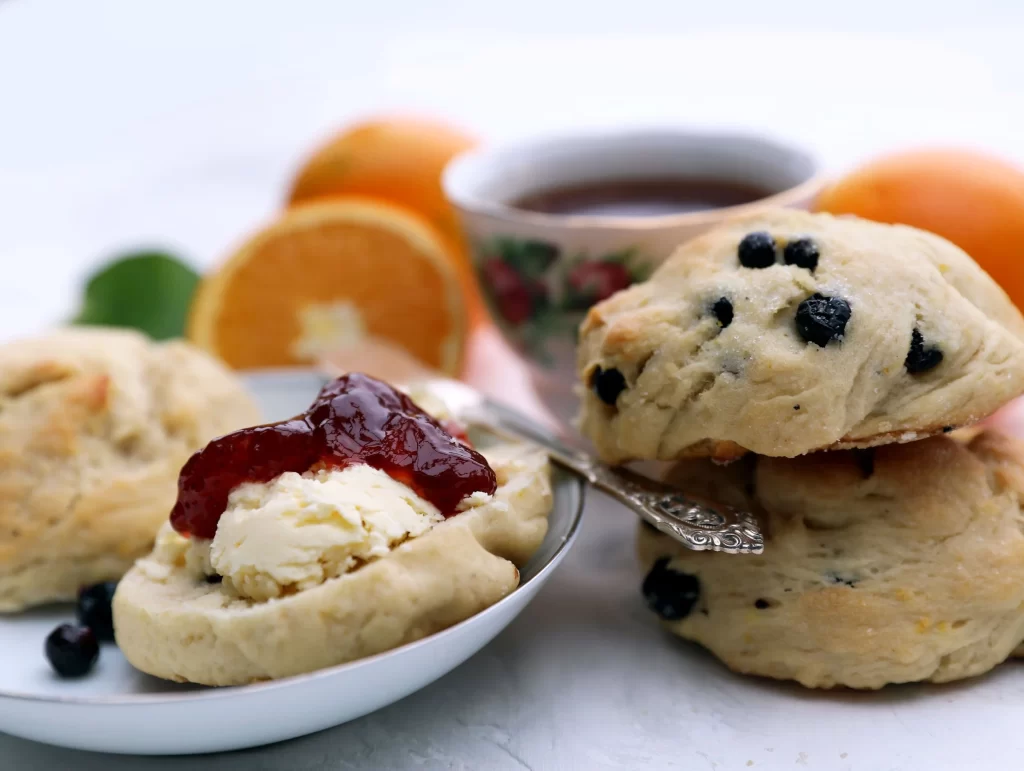
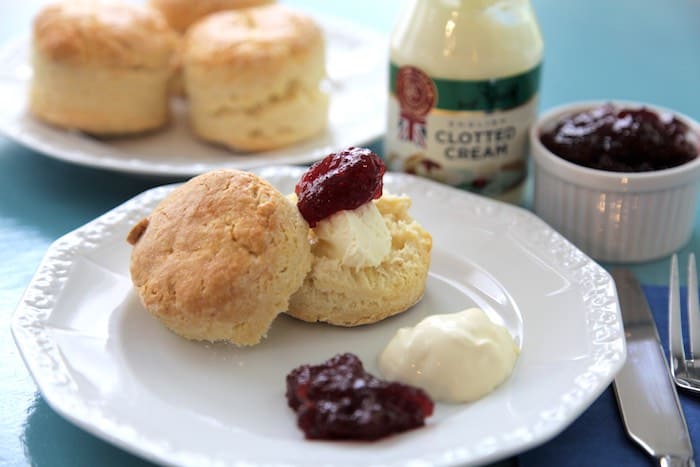
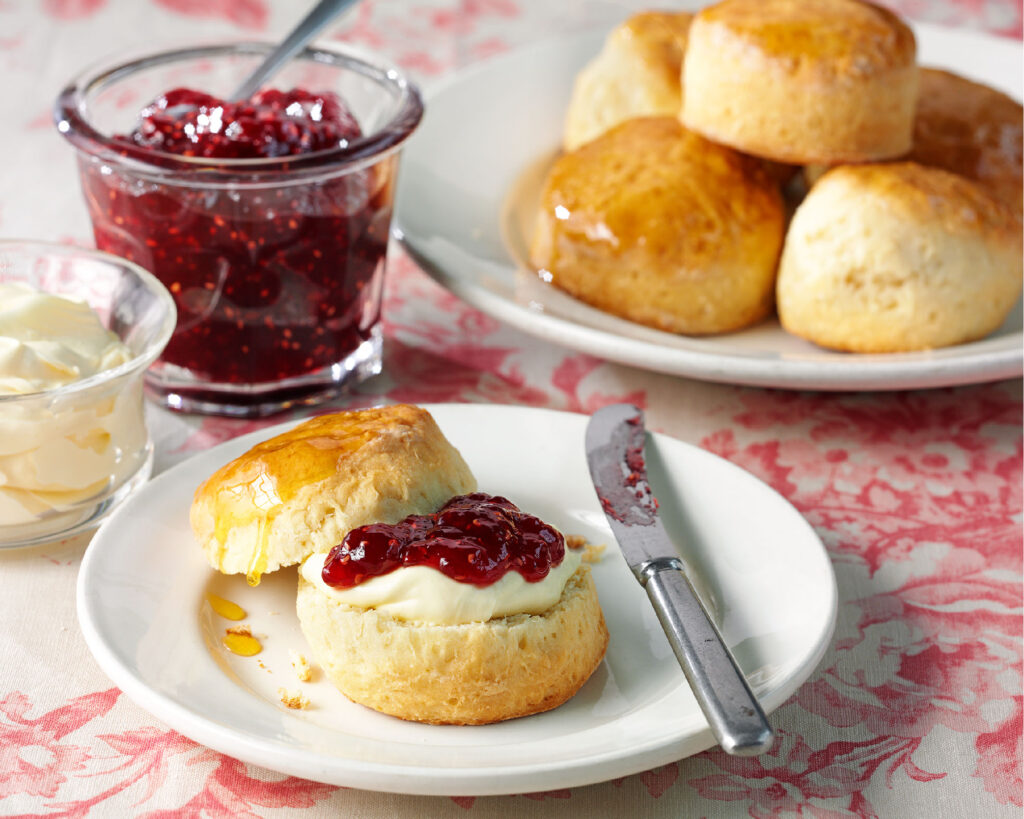
A perfect English scone is more than just baking—it is also about presentation and accompaniments. Traditionally, scones are served with clotted cream and jam, but plant-based alternatives can replicate this indulgent experience.
- Plant-Based “Clotted Cream”: Whip chilled coconut cream with a touch of vanilla and sugar for a thick, creamy topping.
- Fruit Preserves: Raspberry, strawberry, or apricot jam adds natural sweetness and contrast.
- Fresh Fruits: Berries or sliced peaches complement the richness of scones.
- Tea Pairings: Classic black teas such as Earl Grey or Darjeeling highlight the delicate sweetness, while herbal teas like chamomile provide a soothing alternative.
Cultural Insight: In Britain, debates continue between the “Devon method” (cream first, then jam) and the “Cornish method” (jam first, then cream). Whichever way you choose, the ritual of serving scones with tea embodies comfort, tradition, and hospitality.
Conclusion
Crafting the perfect English scone without eggs or dairy may seem challenging at first, but by following these five essential steps, success is assured. From carefully selecting quality ingredients to mastering the gentle art of mixing, shaping, and baking, every detail contributes to the final result. The reward is a scone that is tender, fluffy, and golden—a delightful balance between simplicity and sophistication.
Moreover, embracing plant-based methods highlights the adaptability of traditional recipes to modern lifestyles, without sacrificing taste or cultural authenticity. English scones thus remain a timeless classic, embodying both heritage and innovation, ready to be enjoyed at any tea table.