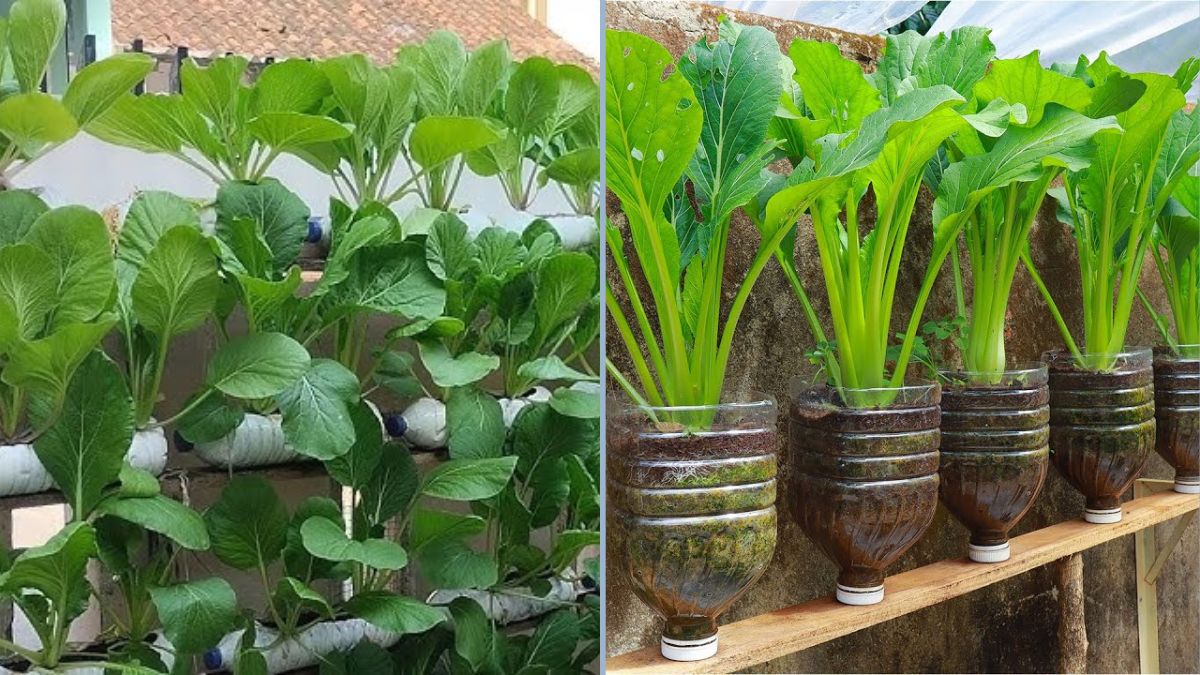
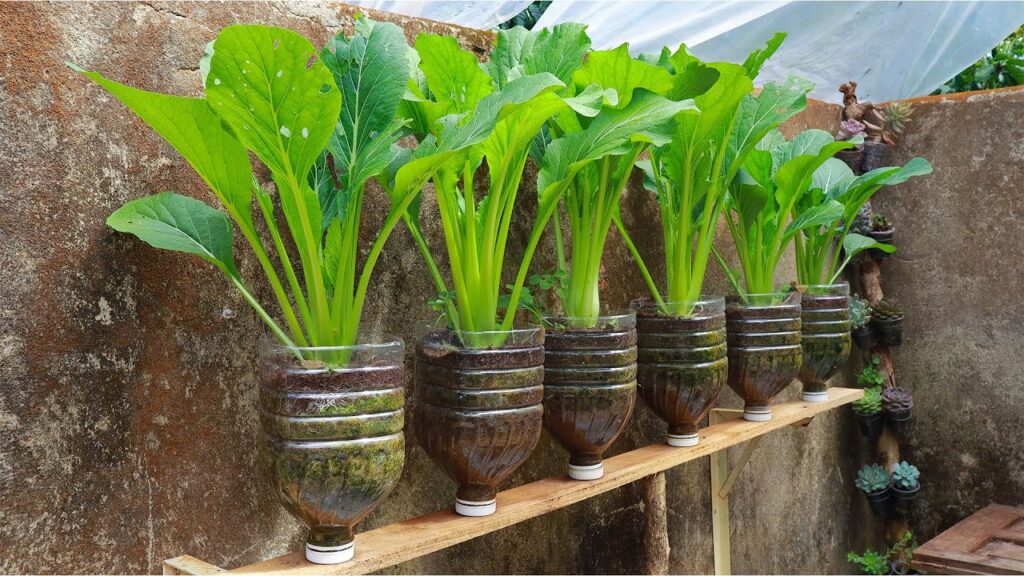
If you think you need a big garden to grow your own vegetables, think again! You can grow fresh, crisp, and healthy mustard greens right at home using nothing more than a plastic bottle. This eco-friendly, space-saving gardening method is perfect for anyone living in apartments, urban areas, or small homes with limited space.
Inspired by the YouTube video “How to Grow Mustard Green in Plastic Bottle,” this complete guide will teach you how to grow mustard greens (also known as sarson saag or rai ka saag) easily — even if you’ve never planted anything before.
Let’s dive into this sustainable, budget-friendly, and rewarding gardening hack.
Why Grow Mustard Greens?
Mustard greens are one of the easiest leafy vegetables to grow at home. They thrive quickly, need minimal care, and provide a rich source of vitamins A, C, and K, calcium, and antioxidants. Here’s why they’re a must-grow plant for every home gardener:
- Fast-growing: You can harvest fresh greens in as little as 25–30 days.
- Low-maintenance: They grow well even with limited care.
- Nutrient-rich: Excellent for boosting immunity and improving digestion.
- Perfect for small spaces: Great for balcony gardens and small containers.
- Sustainable choice: Reusing plastic bottles helps reduce waste.
If you enjoy fresh salads, green smoothies, or traditional Indian dishes like sarson da saag, this plant is a wonderful addition to your kitchen garden.
What You’ll Need
Before you begin, gather these simple and inexpensive materials:
- Plastic bottles: Use 1.5L or 2L bottles — any used soft drink or water bottle works fine.
- Mustard seeds: You can use seeds from your kitchen spice jar or purchase from a local nursery.
- Potting soil: A mix of garden soil, compost, and coco peat (in equal parts).
- Sharp knife or scissors: For cutting and shaping the bottles.
- Small nail or skewer: To make drainage holes.
- Watering can or spray bottle: To water your plants gently.
- Optional: Organic fertilizer or compost for extra nutrition.
Step-by-Step Guide to Growing Mustard Greens in Plastic Bottles
Step 1: Prepare the Plastic Bottle
Take an empty 2-litre plastic bottle and clean it thoroughly. Remove any labels and make sure it’s free from residue. Using a sharp knife or scissors:
- Cut the bottle horizontally around the middle section.
- You can use either the top or bottom half as your mini planter.
- If using the top half, invert it like a funnel into the bottom half to create a self-watering planter.
- Poke 4–6 small drainage holes at the bottom to prevent waterlogging.
This recycled container is your compact pot for growing mustard greens.
Step 2: Prepare the Potting Mix
The secret to healthy greens is well-draining, nutrient-rich soil. Mix the following in equal parts:
- 1 part garden soil
- 1 part compost or organic manure
- 1 part coco peat or sand
This combination ensures good aeration and moisture retention. If you’re using garden soil, make sure it’s loose and free of stones or debris.
Fill your plastic bottle with this potting mix, leaving about 2–3 cm of space at the top.
Step 3: Sowing the Seeds
Mustard seeds are small and germinate easily. Follow these steps:
- Sprinkle a few mustard seeds evenly over the soil surface.
- Cover them with a thin layer of soil (about half a centimetre).
- Gently pat down the surface.
- Water lightly using a spray bottle or watering can.
Avoid pouring too much water directly — you don’t want to wash away the tiny seeds.
Step 4: Find the Perfect Location
Mustard greens grow best in cool to moderately warm weather. Choose a spot where your bottle planter will receive at least 4–6 hours of sunlight daily, such as:
- A sunny balcony
- A windowsill
- A terrace or rooftop garden
If the temperature is very high (above 35°C), give the plants some partial shade during the hottest part of the day.
Step 5: Watering and Care
- Water regularly: Keep the soil moist but not soggy. The best way to check is to touch the soil — if it feels dry, water it.
- Avoid overwatering: Too much water can rot the roots, especially in plastic bottles. Ensure proper drainage.
- Fertilize occasionally: Once the plants are 10–12 days old, you can feed them with diluted compost tea or an organic liquid fertilizer once every two weeks.
- Thin out seedlings: When the seedlings grow to about 3–4 cm tall, remove the weaker ones to give the stronger plants space to grow.
Mustard greens are low-maintenance and bounce back quickly if you miss a watering day or two.
Step 6: Watch for Pests
Although mustard greens are hardy, they can sometimes attract aphids or leaf miners. To prevent this:
- Spray your plants with a homemade neem oil solution (1 teaspoon neem oil + a few drops of liquid soap + 1 litre of water).
- Spray this mixture every 10–15 days, especially if you notice small insects or holes in the leaves.
- Keep your plants clean by gently wiping dust off the leaves with a damp cloth.
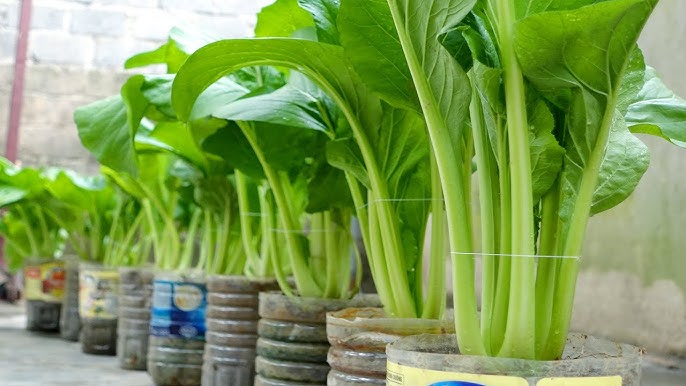
Step 7: Harvesting
Mustard greens grow fast! Within 25–30 days, your bottle garden will be full of lush, tender leaves ready to harvest.
You can harvest in two ways:
- Cut-and-Come-Again Method:
- Snip the outer leaves gently, leaving the central ones intact.
- The plant will continue to produce new leaves for several weeks.
- Full Harvest:
- If you want to clear the bottle for a new batch, pull out the whole plant after 30–40 days.
For continuous supply, sow a few new bottles every 10–15 days so you always have fresh greens.
Pro Tips for Maximum Yield
- Use transparent bottles to monitor soil moisture levels.
- Don’t overcrowd seeds — this helps each plant grow fuller and healthier.
- Add kitchen compost like vegetable peels or used tea leaves for extra nutrients.
- Rotate your bottles every few days so all sides get sunlight.
- Reuse your bottles — after harvesting, clean and replant for another crop.
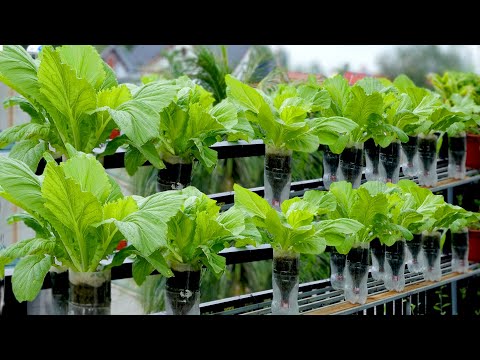
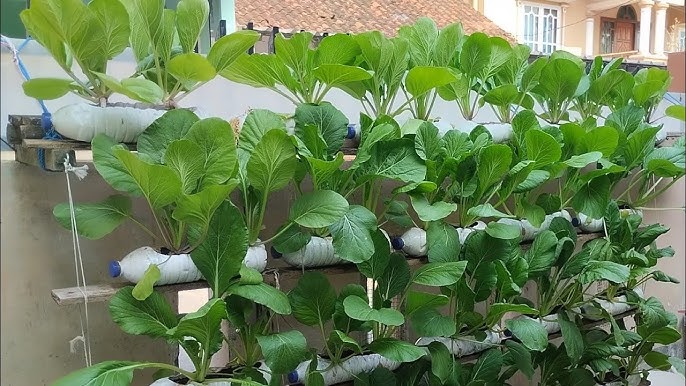
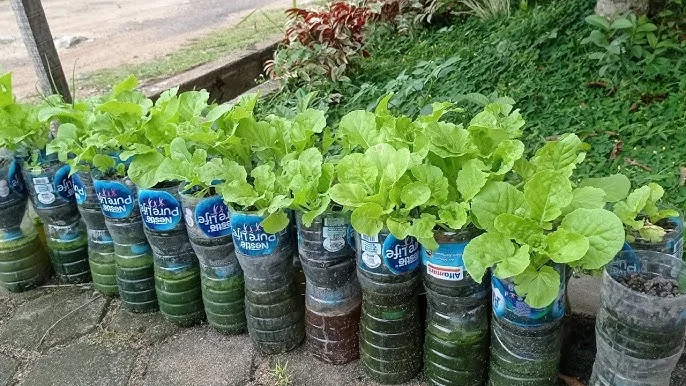
- Grow vertically! Hang bottles on a wall or railing for a space-efficient vertical garden.
This way, you can turn even a small balcony into a thriving mini farm!
Environmental Benefits of Bottle Gardening
Growing mustard greens in plastic bottles isn’t just about convenience — it’s also about sustainability.
- You reuse waste plastic instead of throwing it away.
- You reduce your carbon footprint by growing food locally.
- You avoid chemical fertilizers and pesticides, producing organic greens for your family.
- It’s an educational project for kids — they learn about sustainability and plant life cycles.
This simple project helps both your health and the planet.
Mustard Greens Care Schedule (Week-by-Week)
| Week | Activity | Details |
|---|---|---|
| Week 1 | Sowing & Germination | Prepare bottles, sow seeds, keep soil moist. |
| Week 2 | Seedling Growth | Provide sunlight, water daily, thin out weak plants. |
| Week 3 | Leaf Development | Add compost tea or liquid fertilizer once. |
| Week 4 | First Harvest | Cut outer leaves for continuous harvest. |
| Week 5+ | Maintenance | Keep watering, harvest regularly, start new bottles. |
Health Benefits of Mustard Greens
Mustard greens aren’t just delicious — they’re a superfood packed with health benefits:
- Boosts Immunity: Rich in Vitamin C and antioxidants.
- Improves Digestion: High fiber content supports gut health.
- Detoxifies the Body: Helps cleanse the liver and blood.
- Strengthens Bones: Full of calcium and Vitamin K.
- Supports Eye Health: Contains beta-carotene and lutein.
- Helps Heart Health: Reduces cholesterol levels naturally.
Adding just a handful of mustard greens to your daily diet can significantly boost your nutrient intake.
Creative Ways to Use Mustard Greens
Here are some tasty and healthy ways to enjoy your homegrown harvest:
- In Indian dishes: Add to sarson da saag, dal, or stir-fries.
- In salads: Mix tender young leaves with lettuce and cucumber.
- In soups and curries: Adds a rich, earthy flavor.
- In smoothies: Blend with banana, apple, or mango for a green energy drink.
- As a garnish: Chop and sprinkle over rice or pasta for added color and nutrition.
Final Thoughts
Growing mustard greens in plastic bottles is a simple, budget-friendly, and eco-conscious way to enjoy organic greens at home. Whether you have a big garden or just a sunny window, this method works everywhere.
With just a few recycled bottles, some seeds, and basic care, you can create your own mini vegetable garden — saving money, reducing plastic waste, and enjoying fresh greens year-round.
This easy gardening hack proves that sustainable living doesn’t require land or expensive equipment — only creativity and consistency.
So, grab those old plastic bottles, fill them with soil, and start planting today! In less than a month, you’ll be harvesting your own fresh, nutritious mustard greens — straight from your balcony garden.