If you’ve ever dreamed of growing your own nutritious tree right on your terrace or balcony, then you’ll love this guide! We’re going to learn how to grow Drumsticks (Moringa oleifera) from seed in small grow bags or containers — inspired by the popular YouTube video “How to Grow Drumsticks or Moringa Tree from Seed in Small Grow Bag or Container – VD-121.”
This fast-growing, nutrient-rich plant can thrive even in limited spaces. With just a little care, you’ll soon have a lush green tree providing fresh leaves and pods (drumsticks) for your kitchen. Let’s dive in.
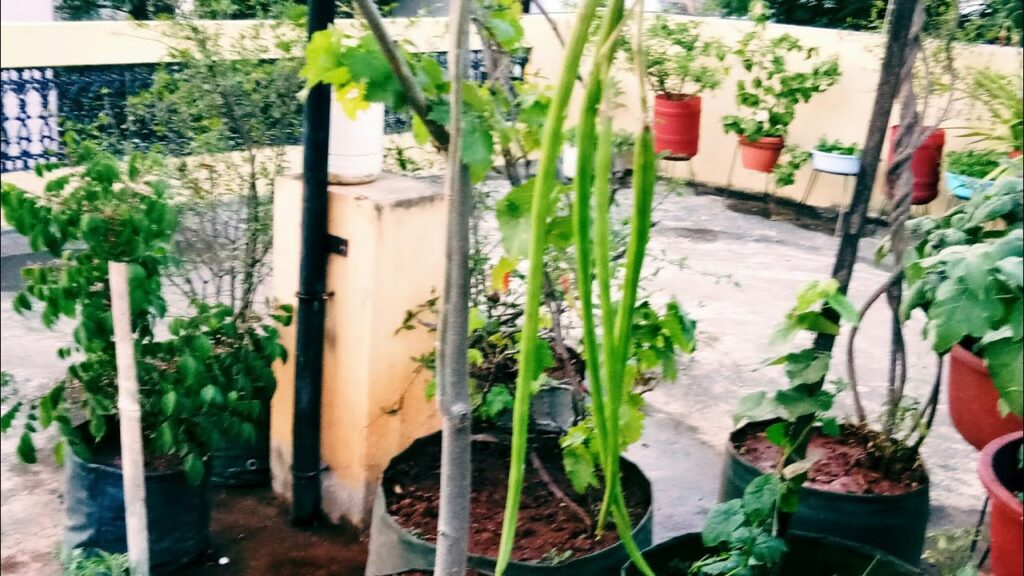
Why Grow Moringa in Containers?
Most people think of Moringa as a large tree that belongs in open fields, but you can easily grow it in a container or grow bag at home. Here’s why this is such a great idea:
- Perfect for small spaces: Balconies, terraces, and patios are all suitable.
- Easy to manage: You can control soil quality, drainage, and sunlight.
- Portable: Containers can be moved if there’s heavy rain or strong sun.
- Nutritious yields: Both the leaves and pods are rich in vitamins, minerals, and antioxidants.
- Fast growth: Moringa grows quickly — you can start harvesting leaves within a few months.
What You’ll Need
To grow drumsticks successfully in a container or grow bag, gather the following materials:
- Grow bag or container: Choose a deep bag or pot at least 30–40 cm deep. The deeper the better because Moringa develops a long taproot.
- Soil mix: Use well-draining soil. A mix of 50% garden soil, 30% compost, and 20% sand or coco peat works beautifully.
- Seeds: Get high-quality Moringa seeds. You can choose a dwarf variety if you want to keep the plant compact.
- Sunlight: Place your grow bag in full sun — at least 6 hours of direct sunlight daily.
- Water: Regular watering is important, but avoid soggy soil.
- Organic compost or fertilizer: Helps boost plant growth and pod production.
- Optional: A small stick or support for the young plant and pruning shears for maintenance.
Step-by-Step: From Seed to Harvest

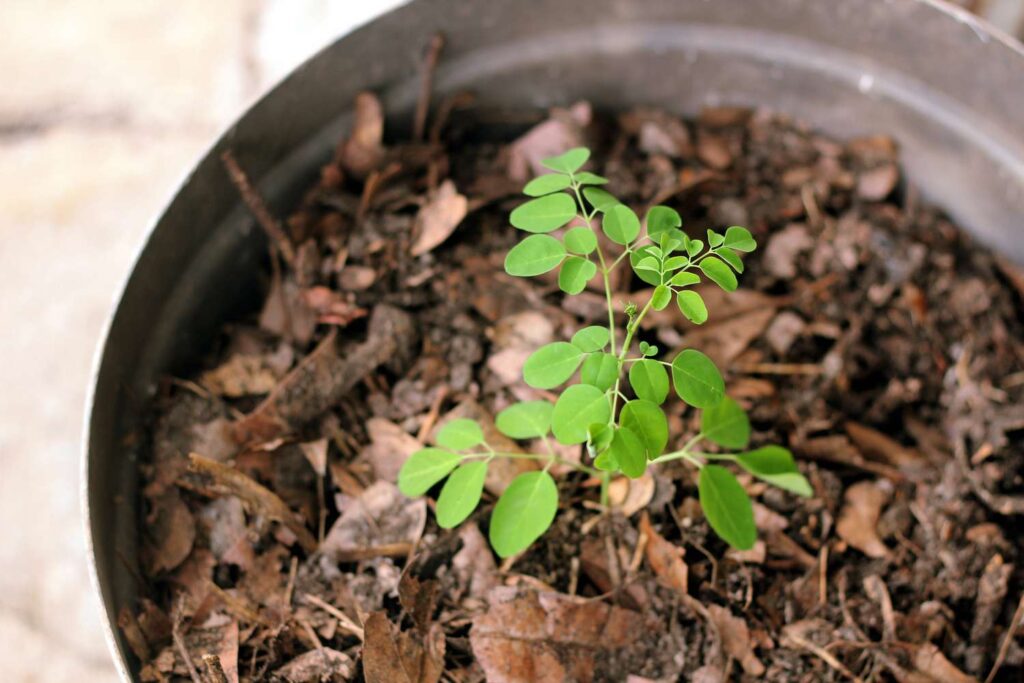
1. Prepare the Container
Start with a sturdy grow bag or a pot with good drainage holes. Place it where it will receive plenty of sunlight. Fill it with your prepared soil mix, leaving about 2–3 cm space from the top.
2. Sow the Seeds
Plant 1–2 Moringa seeds per container, about 2–3 cm deep in the soil. Cover lightly and water gently. Avoid overwatering at this stage — moist, not wet, soil is key.
3. Germination
Moringa seeds germinate quickly in warm conditions, usually within 7–10 days. Keep the soil moist and make sure the container stays in a warm, sunny spot. Avoid letting the soil dry out completely.
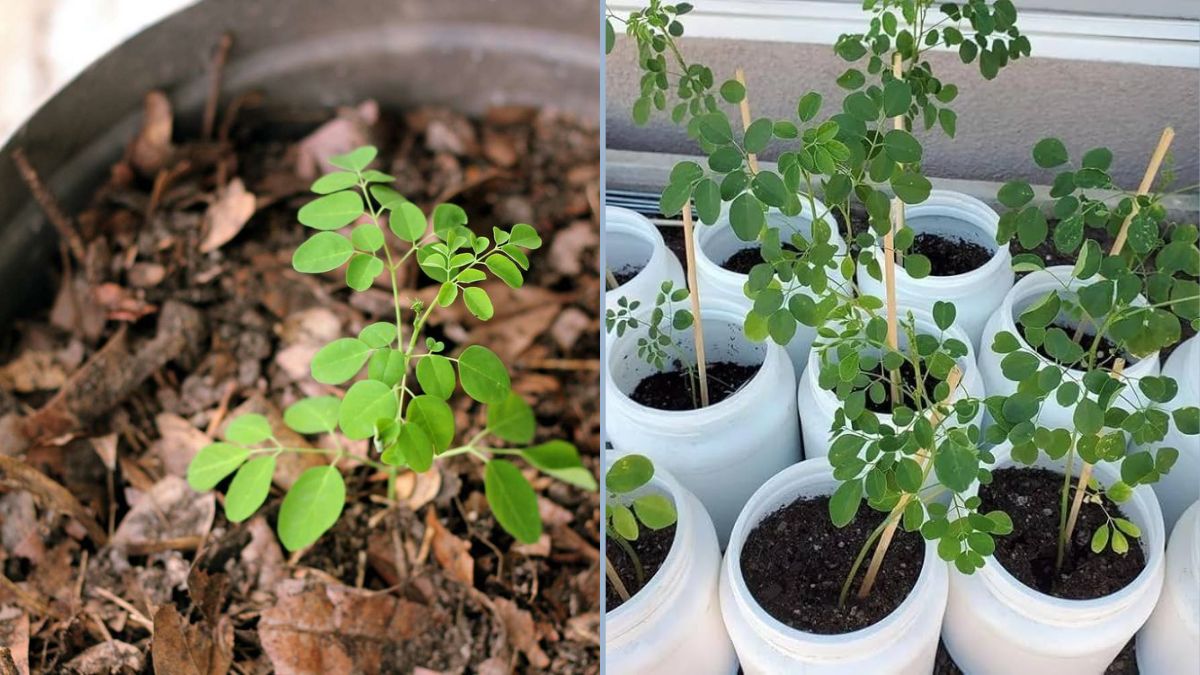
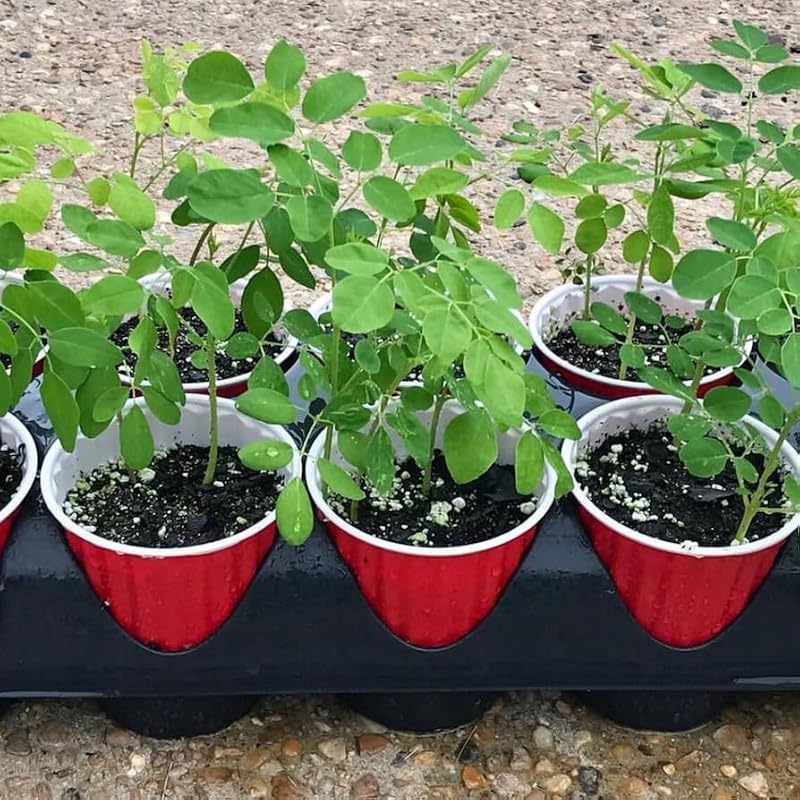
4. Seedling Care
When the seedlings reach 10–15 cm in height, keep the healthiest one and remove the weaker one if you sowed two. Ensure there’s plenty of sunlight and good airflow around the plant.
At this stage, you can begin light feeding with organic compost or vermicompost once every 2–3 weeks.
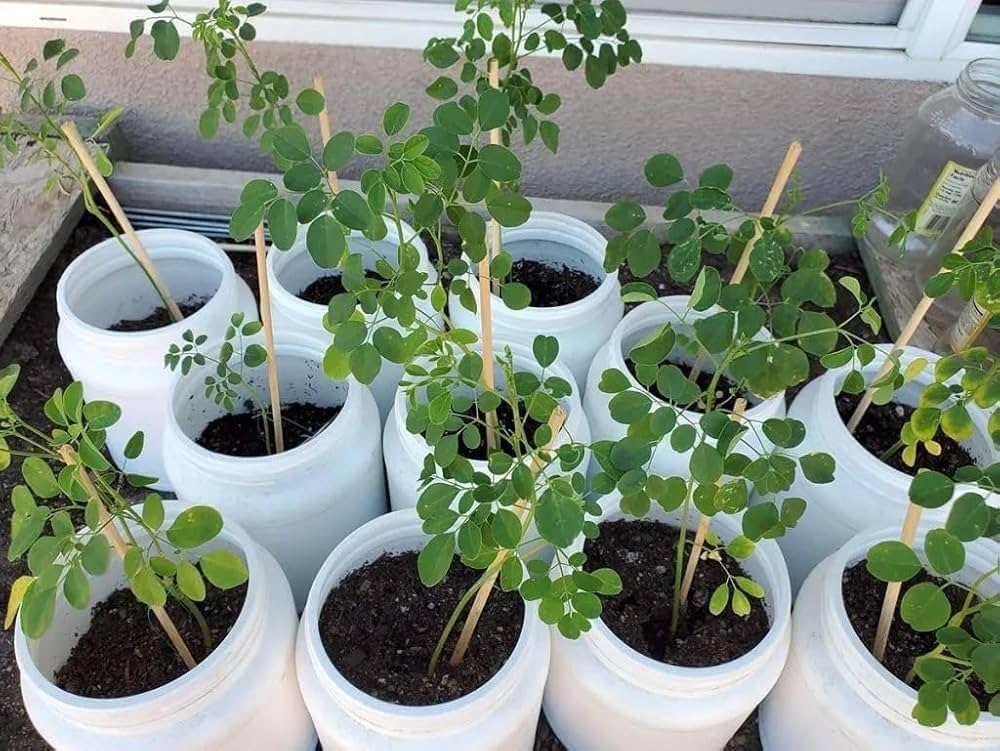
5. Transplanting (If Needed)
If your initial pot is small and the seedling starts to look root-bound, move it into a larger grow bag (40–50 cm deep). Be careful not to damage the taproot during transplanting.
6. Watering & Feeding
- Water regularly: Moringa needs consistent moisture, especially during dry months. However, it doesn’t tolerate standing water.
- Fertilize lightly: Use compost tea or organic fertilizer every 3–4 weeks for better growth.
- Mulch: Add a layer of dry leaves or straw to retain moisture and prevent weeds.
7. Pruning for Shape
To keep your Moringa compact and bushy, pinch the top of the plant when it’s about 30–40 cm tall. This encourages side branching, which leads to more leaves and eventually more pods.
Continue pruning every few months to maintain a manageable size.
8. Pest and Disease Care
Moringa is generally pest-resistant, but you might occasionally find aphids or caterpillars. Use neem oil spray or organic soap solution to control them naturally. Ensure proper air circulation to prevent fungal issues.
9. Harvesting Leaves and Pods
- Leaves: Once the plant has grown multiple branches and is at least 2–3 months old, start harvesting the leaves. Pick only a few from each branch to allow continuous growth.
- Pods: Depending on the variety and climate, you can expect pods (drumsticks) within 6–8 months. Harvest when pods are still tender and green for best flavor.
Regular harvesting encourages more branching and continuous production.
Special Tips for Balcony or Terrace Gardeners
If you’re growing Moringa in a place like Virār or any other warm, coastal region, follow these local-friendly tips:
- Use a deep grow bag: Moringa’s long taproot needs space to stretch.
- Morning sunlight is best: Place your container where it gets sun from sunrise till midday.
- Protect from strong winds: Use a wall or railing as a windbreak for tall plants.
- Avoid waterlogging: Elevate the grow bag slightly to allow drainage.
- Prune regularly: Helps control height and encourages fresh new growth.
- Compost refresh: Add a handful of compost every month to replenish nutrients.
Why This Method Works
- Controlled environment: You manage soil quality, sunlight, and watering perfectly.
- No ground space needed: Even a balcony can support a healthy Moringa tree.
- Encourages bushy growth: Container pruning keeps it compact, making leaf harvesting easier.
- Easier pest management: Potted plants are easier to monitor and treat.
- Faster access to greens: You can harvest leaves long before full pods appear.
Common Problems and Quick Fixes
| Problem | Cause | Solution |
|---|---|---|
| Yellow leaves | Overwatering or poor drainage | Improve drainage; let soil dry slightly before watering again |
| Slow growth | Lack of sunlight or nutrients | Move to a sunnier spot and add compost |
| Falling leaves | Sudden weather changes | Don’t panic; Moringa often regrows quickly |
| Root rot | Waterlogged soil | Use sandy soil mix and ensure drainage holes are open |
| Too tall / leggy growth | No pruning | Pinch tips regularly to promote branching |
Suggested Growth Timeline
- Week 1: Sow seeds and keep soil moist.
- Week 2: Germination begins.
- Week 4: Seedlings reach 10–15 cm; keep strongest one.
- Month 2–3: Prune top to encourage side shoots.
- Month 4–5: Begin harvesting leaves.
- Month 6–8: Flowering and early pod formation may start.
- Ongoing: Continue pruning, watering, and harvesting regularly.
Benefits of Growing Drumsticks at Home
- Nutrient powerhouse: Moringa leaves are rich in iron, calcium, vitamin A, and antioxidants.
- Eco-friendly: Growing your own tree reduces your carbon footprint.
- Year-round greenery: Adds freshness and beauty to your terrace or balcony.
- Medicinal value: The leaves and pods have anti-inflammatory and immune-boosting properties.
- Self-sustainability: You get fresh organic produce without chemicals.
Bonus: Making the Most of Your Homegrown Moringa
- Use leaves in soups, curries, or as a green powder for smoothies.
- Use pods in traditional Indian dishes like sambhar, drumstick curry, or stir-fries.
- Dry leaves to make homemade moringa powder for year-round use.
- Save seeds from mature pods for future planting or share them with fellow gardeners.
Final Thoughts
Growing a Moringa tree from seed in a grow bag or container is simple, rewarding, and space-friendly. With good sunlight, well-draining soil, and regular pruning, you can enjoy a thriving tree that gives you both beauty and nutrition.
This method is perfect for home gardeners in cities and suburbs alike — especially in warm regions. Even if you only have a small balcony or terrace, you can cultivate your own “superfood tree” and enjoy its many benefits right at home.
So grab a few seeds, prepare your grow bag, and start planting today. In just a few months, you’ll be picking your own fresh moringa leaves and watching your mini tree flourish!